11 ■English
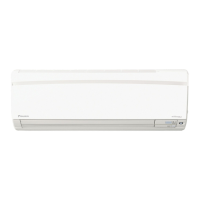
2� Removing and installing the front grille
• Removal method
1)Removethefrontpaneltoremovetheairlter.
2)Removethe2screwsfromthefrontgrille.
(The18and24-classmodelshave3screws.)
3)Infrontofthe
markonthefrontgrille,thereare3upperhooks.
Lightlypullthefrontgrilletowardyouwithonehand,andpushdown
onthehookswiththengersofyourotherhand.
mark area
(3 locations)
Upper hook
Push
down.
Upper hook
When there is insuffi cient work space because the unit is close to ceiling
CAUTION
• Besuretowearprotectiongloves.
Placebothhandsunderthecenterofthefrontgrille,andwhilepushing
up,pullittowardyou.
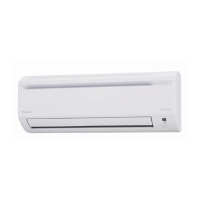
• Installation method
1)Installthefrontgrilleandrmlyengagetheupperhooks(3locations).
2)Install2screwsofthefrontgrille.
(The18and24-classmodelshave3screws.)
3)Installtheairlterandthenmountthefrontpanel.
3� How to set the different addresses
When2indoorunitsareinstalledinoneroom,the2wirelessremote
controllerscanbesetfordifferentaddresses.Changetheaddresssetting
ofoneofthetwounits.Whencuttingthejumperbecarefulnottodamage
anyofthesurroundingparts.
1)Removethebatterycoverontheremotecontrollerandcuttheaddress
jumper.
2)Press
, and atthesametime.
3)Press
,thenselect ,press .
(TheindoorunitOPERATIONlampwillblinkforabout1minute.)
4)PresstheindoorunitON/OFFswitchwhiletheOPERATIONlampis
blinking.
Jumper
ADDRESS
EXIST 1
CUT 2
Jumper
• IfsettingcouldnotbecarriedoutcompletelywhiletheOPERATION
lampwasblinking,carryoutthesettingprocessonceagainfromthe
beginning.
• Aftersettingiscomplete,pressing
forabout5secondswillcause
theremotecontrollertoreturntothepreviousdisplay.
ON/OFF
Indoor unit
ON/OFF
switch
OPERATION
lamp
1) Push up.
2) Pull toward you.
01_EN_3P379970-1.indd 11 10/17/2014 12:57:26 PM
 Loading...