English
32
CAUTION
• Whenremovingorattachingthefrontpanel,usearobustandstablestoolandwatchyourstepscarefully.
• Whenremovingorattachingthefrontpanel,supportthepanelsecurelywithhandtopreventitfromfalling.
• Aftercleaning,makesurethatthefrontpanelissecurelyxed.
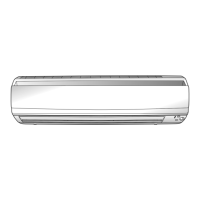
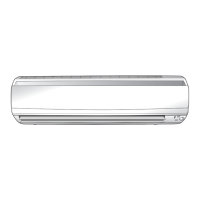
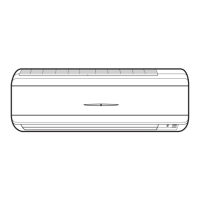
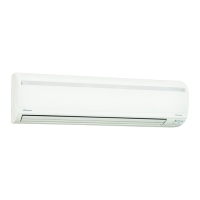
1. Remove the front panel.
•Slidethefrontpaneltoeithertheleftorrightand
pullingittowardyou.
Thiswilldisconnecttherotationdowelononeside.
•Disconnectthefrontpanelshaftontheother
sideinthesamemanner.
1) Slide
2) Pull
2. Clean the front panel.
•Wipeitwithasoftclothsoakedinwater.
•Onlyneutraldetergentmaybeused.
•Incaseofwashingthepanelwithwater,wipeit
withdrysoftcloth,dryitupintheshadeafter
washing.
3. Attach the front panel.
•Alignthefrontpanelshaftontheleftandrightof
thefrontpanelwiththeslots,thenpushthemall
thewayin.
Front panel shaft
Slot
•Closethefrontpanelslowly.
•Pressthefrontpanelatbothsidesandthe
center.
■
Removing the front panel
01_EN_3P320970-1A.indd 32 12/20/2012 11:22:36 AM
 Loading...