4 Before operation
Operation manual
7
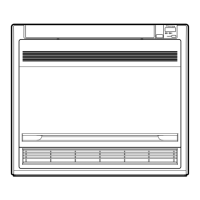
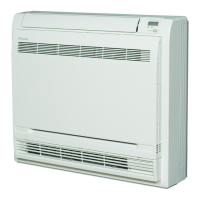
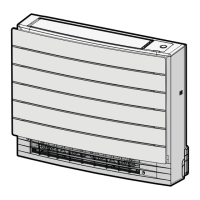
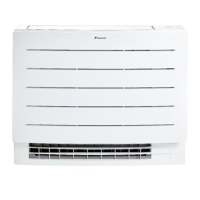
CVXM-A, FVXM-A, CVXM-A9, FVXM-A9, FVXTM-A
Split system air conditioners
3P477071-2M – 2022.09
p Fan button
q Powerful button and Heat plus button
4 Before operation
4.1 To turn on the power supply
1 Turn the circuit breaker on.
4.2 To insert the batteries
The batteries will last for about 1 year.
1 Remove the front cover.
2 Insert both batteries at once.
3 Put back the front cover.
INFORMATION
▪ Low energy of battery is indicated by icon on the
LCD display.
▪ ALWAYS replace both batteries together.
4.3 To mount the wireless remote
control holder
a Wireless remote control
b Screws (field supply)
c Wireless remote control holder
1 Choose a place where the signal can reach the unit.
2 Fix the holder (accessory) to the wall or a similar location using
2 M3×20L screws (field supply).
3 Insert the wireless remote control into the holder.
4.4 To set the clock
Note: If the time is NOT set, , , and blink.
1 Press .
Result: and blink
2 Press or to set the current day of the week.
3 Press .
Result: blinks.
4 Press or to set the correct time.
Note: Holding down or increases or decreases the time
setting rapidly.
5 Press .
Result: Setting is complete. blinks.
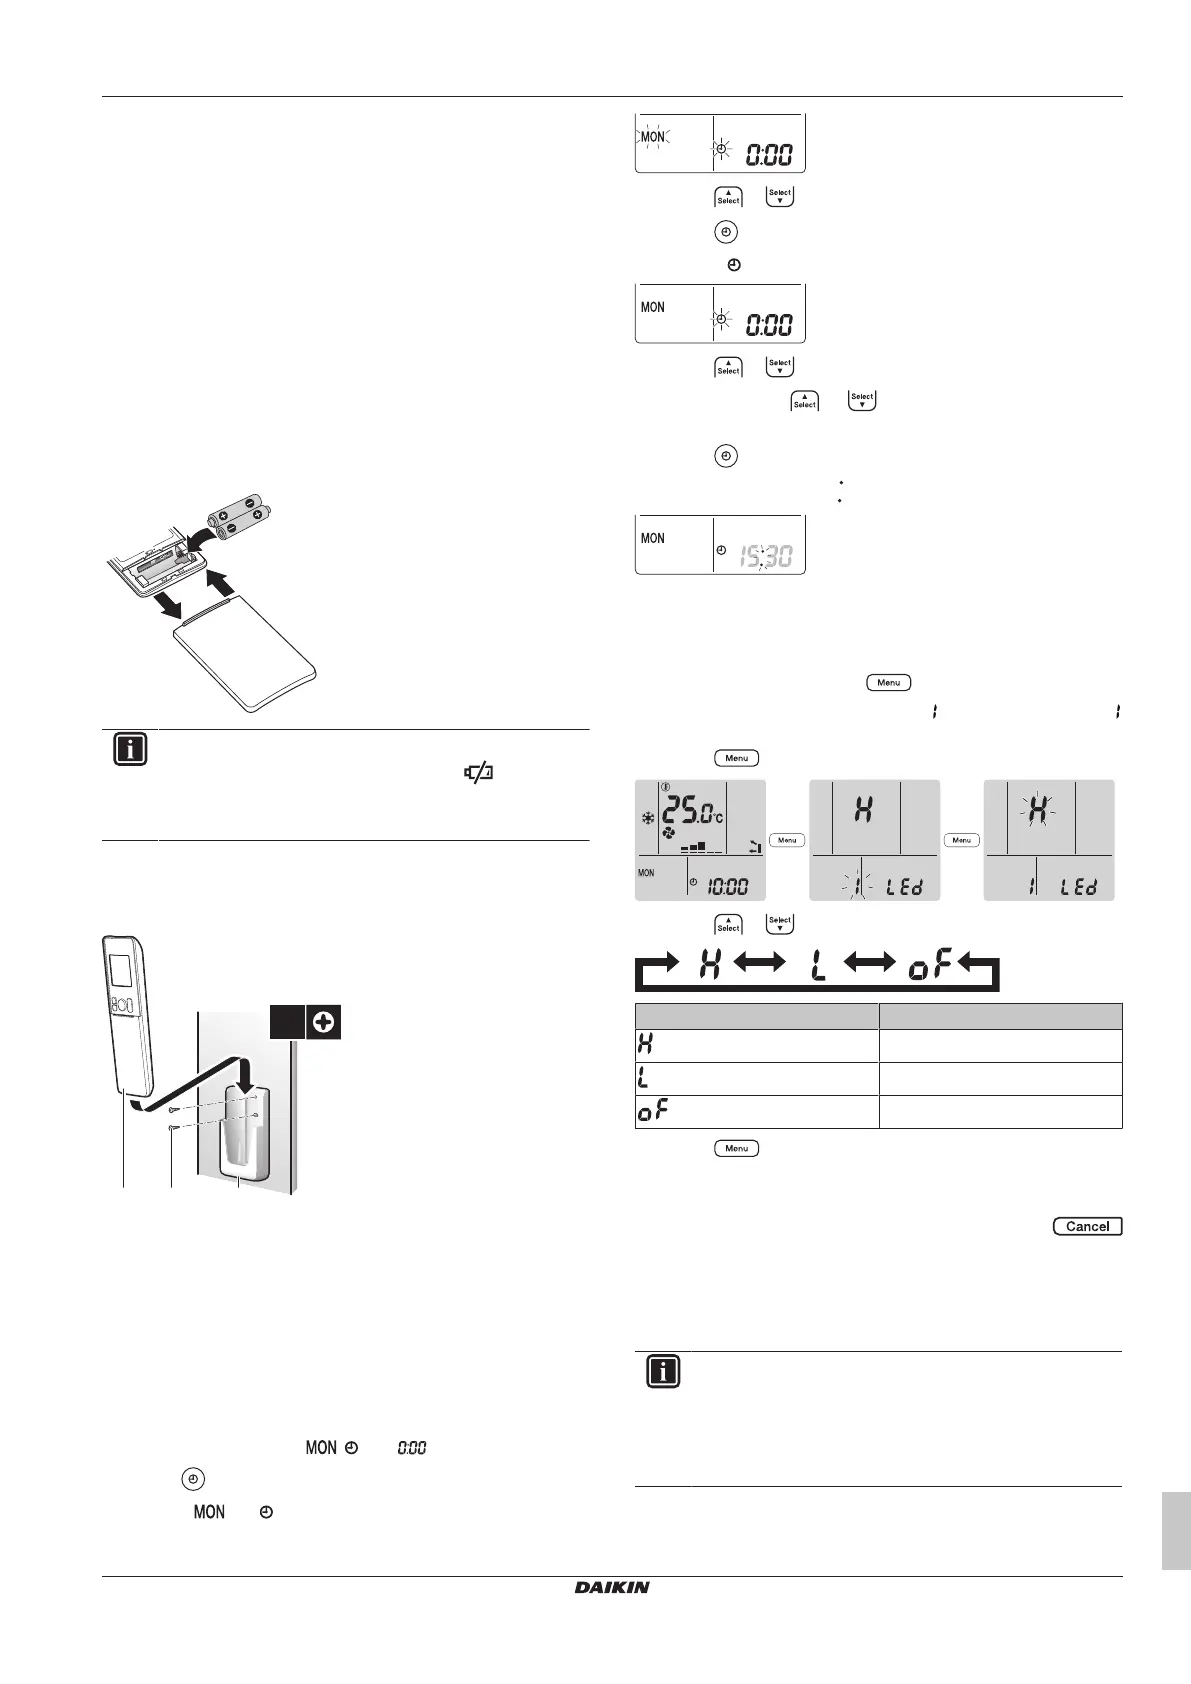
4.5 To set the brightness of the indoor
unit display
1 On the home screen, press for at least 2seconds.
Result: The selection menu number appears on the display.
is blinking.
2 Press to enter the setting.
3 Press or to change the setting as follows:
Blinking Brightness
High
Low
Off
4 Press to confirm the selected setting.
Result: The brightness setting is changed.
Note: The display automatically returns to the default screen after
60seconds. To return to the default screen sooner, press
twice.
5 Operation
INFORMATION
The indoor unit is delivered with the wireless remote
control as the user interface. This manual describes only
operation with this user interface. If another user interface
is connected, refer to the operation manual of the
connected user interface.
 Loading...