Home
Daikin
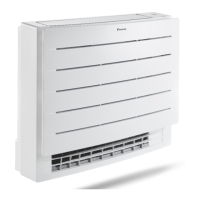
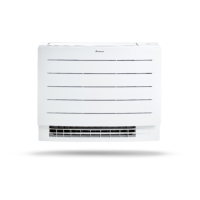
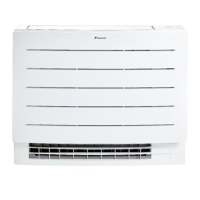
Air Conditioner
FVXM35A3V1B9
Daikin FVXM35A3V1B9 Installer's Reference Guide
4
of 1
of 1 rating
60 pages
Give review
Manual
Specs
To Next Page
To Next Page
To Previous Page
To Previous Page
Loading...
7
|
Piping installation
Installer reference guide
42
CVXM-A, FVXM-A, CVXM-A9, FVXM-A9, FVXTM-A
Split system air conditioners
4P625991-1F – 2022.09
a
b
a
a
e
b
e
c
b
a
d
c
d
b
a
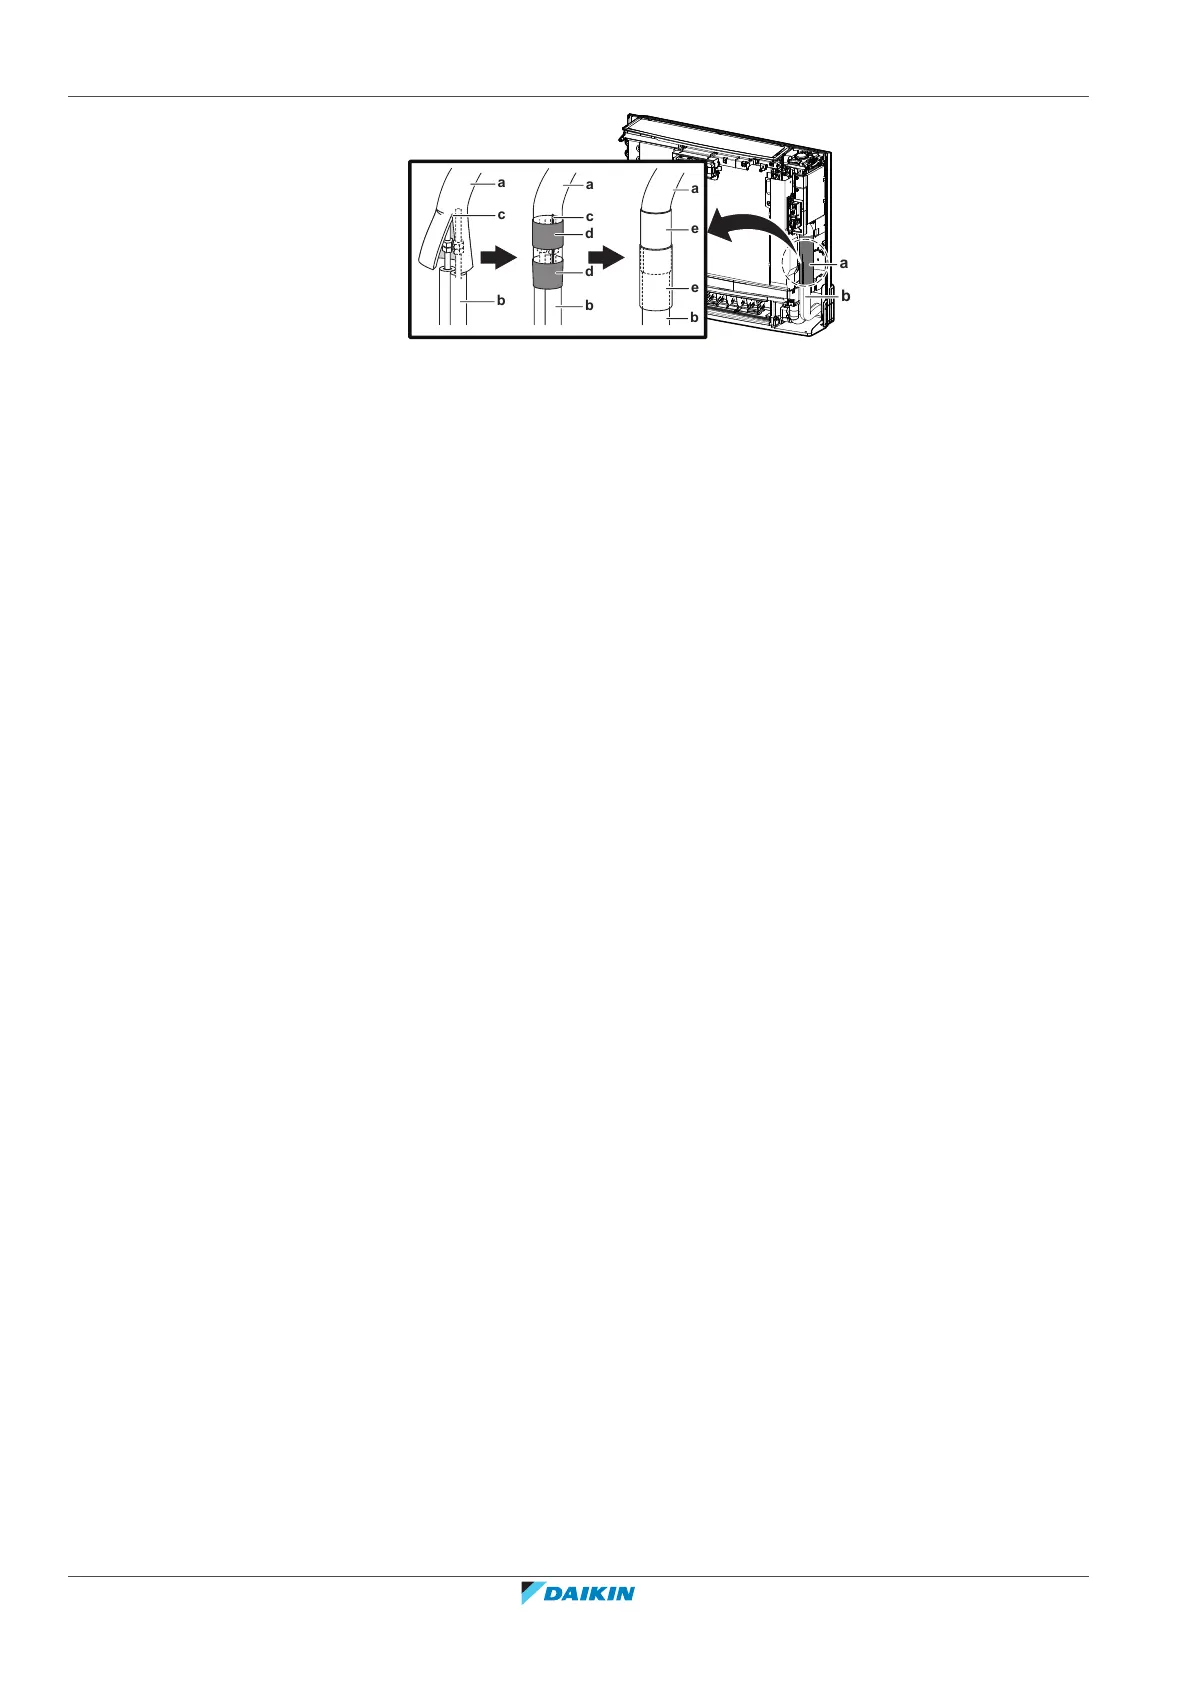
Refrigerant pipe connection
b
Refrigerant piping (field supply)
c
Slit
d
Tape
e
Insulation piece (accessory)
41
43
Table of Contents
Table of Contents
2
About the Documentation
4
About this Document
4
General Safety Precautions
6
About the Documentation
6
Meaning of Warnings and Symbols
6
For the Installer
7
General
7
Installation Site
8
Refrigerant - in Case of R410A or R32
10
Electrical
12
Specific Installer Safety Instructions
14
About the Box
17
Indoor Unit
17
To Unpack the Indoor Unit
17
To Remove the Accessories from the Indoor Unit
17
About the Unit
19
System Layout
19
Operation Range
19
About the Wireless LAN
20
Precautions When Using the Wireless LAN
20
Basic Parameters
20
Setting the Wireless LAN
20
Unit Installation
22
Preparing the Installation Site
22
Installation Site Requirements of the Indoor Unit
22
Opening the Unit
26
To Remove the Front Panel
26
To Remove the Front Grille
26
To Open the Terminal Block and Remove the Electrical Wiring Box Cover
27
Mounting the Indoor Unit
28
To Install the Indoor Unit
28
To Drill a Wall Hole
32
To Remove the Slit Portions
32
Connecting the Drain Piping
33
General Guidelines
33
To Connect the Drain Piping to the Indoor Unit
34
To Check for Water Leaks
35
Mounting the User Interface
35
To Mount the Wireless Remote Control Holder
35
Piping Installation
37
Preparing Refrigerant Piping
37
Refrigerant Piping Requirements
37
Refrigerant Piping Insulation
38
Connecting the Refrigerant Piping
38
About Connecting the Refrigerant Piping
38
Precautions When Connecting the Refrigerant Piping
39
Guidelines When Connecting the Refrigerant Piping
40
Pipe Bending Guidelines
40
To Flare the Pipe End
40
To Connect the Refrigerant Piping to the Indoor Unit
41
Electrical Installation
43
About Connecting the Electrical Wiring
43
Precautions When Connecting the Electrical Wiring
43
Guidelines When Connecting the Electrical Wiring
44
Specifications of Standard Wiring Components
46
To Connect the Electrical Wiring to the Indoor Unit
46
To Connect Optional Accessories (Wired User Interface, Central User Interface, Wireless Adapter, Etc.)
47
Finishing the Indoor Unit Installation
48
To Finish the Indoor Unit Installation
48
Closing the Unit
48
To Close the Electrical Wiring Box and Close the Terminal Block
48
To Re-Install the Front Grille
48
To Re-Install the Front Panel
49
Configuration
50
To Set a Different Channel of the Indoor Unit Infrared Signal Receiver
50
Commissioning
52
Overview: Commissioning
52
Checklist before Commissioning
52
To Perform a Test Run
53
To Perform a Test Run Using the Wireless Remote Control
53
Hand-Over to the User
54
Disposal
55
Technical Data
56
Wiring Diagram
56
Unified Wiring Diagram Legend
56
Glossary
59
Other manuals for Daikin FVXM35A3V1B9
User Reference Guide
64 pages
Operation Manual
20 pages
Installation Manual
16 pages
4
Based on 1 rating
Ask a question
Give review
Questions and Answers:
Need help?
Do you have a question about the Daikin FVXM35A3V1B9 and is the answer not in the manual?
Ask a question
Daikin FVXM35A3V1B9 Specifications
General
Brand
Daikin
Model
FVXM35A3V1B9
Category
Air Conditioner
Language
English
Related product manuals
Daikin FVXM35A3V1B
20 pages
Daikin Perfera FVXM35A3V1B
60 pages
Daikin FVXM35A2V1B
60 pages
Daikin FVXM35FV1B
40 pages
Daikin FVXM50FV1B
40 pages
Daikin FVXM25A2V1B
60 pages
Daikin FVXM50A2V1B
60 pages
Daikin FVXM25A3V1B
64 pages
Daikin FVXM50A3V1B9
64 pages
Daikin Perfera FVXM50A
256 pages
Daikin Perfera FVXM25A
256 pages
Daikin Perfera FVXM A Series
256 pages
 Loading...