System Setup & Operations
7
Battery Operation
With a full charge, the HS-200 battery can provide up to 15
hours of continuous operation. When not in use, plug the HS-
200 wallpack power supply (Daktronics part # A-3430138) into
a 120 VAC outlet to recharge the internal battery. The internal
circuitry monitors the charging process, so leaving the HS-
200 horn start plugged in and charging for extended periods
does not damage the internal battery. Also, do not run the
battery dead.
The ON/OFF switch on the HS-200 system does NOT need
to be turned on to charge the internal battery. The battery
charging circuitry will be active whenever the HS-200
wallpack power supply is plugged into the wall outlet.
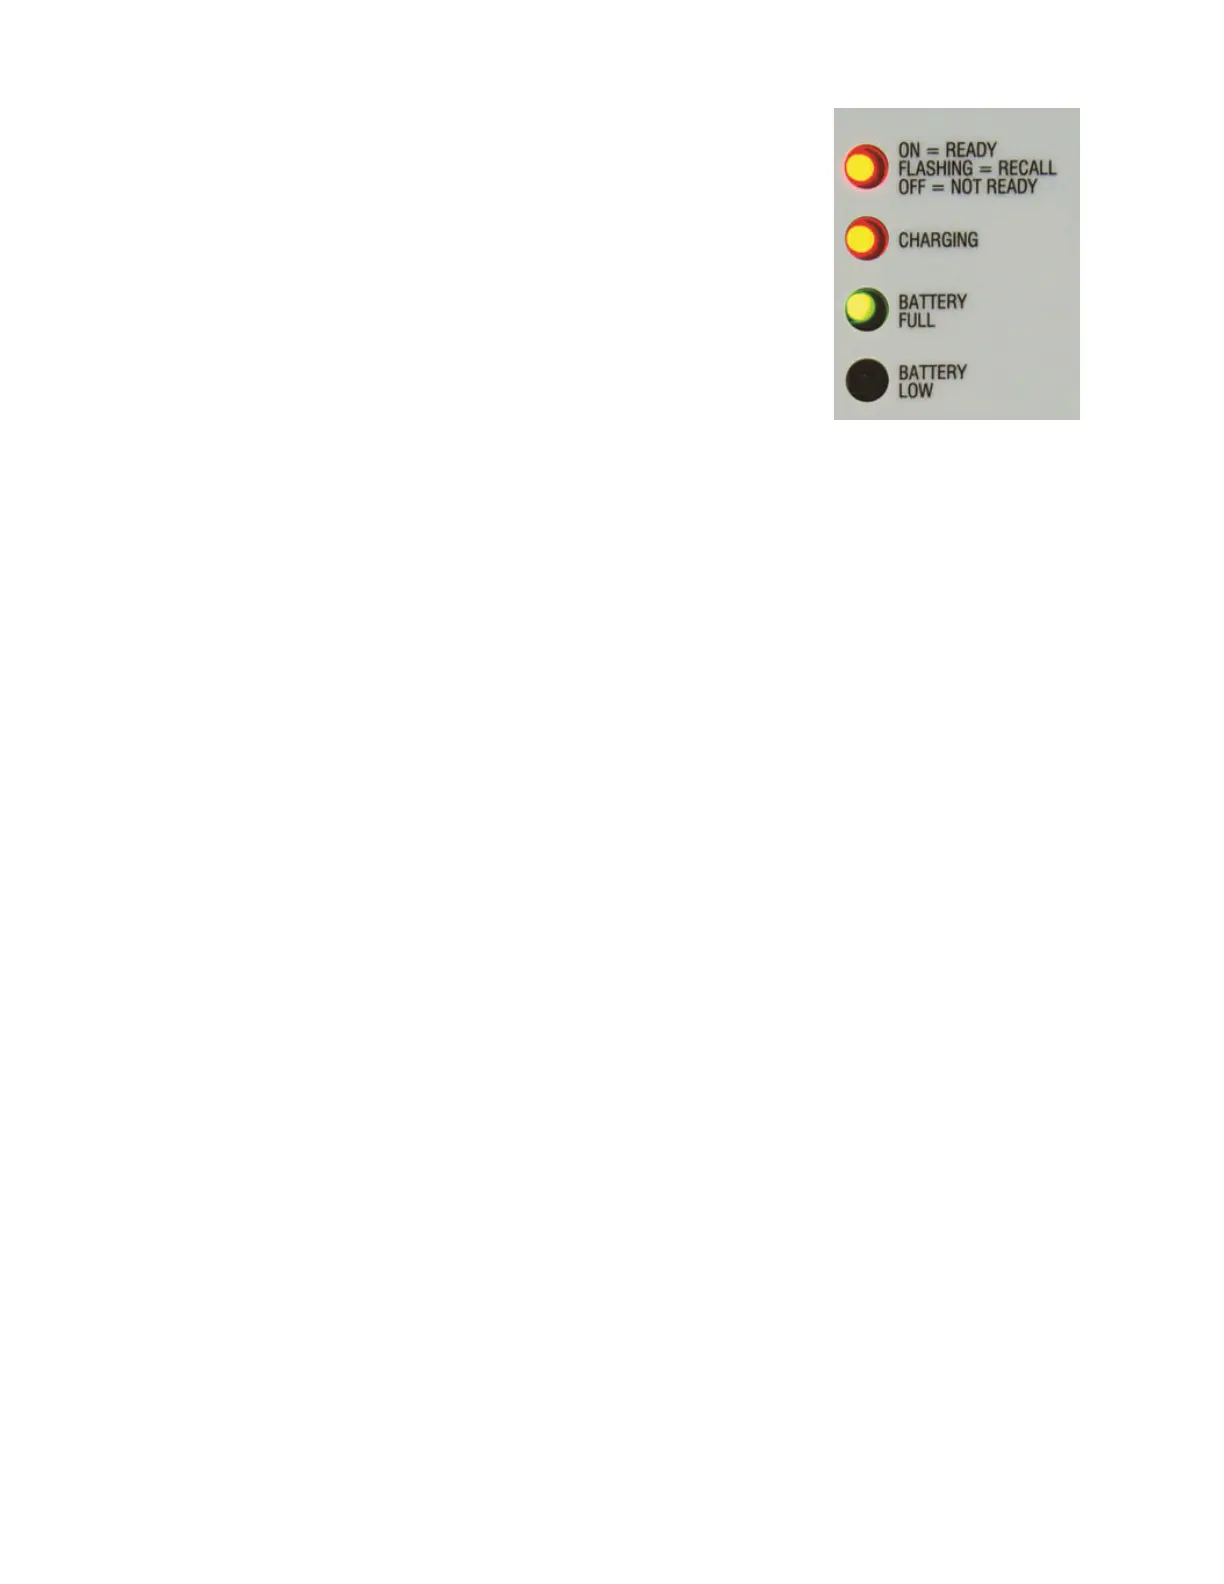
When the power supply is plugged in, the CHARGING LED will give the battery-charging
status (Figure 12). If the CHARGING LED is off (or ashing) and the BATTERY FULL LED is on,
the battery is fully charged.
When the HS-200 system is being powered by the battery and is not plugged into the
wall, the BATTERY FULL and BATTERY LOW LEDs show battery status. The green BATTERY
FULL LED indicates when the battery voltage level is ne for operation. The red BATTERY
LOW LED indicates the battery voltage level is half drained and should be charged soon.
Should the red BATTERY LOW LED begin ashing, the HS-200 unit has 10 minutes of battery
power remaining and will automatically shut down after this period has expired. At this
time, the horn start should be charged immediately. Once the charger is connected to a
120 VAC outlet, the HS-200 system will operate normally.
For information about possible problems with battery charging, refer to Section 4:
Troubleshooting (p�14).
Horn Start Settings
Enable or Disable Recall
1� Plug the handheld microphone directly into the MIC jack on the HS-200.
2� To access the setup mode, turn the power switch to ON. Immediately after the
BATTERY FULL and BATTERY LOW LEDs ash, press the PUSH TO TALK lever three times.
3� The four LED indicators on the horn start will ash and the speaker will sound a
warbling tone when the Recall On setting is active. If that setting is not active, then
no sound will come from the speaker and the four LED indicators will ash.
4� To change the setting, press the PUSH TO TALK button once. This will enable or disable
the setting.
5� To save the current setting, press and hold the PUSH TO TALK button while pressing
the top button twice. The LEDs should stop ashing. The HS-200 horn start is now
congured for the selected recall setting.
Figure 12: Battery Charging