1. Installation Steps
1. Installation must be done by an authorised
electrician.
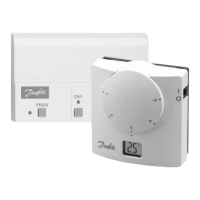
2. The room thermostat should be installed at approx.
1.5 m above oor and where the eects of sunlight,
draught or other heat sources (eg. TV’s) are avoided,
see g. 1.
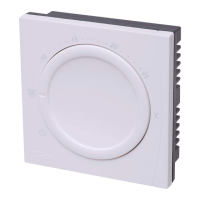
3. First of all, carefully remove the cover and dial knob,
see g. 2.
4. Connect the wire before mounting the back plate to
the wallbox using the enclosed screws. Then mount
the cover to the back plate, see g. 3.
2. Wiring
See g. 4 for dimensions and g. 5 for wiring diagram.
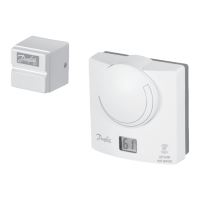
WT-T is often used with a Danfoss TWA actuator.
Depending on the conditions of power location and
actuator type (NC or NO), the wiring between room
thermostat and actuator is dierent.
Follow the illustrations to complete the wiring.
1. When power supply location is close to room
thermostat:
• Connect to actuator TWA 230 V NC type, see g. 6.
• Connect to actuator TWA 230 V NO type, see g. 7.
2. When power supply location is close to actuator:
• Connect to actuator TWA 230 V NC type, see g. 8.
• Connect to actuator TWA 230 V NO type, see g. 9.