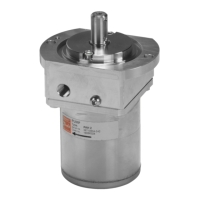
Inspection
Inspect the machined surfaces on the control and top of the pump. If you find any nicks or scratches,
replace the component.
Reassembly
Ensure you install dowel pins (D300) in the housing before installing the control.
1. Install a new gasket (D150).
2. Install dowel pins (D300) in the housing.
Warning
If the feedback pin comes off during operation, the pump will lose controllability causing a
potentially hazardous situation. Insure feedback pin is properly torqued before continuing with
reassembly.
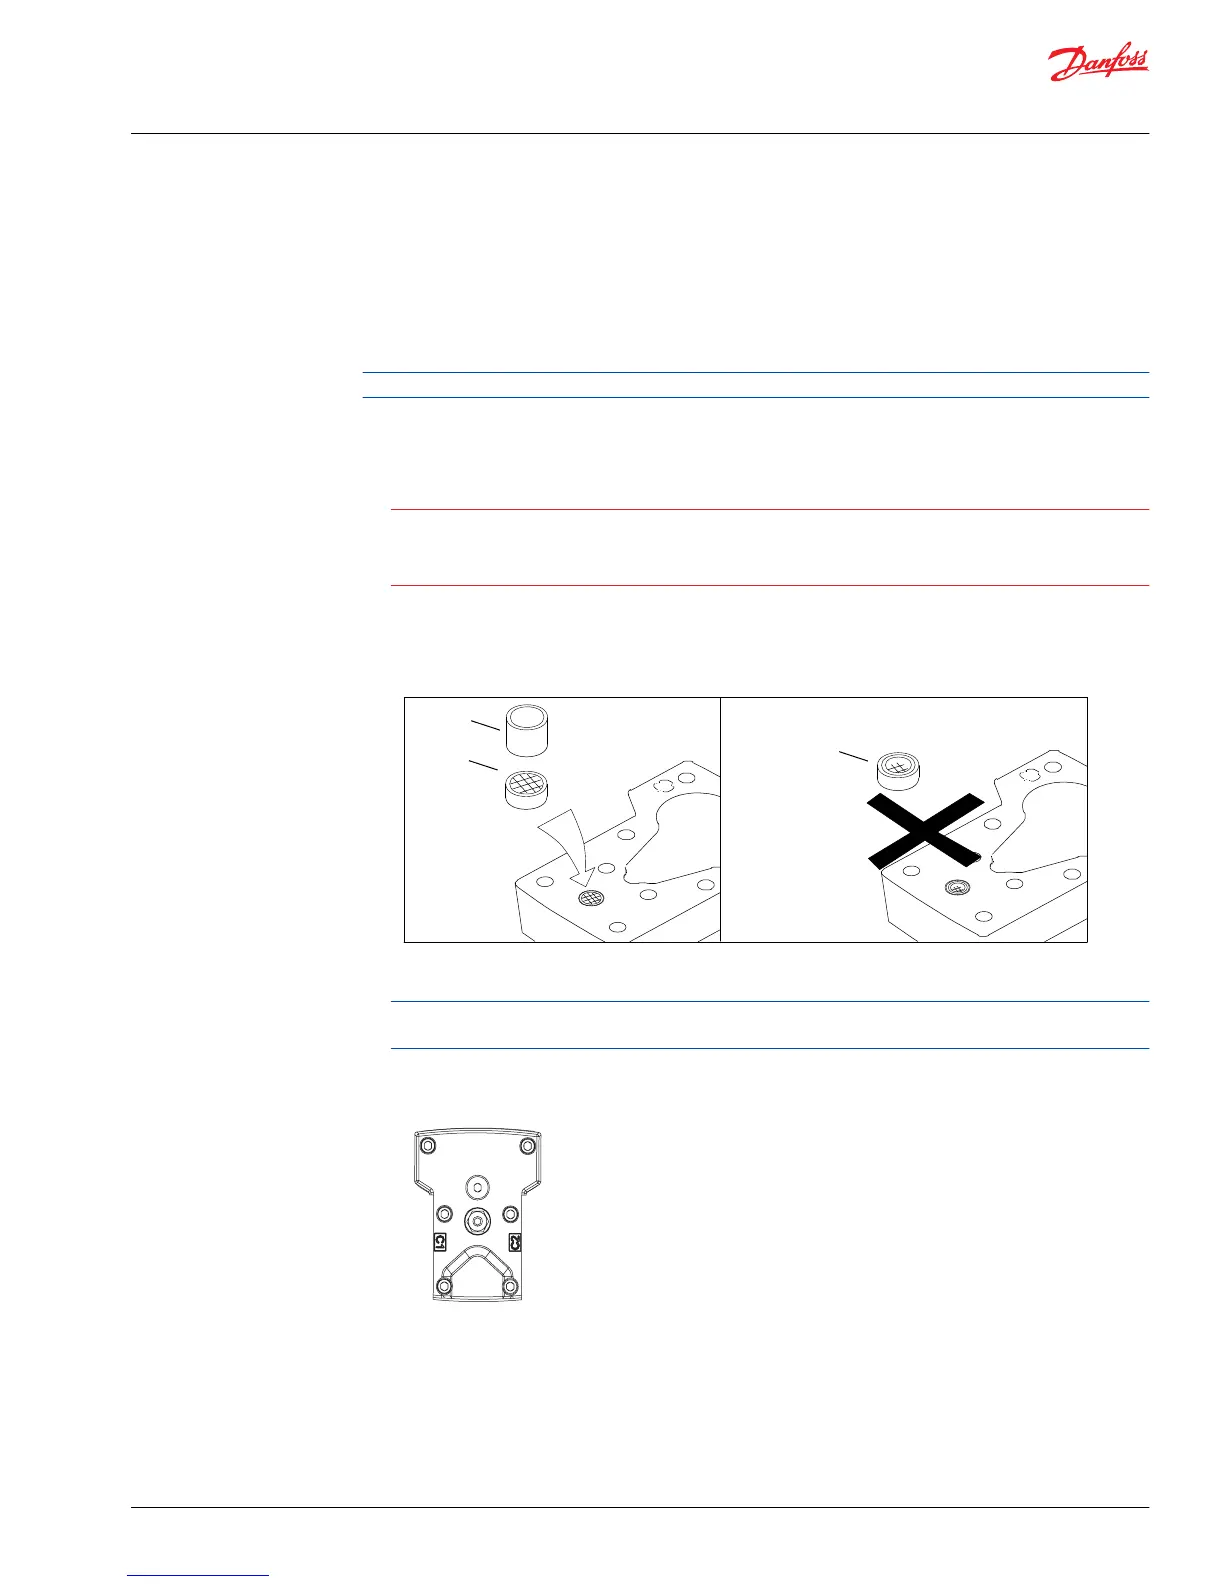
3. If you removed screen (D084), install a new one. Install it with the mesh facing outward (see drawing).
Install retaining ring (D098).
MDC - Proper screen orientation
D084
D084
In
co
r
r
e
c
t sc
r
een
o
r
ie
n
t
a
tion
C
o
r
r
e
c
t sc
r
een
o
r
ie
n
t
a
tion
D098
4. If previously removed, install orifices using a 3 mm internal hex wrench. Torque to 2.5 Nm [1.8 lbf ft].
Remove the plug on top of the control to ensure the swashplate feedback pin is properly positioned
in the center of the control module when installing control.
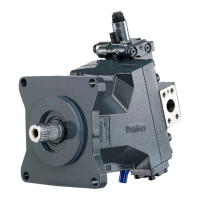
5. Install the control module and six cap screws (D250).
Torque sequence
6. Using a 5 mm internal hex wrench, torque the cap screws (D250) to 13.3 Nm [9.8 lbf ft].
Service Manual
H1 45/53/60/68 Tandem Closed Circuit Axial Piston Pumps
Minor repair
©
Danfoss | June 2018 520L0928 | AX00000103en-US0303 | 51