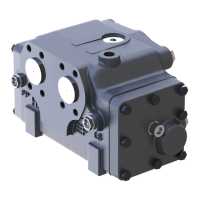
3. Place spring stop (30) in end cover (65).
a) Place large spring (29) and small spring (28) in end cover (65).
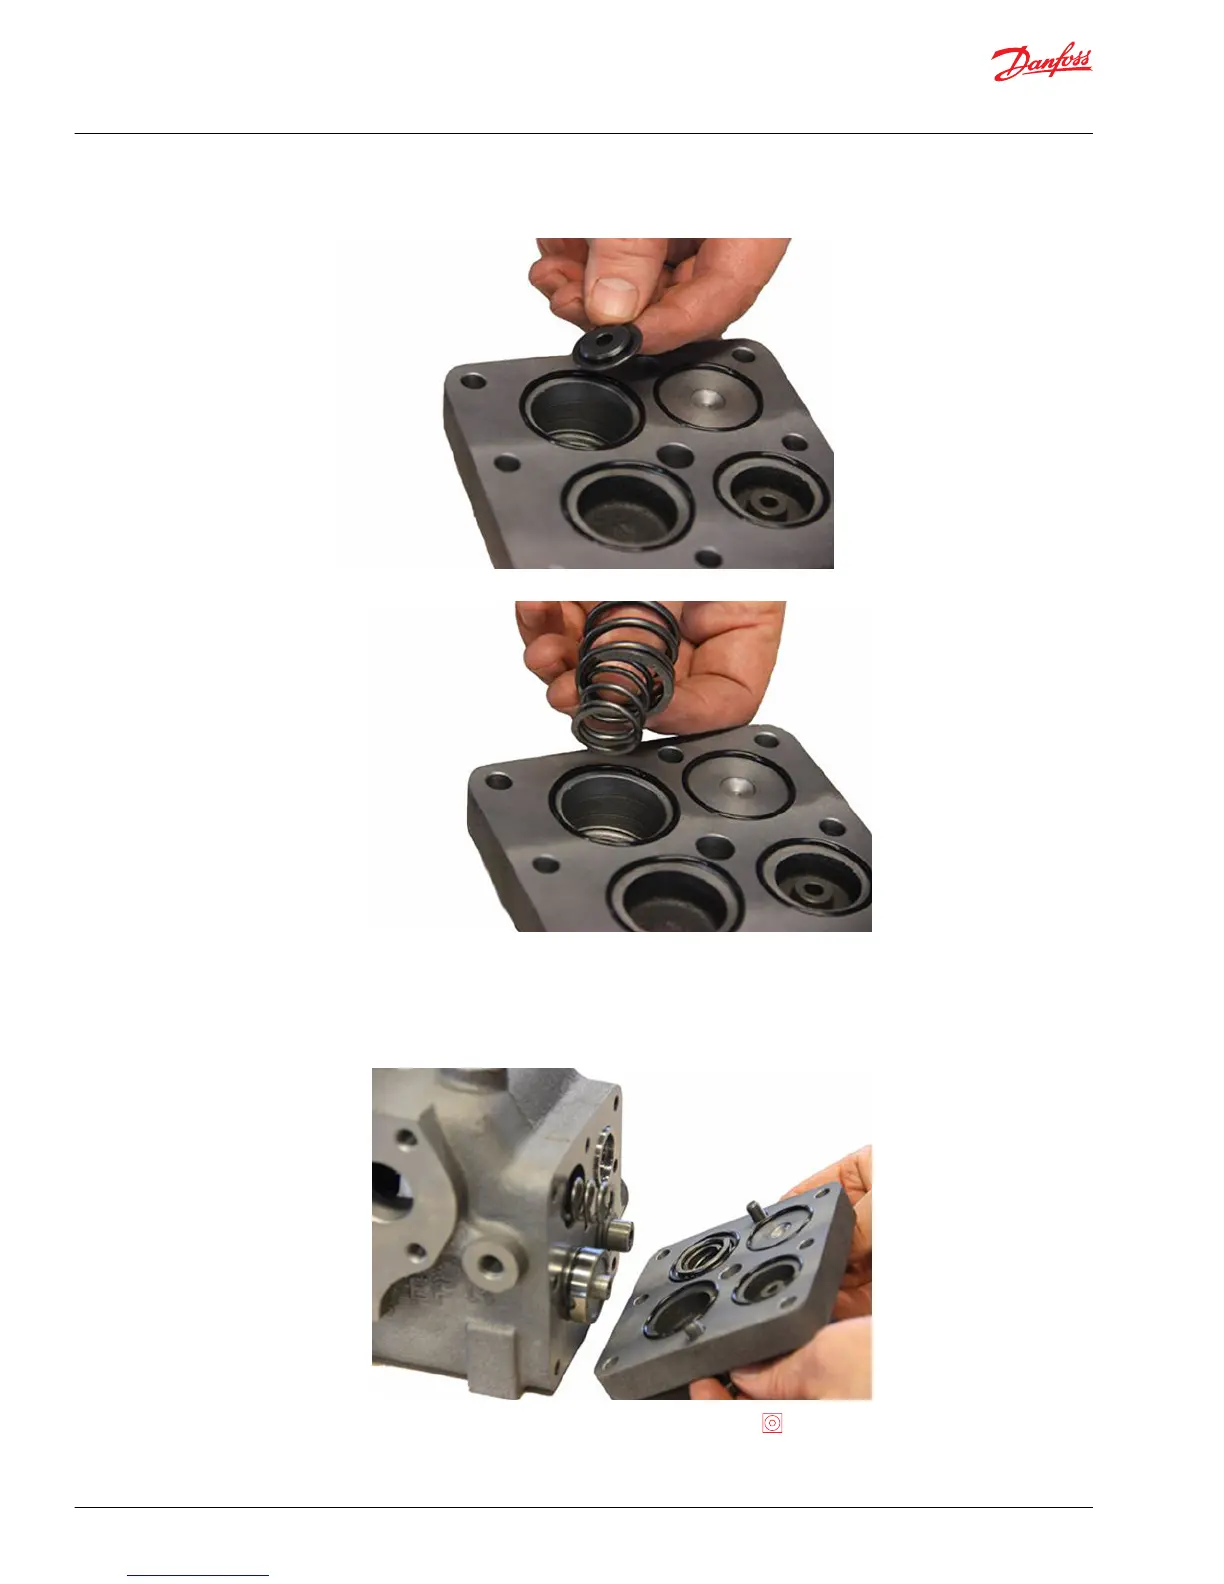
4. Place washers 2x (80) on screws 2x (81).
a) Place the 2 screws with washers as illustrated in end cover (65), see Exploded view on page 6.
Make sure that all O-rings stay in place. It must be possible to screw in the 2 screws using a 13
mm socket spanner with very light torque, so that the end cover stays in parallel with flange area
of the housing and only with distance for compressing the O-rings less than 1 mm.
b)
Screw in screw (83) with washer (82) using a 10 mm Hex key until end cover is in place.
Service Manual
OSQA/OSQB
Assembly
38 |
©
Danfoss | July 2016 HN25D293 | AX00000127en-US0101