10
Follow this procedure to set the afterheater setpoints:
Activate the menu line by pressing CENTER
2 Press RIGHT to navigate to afterheater icon. The afterheater
icon flashes slowly (30/min). Simultaneously T2, T3 and T5
continue to show the real temperatures in the unit.
3 Press CENTER to navigate to the AFTERHEATER menu.
The display shows the latest settings of all three setpoints (T2,
T3, T5) on their respective places. OFF means that the after-
heater is not controlled in accordance with this setpoint.
4 Press CENTER.
The afterheater setpoint for T2 flashes quickly (120/min), and
the afterheater icon flashes.
5 Press UP/DOWN to set the afterheater setpoint T2, and confirm
6 T3 afterheater setpoint now flashes quickly (120/min) and the
afterheater icon flashes.
Press UP/DOWN to set the afterheater setpoint T3, and confirm
7 T5 afterheater setpoint now flashes quickly (120/min) and the
afterheater icon flashes.
Press UP/DOWN to set the afterheater setpoint T5, and confirm
8 The afterheater setpoints are now set and the afterheater icon
on the display flashes slowly (30/min) and all temperatures on
the display are again real measurements in the unit.
Press CENTER for 3 seconds to leave the menu.
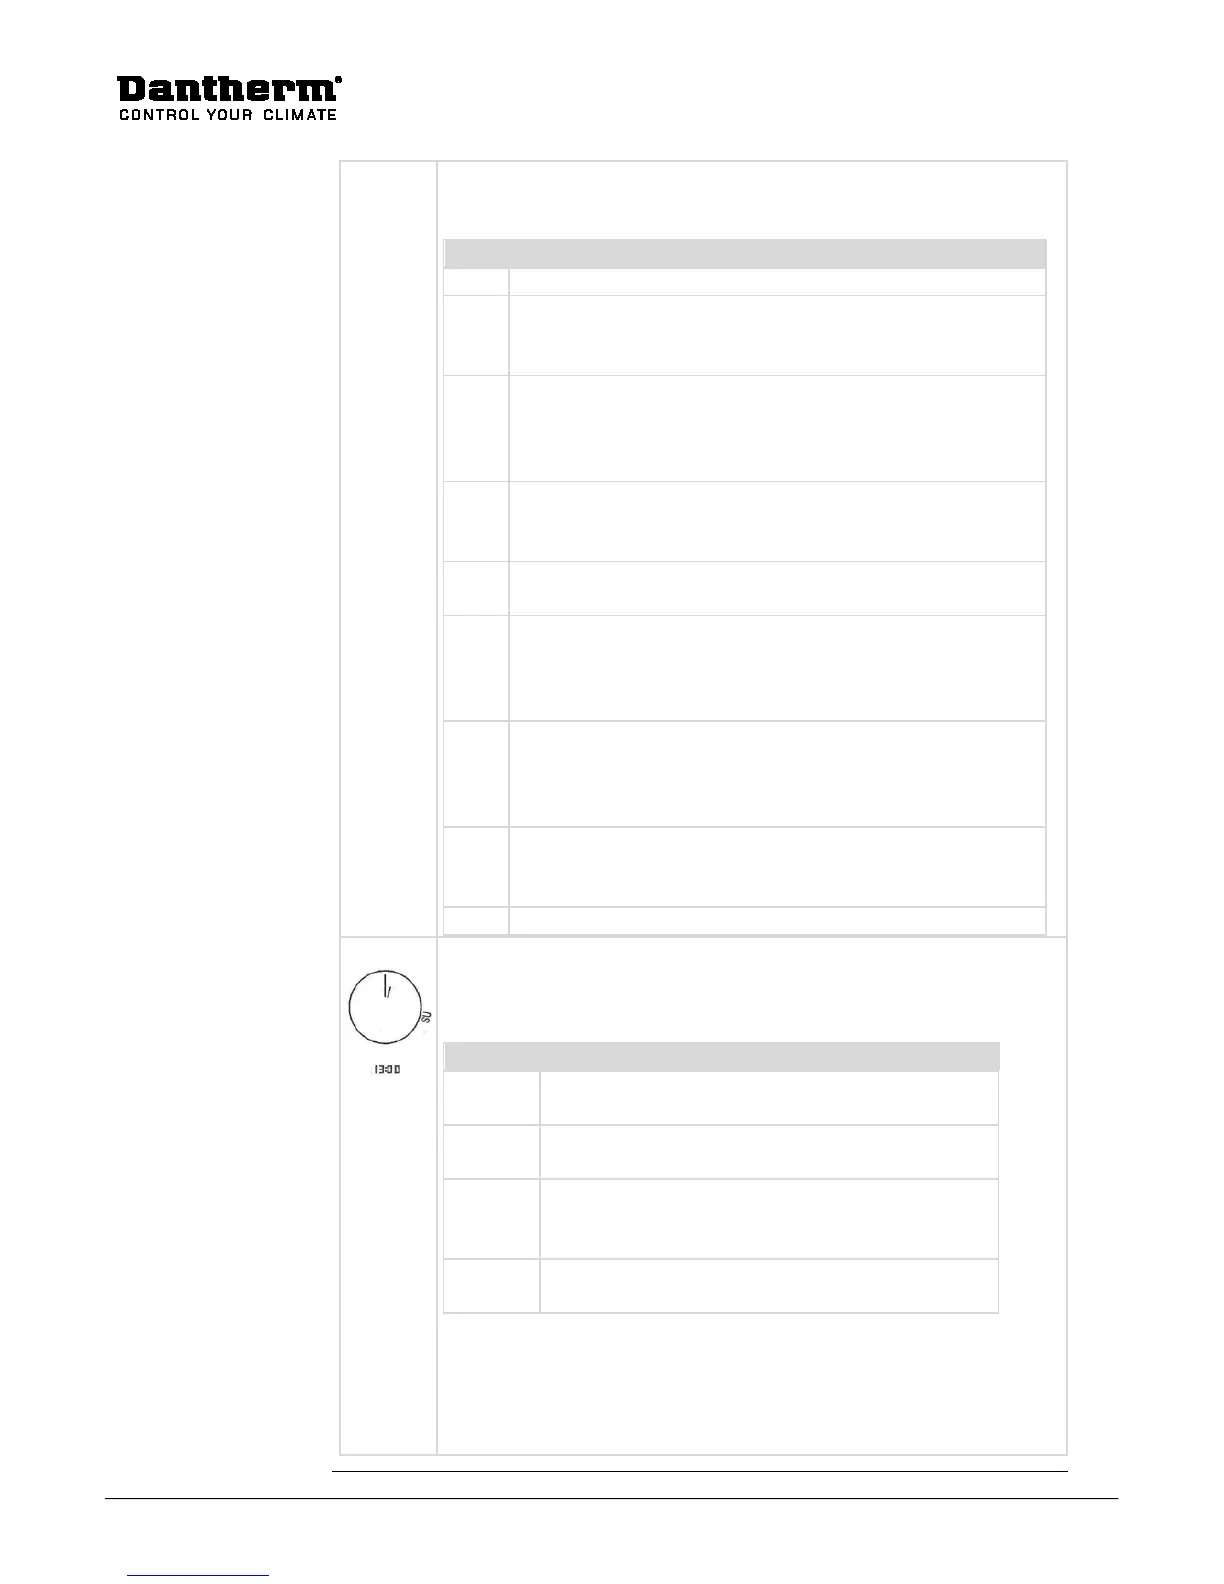
Week programs and night mode are controlled by means of the clock. The
clock is set as follows:
1 Press CENTER to activate the menu line (the active op-
2 Press the RIGHT button until the hands of the clock
3 Press DOWN and then UP/DOWN to set the time. Con-
firm by pressing CENTER, then the week day icon
4 Set the week day by pressing UP/DOWN, and confirm
 Loading...