18
Assembly &
Installation
(continued)
Before connecting or disconnecting hydraulic lines or
fittings, be sure to relieve all pressure by cycling all
hydraulic controls after shutdown. Remember hydraulic
systems are under pressure whenever the engine is
running and may hold pressure after shutdown.
WARNING
Never check pressurized system for leaks with your bare
hand. Wear proper hand and eye protection and use wood
or cardboard when searching for suspected leaks. Oil
escaping from pinhole leaks under pressure can penetrate
skin and create a serious medical emergency. If any fluid
is injected into the skin, gangrene, blood poisoning, even
death may result. Obtain medical attention immediately.
WARNING
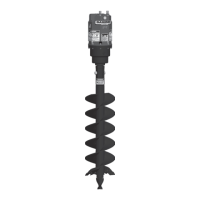
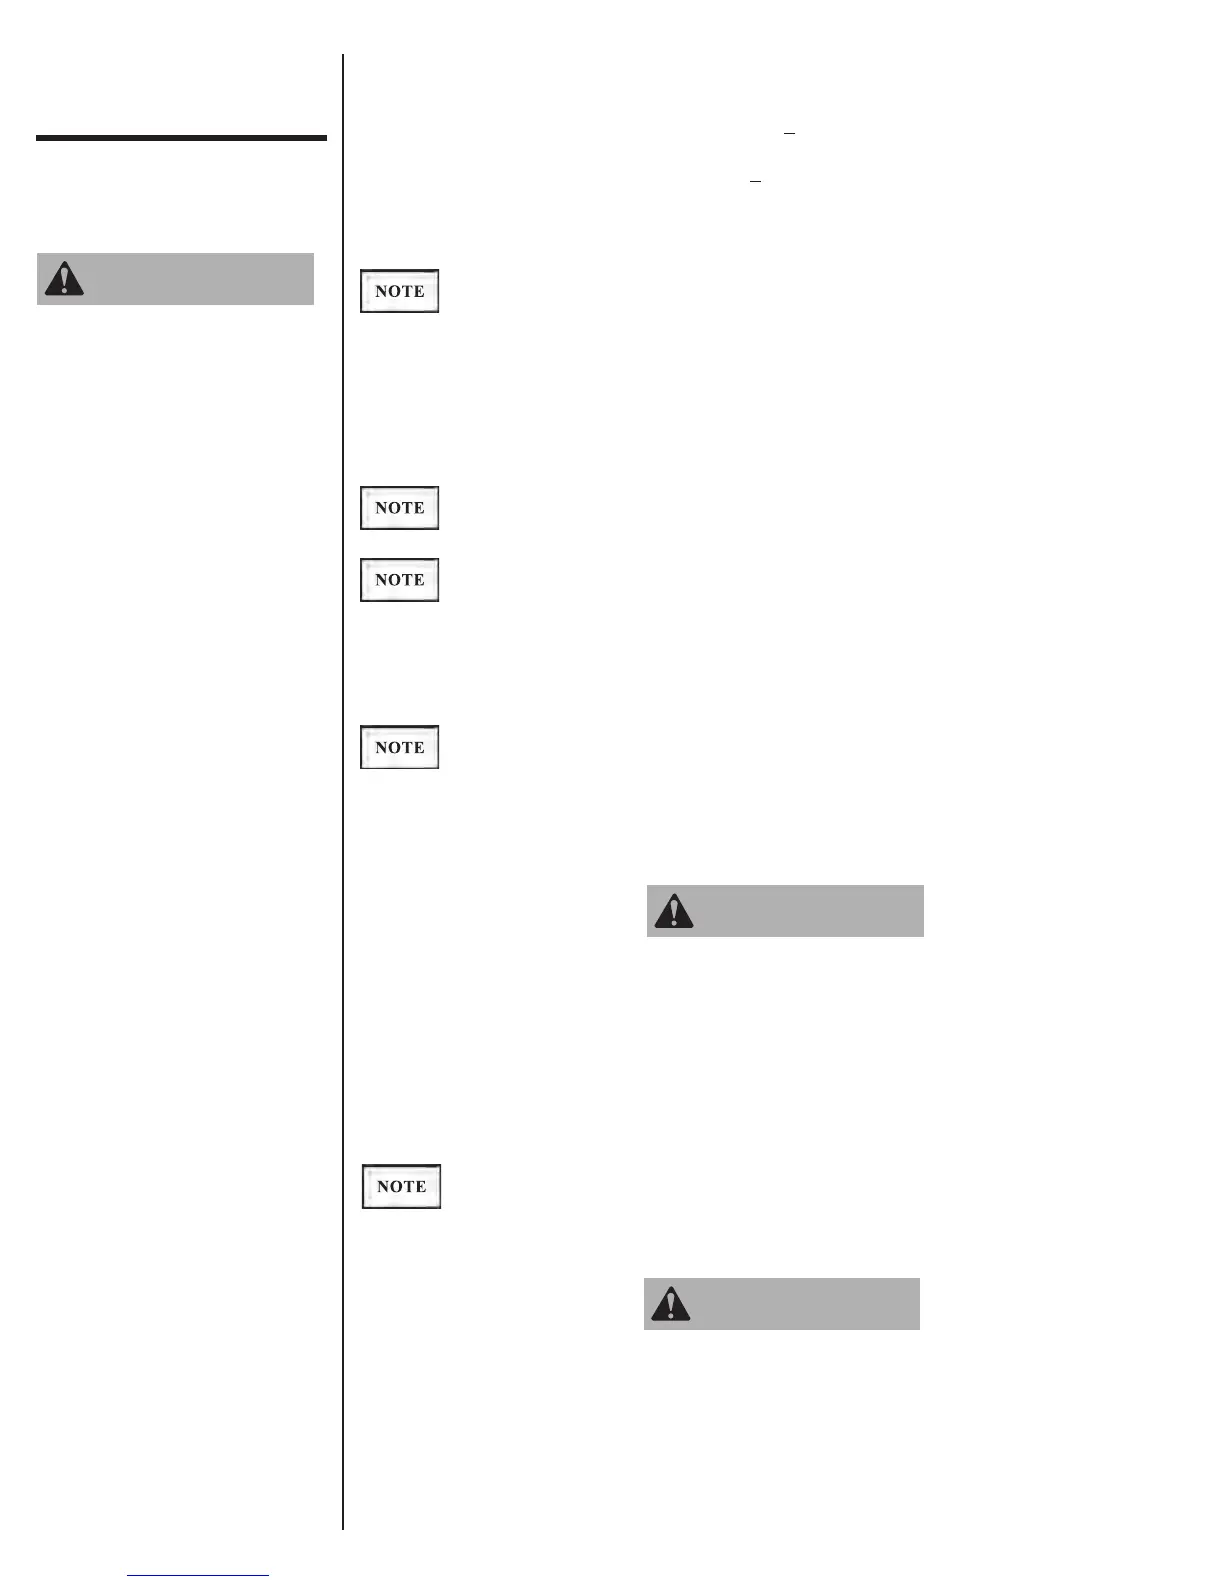
Grease the inside of the auger collar liberally and attach the auger with the
retaining bolt and nut that came attached to the drive unit spindle. This is a
special thread length bolt - use genuine Danuser replacement parts only. For
hex spindle, use Danuser PN 10038 (3/4"
10 x 4", Gr. 8, 3/4" of thread) special
retaining bolt and nut PN 10041. NEVER use a bolt longer than 4". For round
spindle, use Danuser PN 10039 (7/8" 9 x 4-1/4", Gr. 8, 3/4" of thread)
special retaining bolt and nut PN 10042. NEVER use a bolt longer
than 4-1/4".
Each time an auger or extension is attached to the drive unit, the inside of the
collar should be coated liberally with grease.
The hydraulic fittings on the top of the drive unit are #10 JIC male. Install 1/2"
Danuser Hose Kit if your unit delivers less than 20 GPM. Install 3/4" Danuser
Hose Kit if your unit delivers 20 GPM or more. Danuser Hose Kits include
abrasion sleeves. Since the motor is reversible, hose connections to motor fittings
are interchangeable.
The hydraulic hoses should be equipped with a 45-degree fitting on the drive unit
end.
All hoses and fittings used to connect the earth auger should be thoroughly
cleaned before use. Care should be taken to see that no thread sealer or metal
chips are forced to the inside of the joints when connections are being tightened.
If you did not purchase quick couplers with your unit, you must obtain and install
the proper hydraulic quick couplers for your particular vehicle.
Fittings must be compatible with the fittings on your vehicle. Be sure the threads
match on the hydraulic quick couplers you are using.
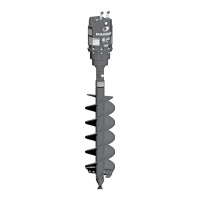
After you have tightened the drive unit connections, run the hoses through the
hose holder on the quick attach plate and plug them into your auxiliary hydraulic
outlets.
STEP 5:
STEP 6:
STEP 7:
STEP 8:
STEP 9:
Test the vehicle to make sure you have enough hose length to perform the full
range of the loader arms’ operating heights.
Hose routing is the responsibility of the operator. Pinched and/or stretched hoses
are not covered under the warranty.
Check the hydraulic system for leaks.
Keep hands, feet, hair,
jewelry, and clothing
away from all moving
and/or rotating parts.
WARNING
STEP 10: