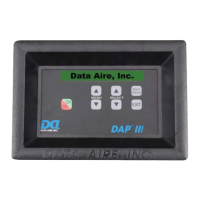
Data Aire, Inc. DAP
TM
III BACnet Integration Instructions
Engineering Document - 600-000-460
Page 4 of 13
2.2 Network Card Installation
IMPORTANT NOTE: The DAP III panel supports one network connection at a
time therefore only one type of the network card can be
installed.
2.2.1 For BACnet MS/TP interface, plug an RS-485 Multidrop communication network
card to the Communication Header J1 of the DAP III Display board. Make sure
the End jumper is on “T” (Terminate) position if the installed unit is the last unit in
the communication loop. In some case, the End jumper may not be required,
check with the BMS manufacturer for the requirement of this End jumper. See
Figure 3 below for the DAP III Display board with an RS-485 Multidrop card
installed.
After installing the network card, go to Menu 6-1 – Unit & Network ID in Group
Menu 6 – Network to set the unit network ID number. Go to Menu 6-2 –Network
Protocol to configure or verify the network protocol. Menu 6-2 to 6-7 are locked
menus, refer to the DAP III Operation Manual for the procedure of how to unlock
these menus before enter values. It is recommended to reset the DAP III panel
after changing the network protocol or the unit ID number.
+
_
Figure 3: DAP III Display Board With an RS-485 Multidrop Network Card
Communication Header J1 Tx and Rx LED
Shield
RS-485 Communication Wirin
RS-485 Multidro
Communication
 Loading...

