41
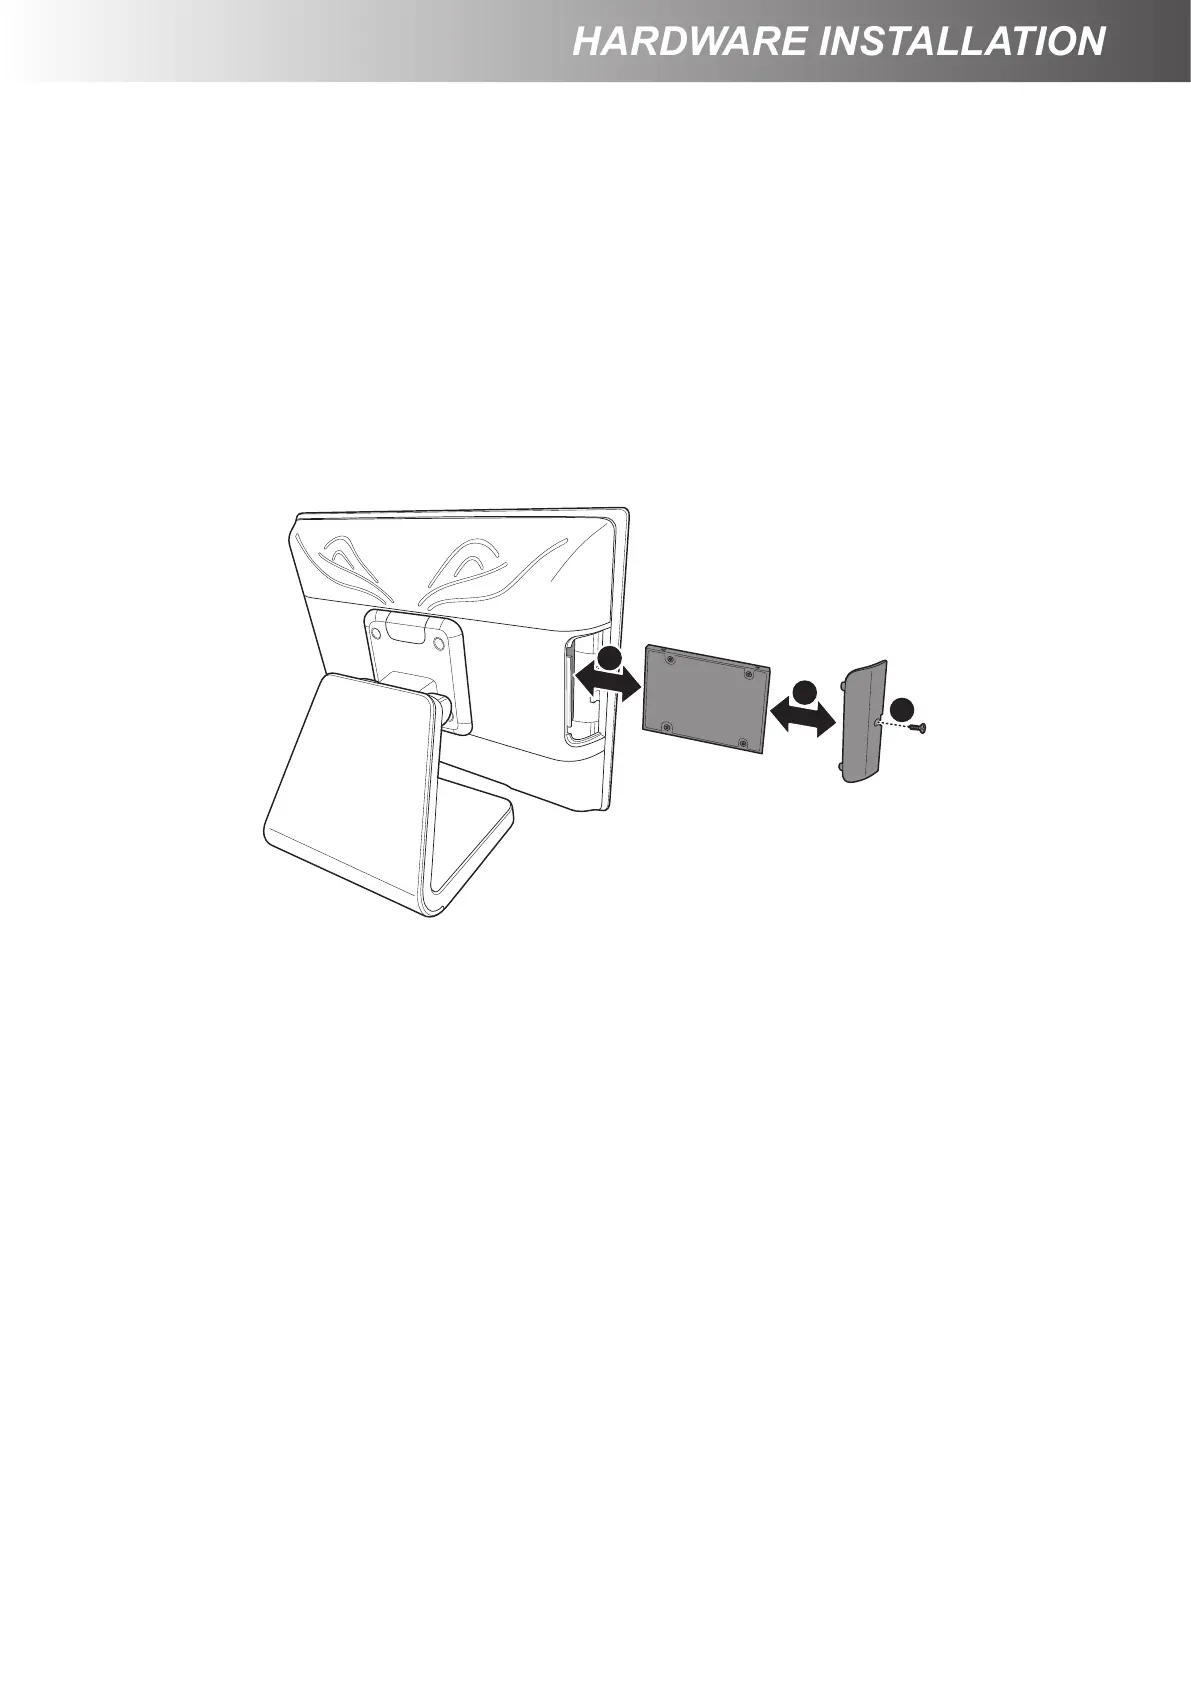
Installing / Replacing the HDD
WARNING:
Be sure to turn off the power of the Touch Terminal before making any
connection or disconnection.
1. Remove the screw from the HDD/identication reader compartment cover. (a)
2. Detach the HDD/identication reader compartment cover. (b)
3. Install the HDD into its compartment in the Touch Terminal, making sure the connectors are
aligned correctly. (c)
4. Replace the HDD/identication reader compartment cover (b) and secure with the screw. (a)
b
a
c
Installing the Customer Display (Optional)
WARNING:
Be sure to turn off the power of the Touch Terminal before making any
connection or disconnection.
1. Place the Touch Terminal on a soft and at surface, with the LCD panel facing down.
2. Remove the connectors cover. (a)
3. Rotate the panel stand to access the screws securing the panel stand to the Touch Terminal. (b)
4. Detach the cable compartment cover. (c)
5. Remove the four screws securing the panel stand to the Touch Terminal. (d)
6. Detach the panel stand. (e)
7. Detach the VESA compartment cover. (f)
8. Detach the customer display compartment cover. (g)
9. Route the customer display cable through the cable compartment on the panel stand. (h)
10. Align and install the panel stand to the Touch Terminal. (e)
11. Secure the panel stand to the Touch Terminal with the four screws. (d)