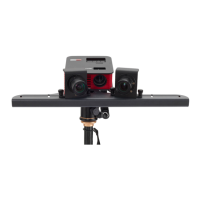
projector should not look at a too flat angle at the calibration panels. The camera image should show the
projected pattern as large as possible. In addition, the 6-rings and several other points of the calibration
pattern must be visible. The entire camera image should be filled with about 15 to 70 calibration markers,
the camera should not be able to look aside the glass calibration panels. You can achieve this by moving
the scanner and tilting or adjusting the tripod, but you should not change anything above the red base rail.
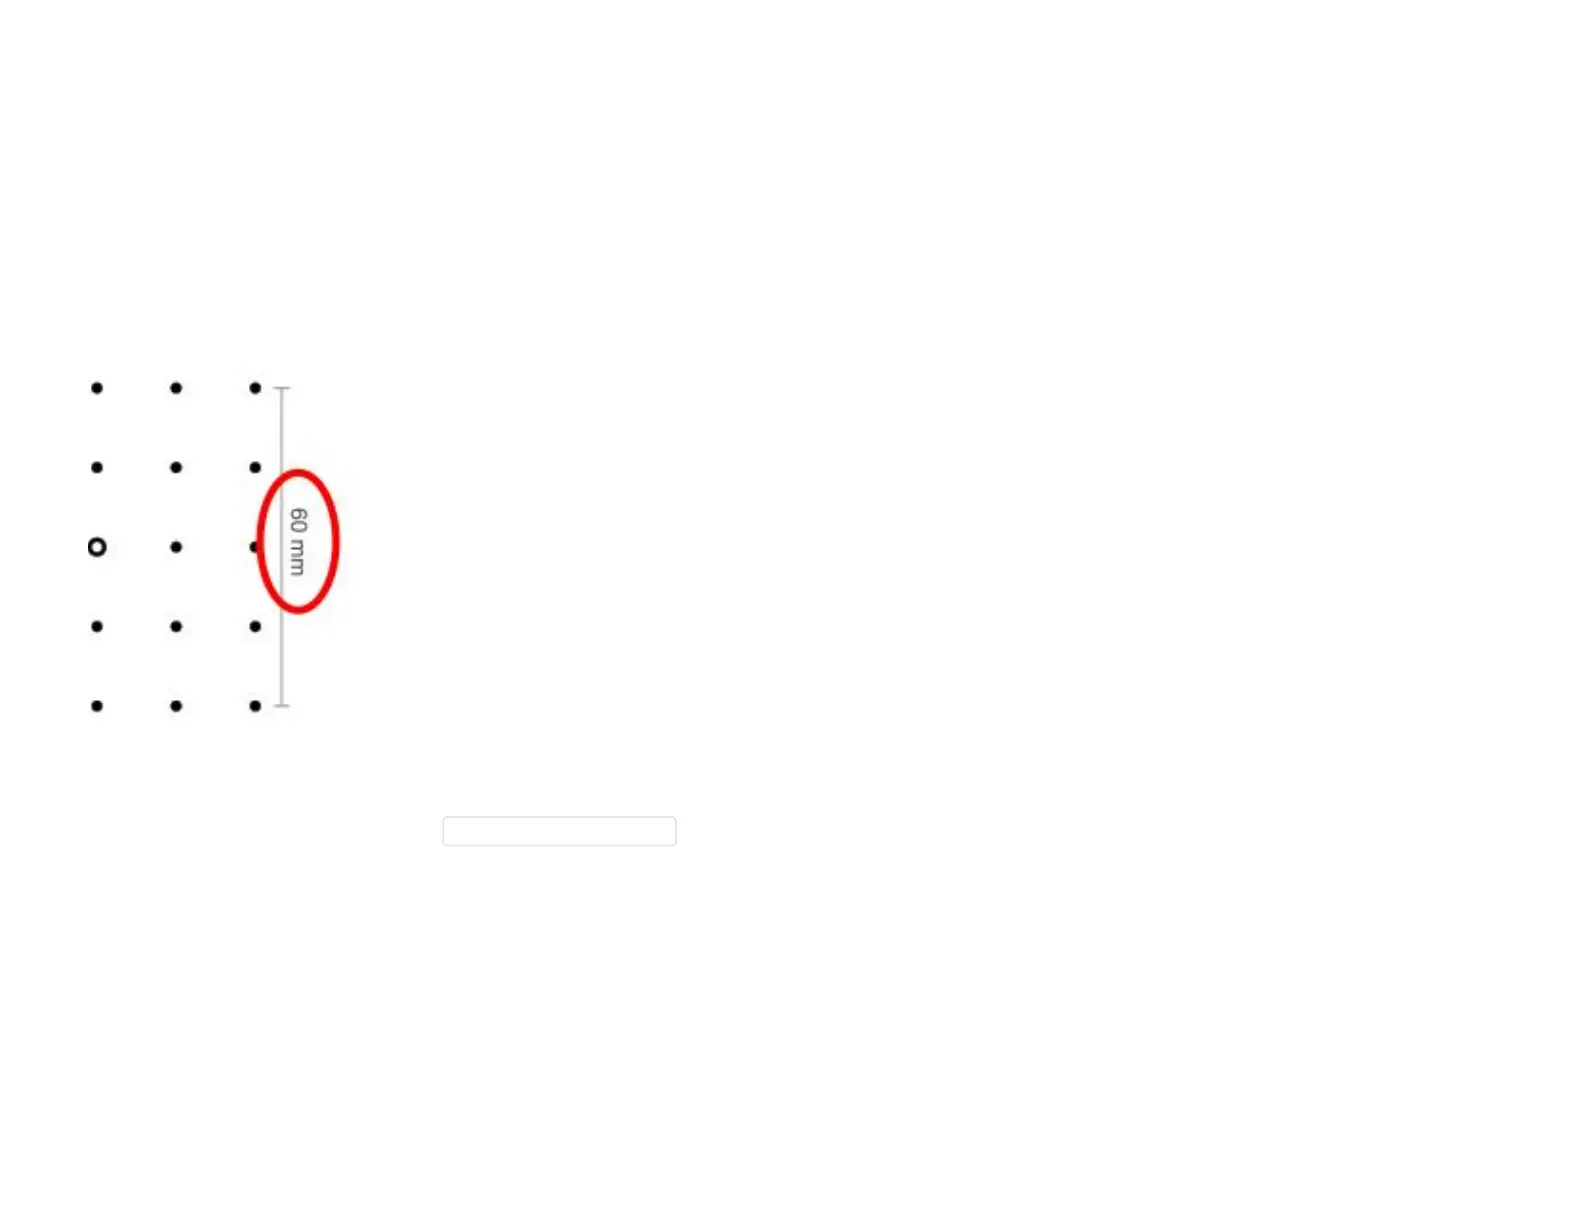
4. Enter correct scale
Typical setup for calibration
Enter the correct scale length in the CalibrationScale[mm] field. You can find it on the edge of the
selected calibration pattern. (30, 60, 120, or 240)
5. Check camera image