The aperture dial (A) on the camera has a scale (f-stop from 16 to 1.4). Even for very bright conditions
(small objects), please avoid setting f-stop higher than 16, otherwise you will lose sharpness. If
necessary, better reduce the value ProjectorBrightness in the software.
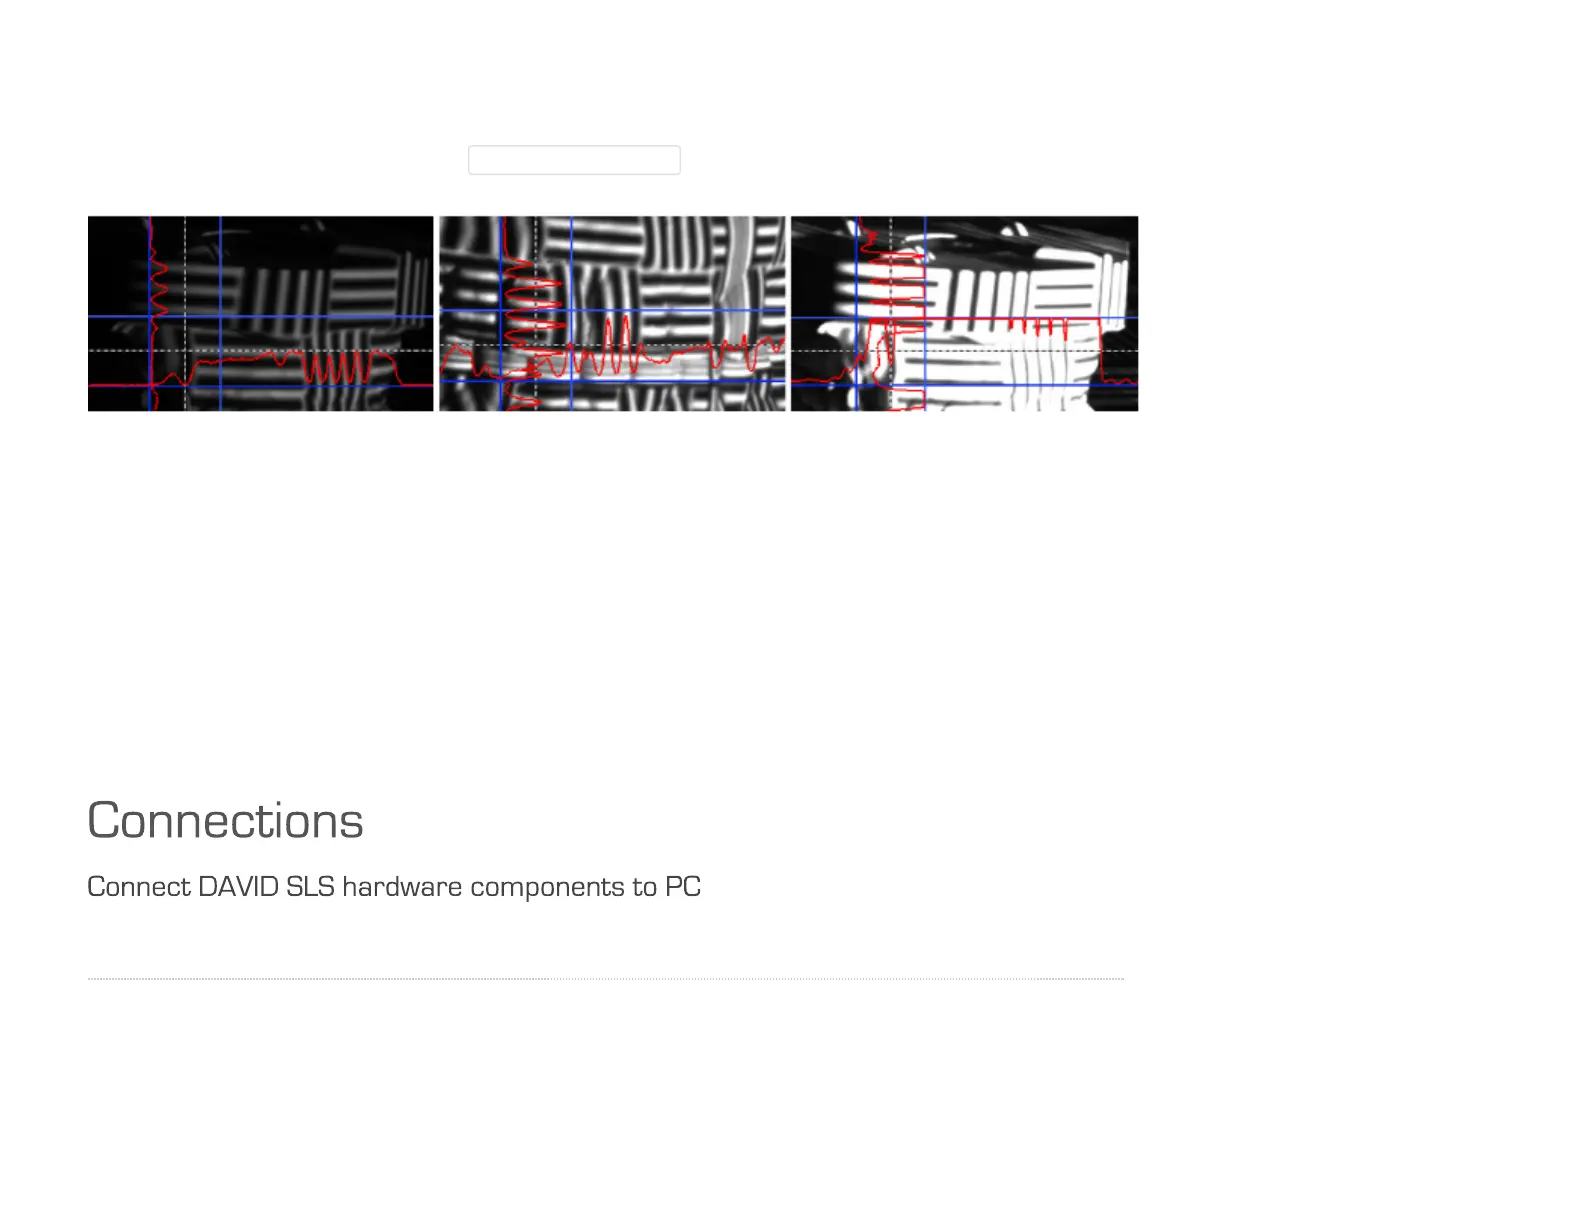
Left: Too dark
→
open aperture further; Middle: Well-controlled sine wave almost reaching the blue borders;
Right: Too bright, sine is cut-off (overdriven)
→
close the aperture somewhat
10. Fasten screws
Fasten all screws (projector, camera(s) and camera slide(s)), so that nothing can be displaced from now on.
The camera lens dials can be fixed with their locking screws (C). The scanner is now optimized for your
object (size of the scanning area, working distance, brightness of the object) and must be calibrated like
this.
↑ | Setup | Connections
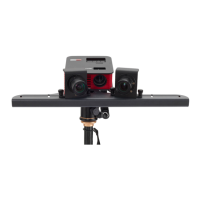
Connect the camera, the projector and the DAVID USB flash drive according to the wiring diagram to your
computer. To connect the projector to your computer, you can use HDMI (recommended) or VGA.