7
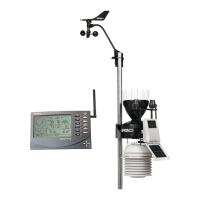
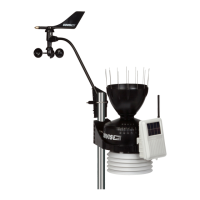
Cabled ISS Assembly
The Cabled ISS system contains a cable for connecting the ISS to a Vantage Pro2
cabled console. Once the anemometer has been installed and the sensors have been
checked, a cabled connection between the ISS and the console can be established.
Follow the steps below for powering the ISS and connecting to the console.
Applying Power
The 100' (30 m) console cable provides power to the ISS and is used to send data from
the ISS to the console. The console cable can be extended up to 1000' (305 m) in length
with extension cables purchased from Davis Instruments.
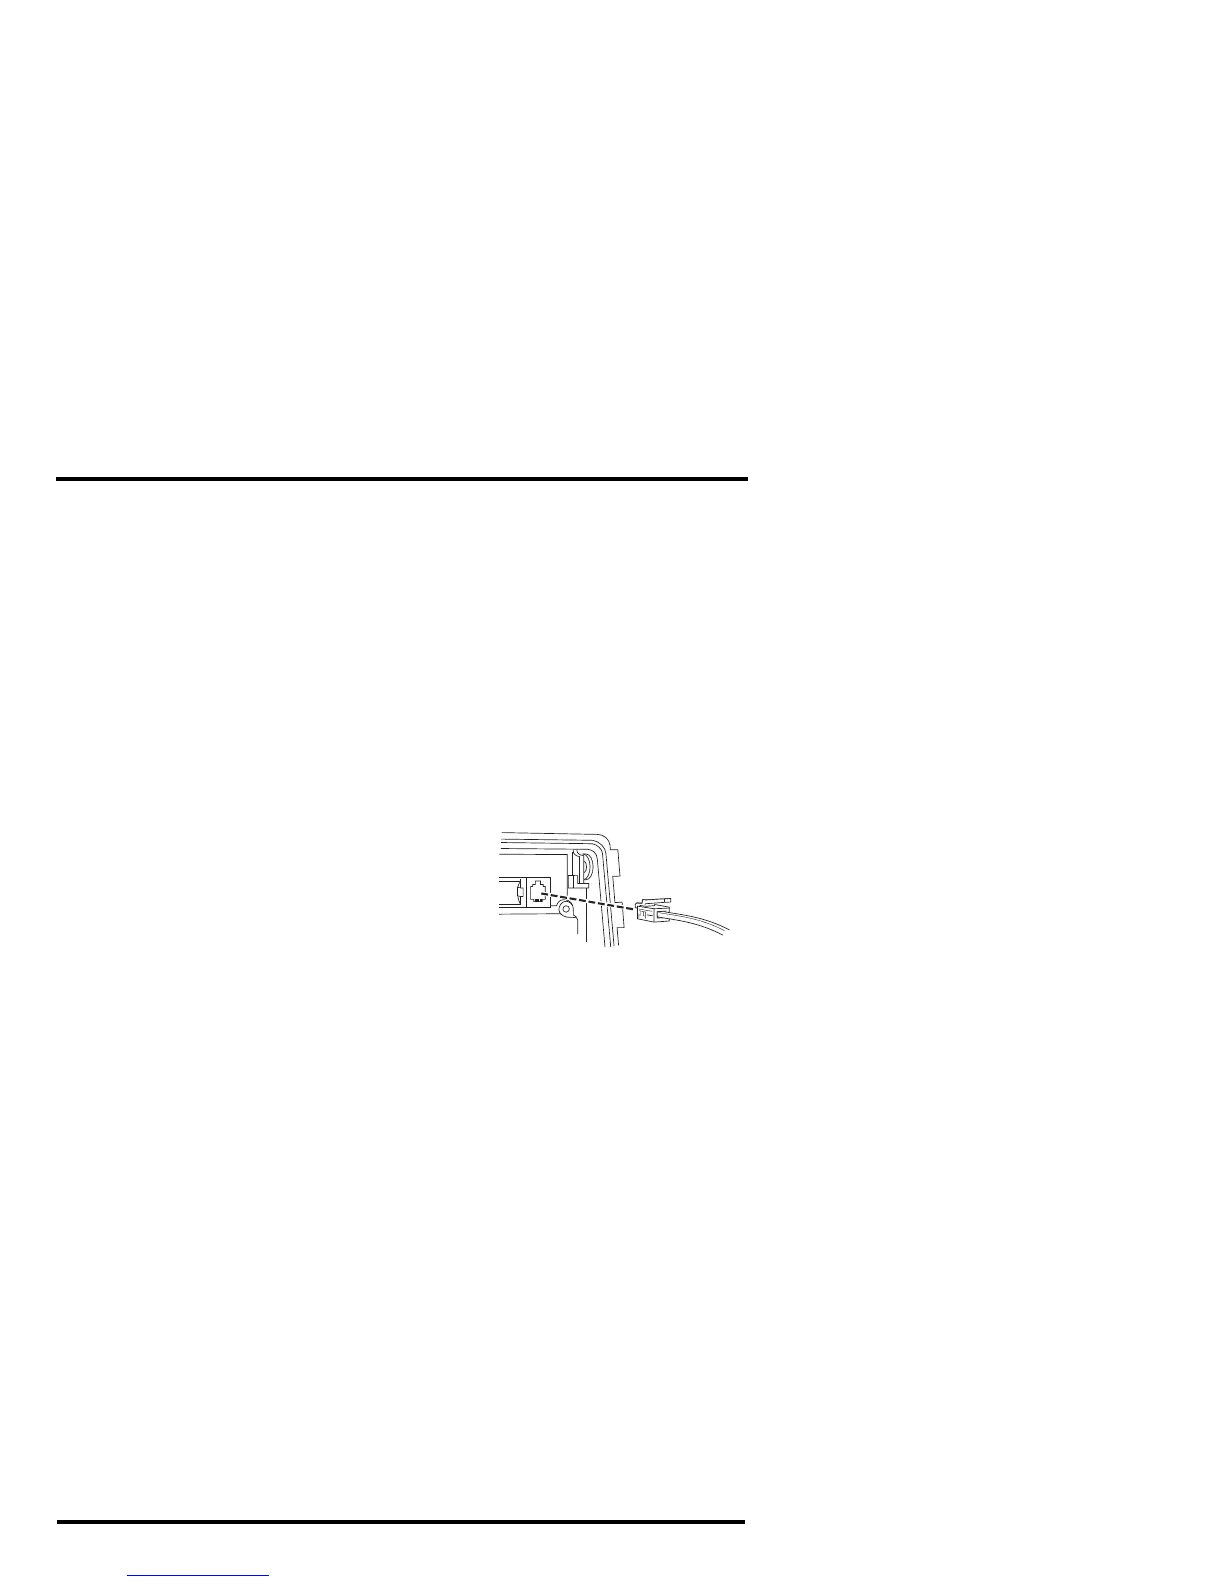
1. Locate the 100' console cable included with your system.
2. Pull the foam insert out of cable access port, if it has been reinserted, and set the
foam aside.
3. Insert the console connector cable end into the cable access port from beneath the
SIM box. Slide the cable through the cable access port with the connector tab
down.
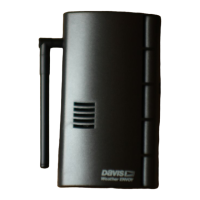
4. On the SIM, firmly insert one end of the 4-con-
ductor cable into the modular connector located
apart from the sensor connectors next to the bat-
tery insert. This connector is labeled COMM.
If you haven’t powered up the console yet, refer
to the installation instructions in the Vantage
Pro2 Console Manual and apply power to the
console.
5. On the back of your console, insert the other end of the console cable into the mod-
ular receptacle labeled “ISS.”
6. Firmly insert the foam in between the cables and at the top of the cable access port,
taking care to ensure that the foam seals the access port entirely, leaving no holes
or gaps for weather or insects. See the graphic on page 6 for more information on
inserting the foam insert.
Plugging the console cable into the console powers the ISS and establishes
communication between the ISS and the console. The ISS should immediately
begin collecting weather data and start sending the data to the console.
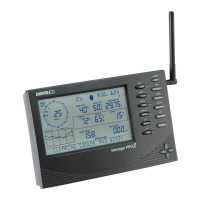
Verifying Communication with the Console
Use these steps to verify reception of ISS data at the Cabled Vantage Pro2 console and
to test the operation of the ISS sensors.
1. If the console is in Setup Mode, press and hold DONE until the Current Weather
screen displays.
Sensor readings from the ISS should display on the screen.
2. Near the center of the screen, look for the outside temperature.
3. Spin the wind cups to check wind speed, pressing WIND if necessary to alternate
between speed and direction in the compass rose.
4. Turn the wind vane and allow five seconds for the wind direction display to stabi-
lize before moving it again.
Approximately one minute after power-up the outside relative humidity reading
should be displayed on the console.
Sensor
Interface
Module
(SIM)
From Cabled
Vantage Pro 2
Console