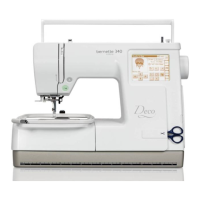
Key Operations
26
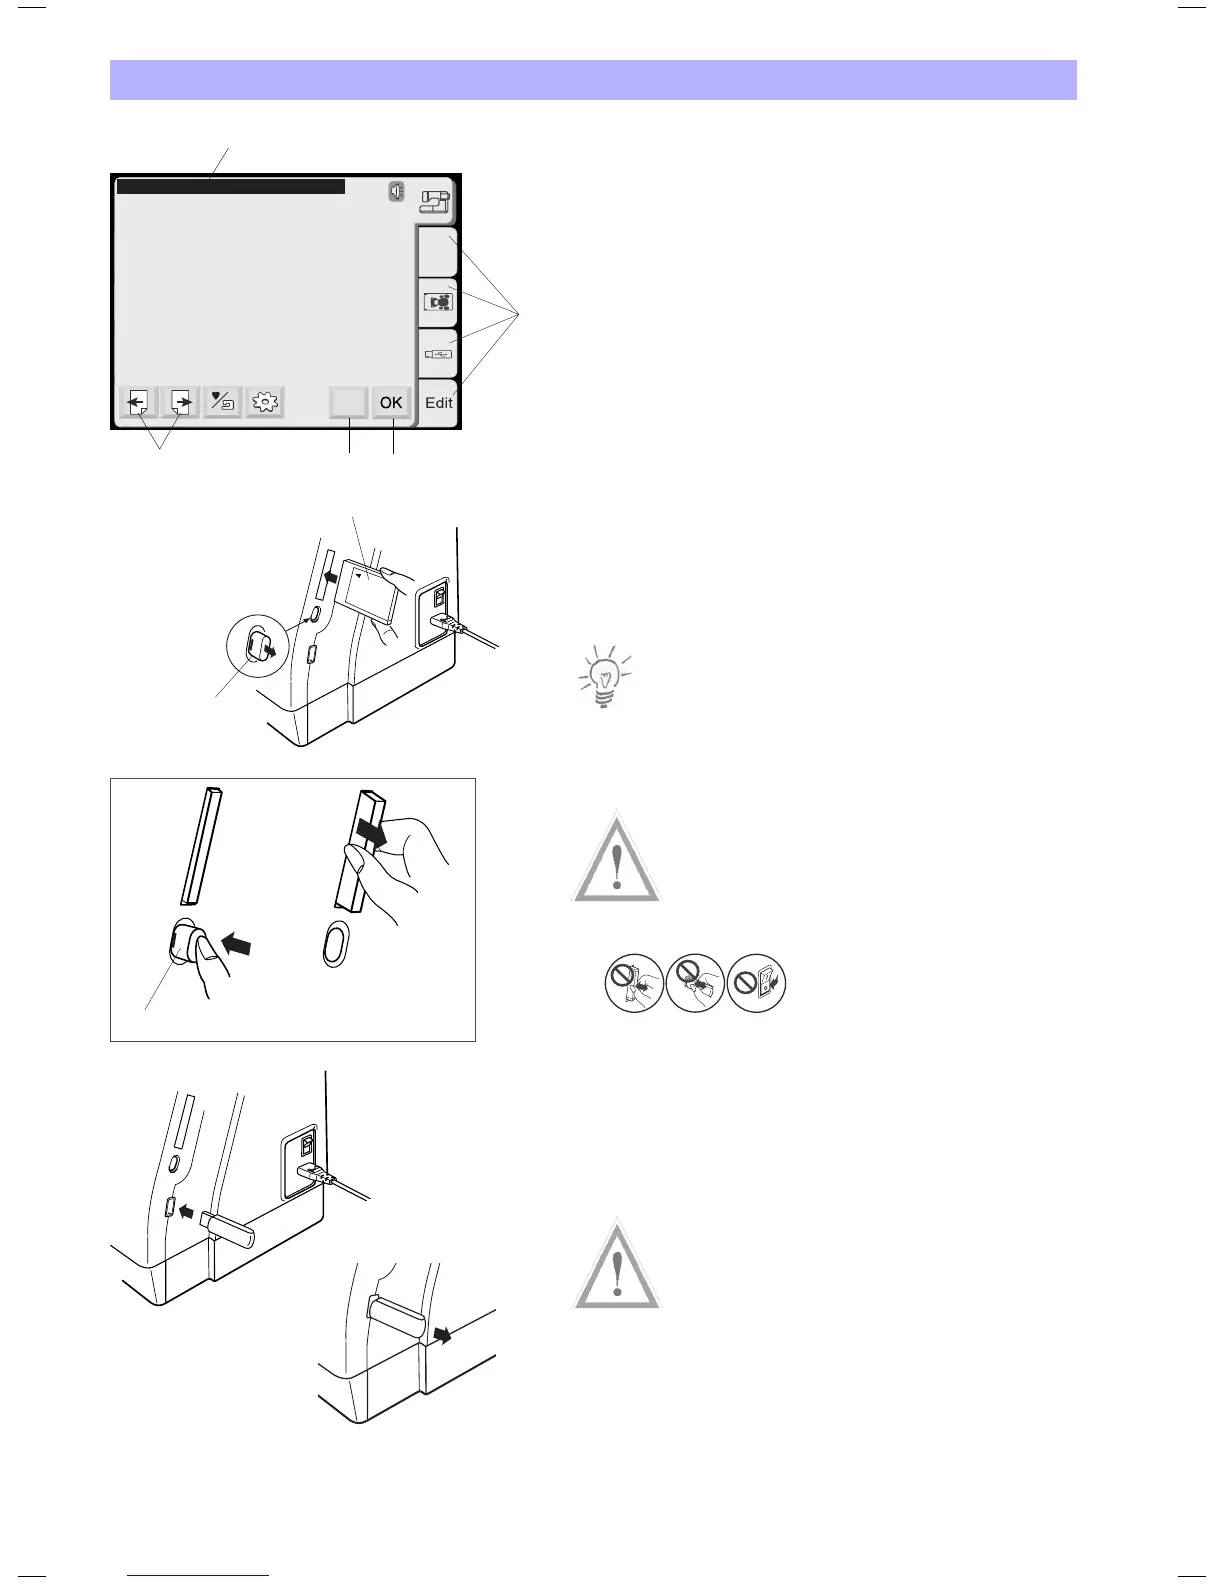
1 Status Line:
Displays the current status of the embroidery computer
2 Selection Tabs:
Touch to choose the different categories on a screen.
3 OK-key:
Confirm entries. Modification in this screen will be stored.
4 X-key:
close the current screen, without saving any modifications.
5 Page-keys:
Scroll through pages of larger menus.
Design Card (Optional accessory)
Inserting and Removing of a Design Card
Insert the card into the slot with the front side facing to you. Push
the card until it clicks and the eject button will pop out.
6. Design card (optional accessory)
7. Eject button
Note:
When the power is turned on with a Design Card in the slot, it will
take sometime to get the embroidery computer booted.
Ejecting the card
Push the eject button to eject the card.
Caution!
• Donotejectthecardwhilestitching.
• Neverturnthepowerofforejectthecardwhilethewarningsign
or hourglass is displayed. Otherwise, data stored in the memory
may be lost or damaged.
= warning sign
USB Stick (Optional accessory)
The USB Sticks can be used to save stitch data and transfer
embroidery designs between the Deco 340 and your PC. USB Sticks
are available at camera shops, PC supply stores etc. in various sizes
and shape.
Insert the USB Stick into the USB Stick socket on the Deco 340.
To remove pull firmly on the USB Stick
Caution!
• DonotdisconnecttheUSBStickwhilestitching.
• NeverturnthepoweroffordisconnecttheUSBStickwhilethe
access lamp (on the stick) is blinking. Otherwise, data stored in
the USB memory may be lost or damaged.
7
6
7
Screen Title
A.B.C
X
2
1
3
4
5