PAGE 5 OF 8
Installation is the buyer’s responsibility. The manufacturer
accepts no liability for this service. Any action that the
manufacturer has to take as a result of an erroneous
installation will not be covered by the warranty.
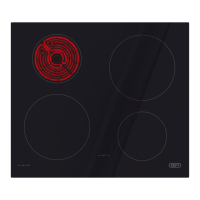
x The hob is supplied with securing clips.
x These fit into dedicated slots around the hob base. (see
picture A).
x Insert the clips. (as shown in picture B).
x Lift the clips up until they click into place. (as shown in
picture C).
A B
Important notice
x Hobs with control panels require additional
installation instructions. See page 4.
x The Manufacturer strives for continuous
improvements. For this reason, the text and
illustrations in this book are subject to change
without notice.
SIDE VIEW
WORKTOP
SELF ADHESIVE SEAL
HOB
CLIP
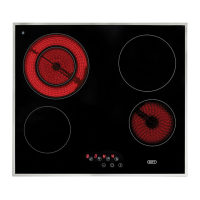
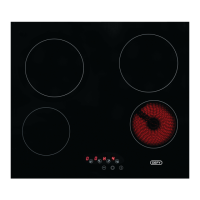
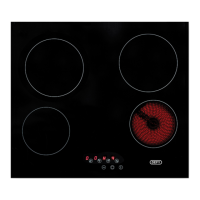
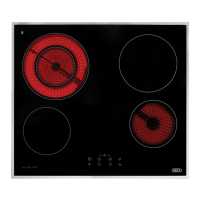
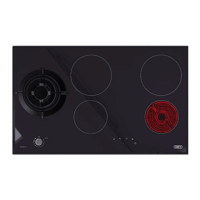
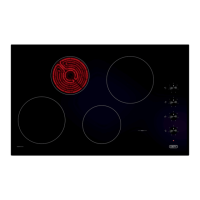
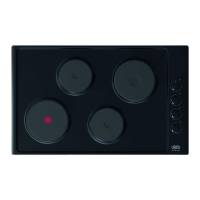
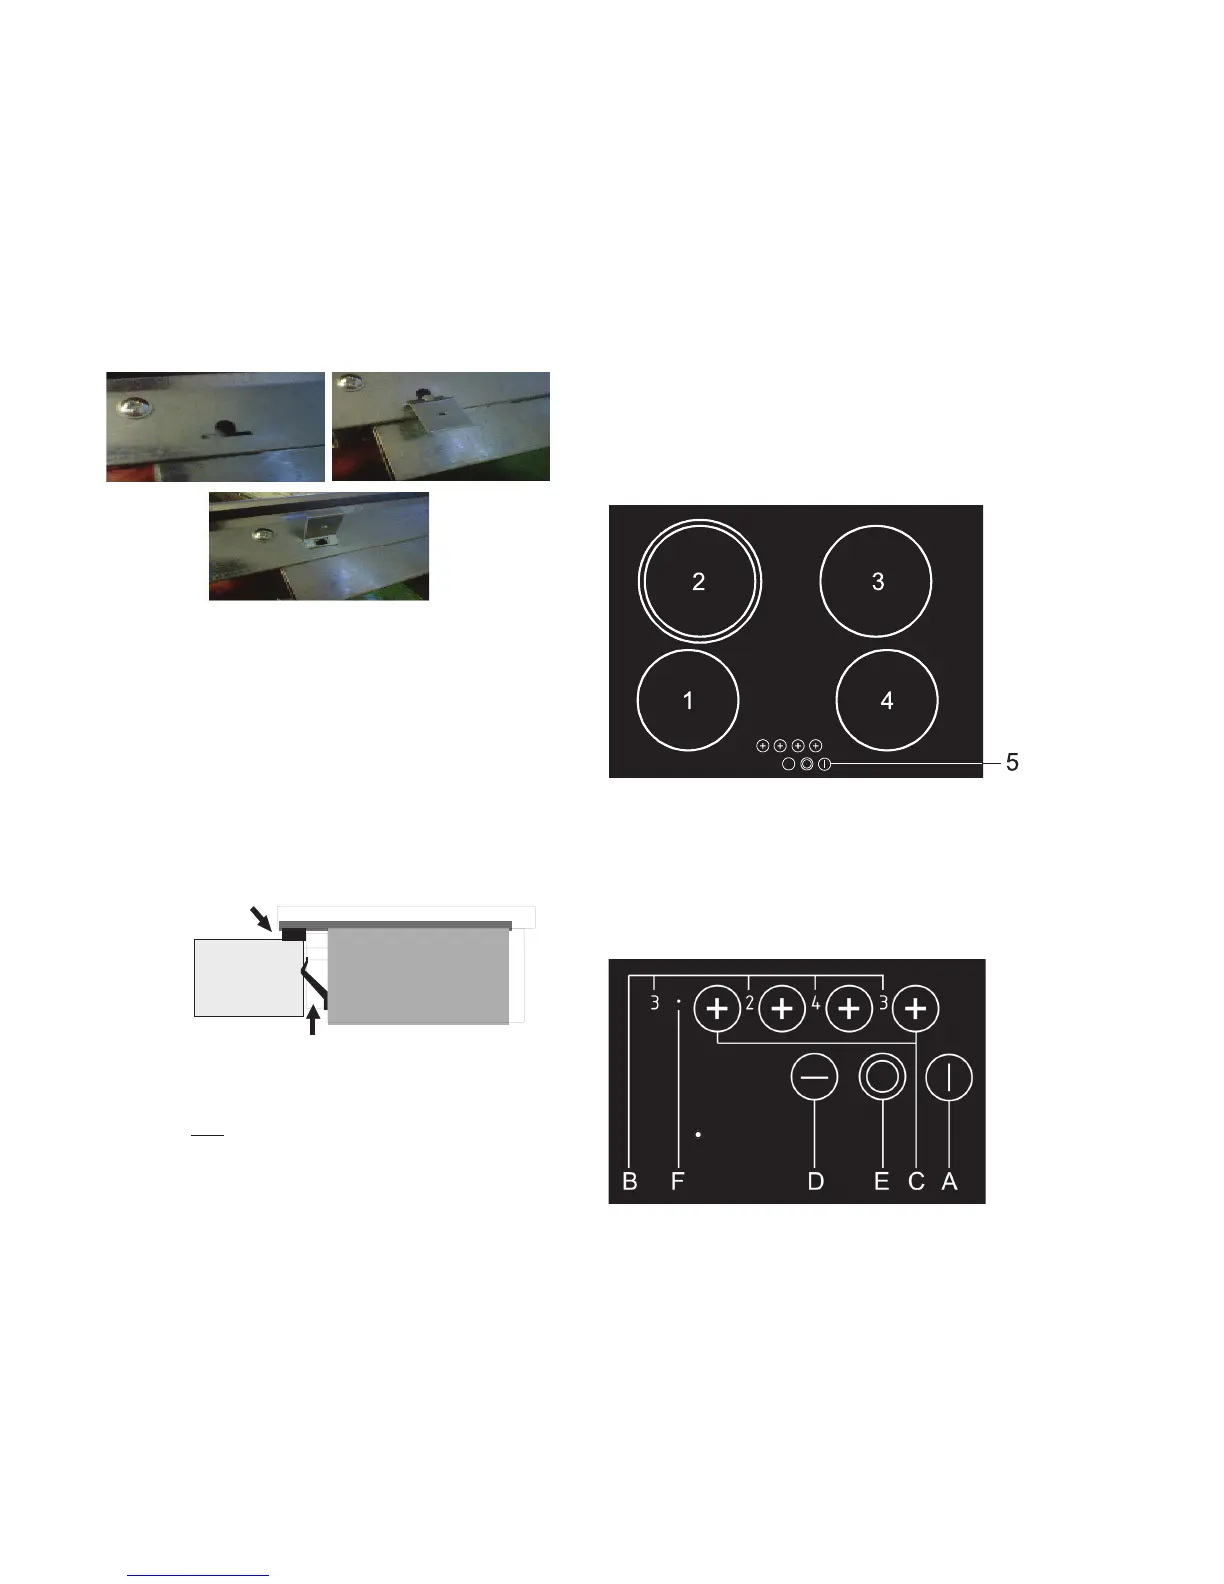
Ceramic glass cooktop
A. On/Off sensor
B. Cooking zone power indicators (Hot surface indicators)
C. Cooking zone selection and (+) Sensor
D. (-) Sensor
E. Extension zone On/Off sensor
F. Extension zone indicator light
1. Cooking zone Hi Light front left
2. Cooking zone Hi Light rear left
3. Cooking zone Hi Light rear right
4. Cooking zone Hi Light front right
5. Hob controls
Hob control elements
Connection to the power supply must be carried out
by a licensed electrician, who will ensure that the hob is
correctly connected and safely earthed. The rated current is
printed on the serial number label attached to the base
cover. The hob must be connected to the mains through a
double pole isolating switch which has a minimum
clearance between the contacts of 3 mm. in both poles. A
means for disconnection must be provided in the fixed
wiring.
Note:
The appliance is not intended to be operated by means of
an external timer or separate remote-control system.
Please see the section pertaining to electrical connection
as described in the hob manual.
Controls
Installation
x To avoid liquid spills penetrating between the hob and
the worktop, apply the supplied self- adhesive seal to
the perimeter of the aperture. Do not use a silicone
sealer.
x Invert the hob on the worktop adjacent to the aperture
before making the electrical connection. This will
ensure sufficient cable length for subsequent servicing.
x Position the hob into the aperture so that the securing
clips are compressed between the hob base and the
worktop. (see Sketch below).
C
Electrical installation
This appliance must be earthed and the
manufacturer and the seller do not accept
responsibility for any damage due to incorrect
installation or electrical connection.
Earth leakage
This hob should not be connected through an
earth leakage system. Refer to S.A.N.S. 10142