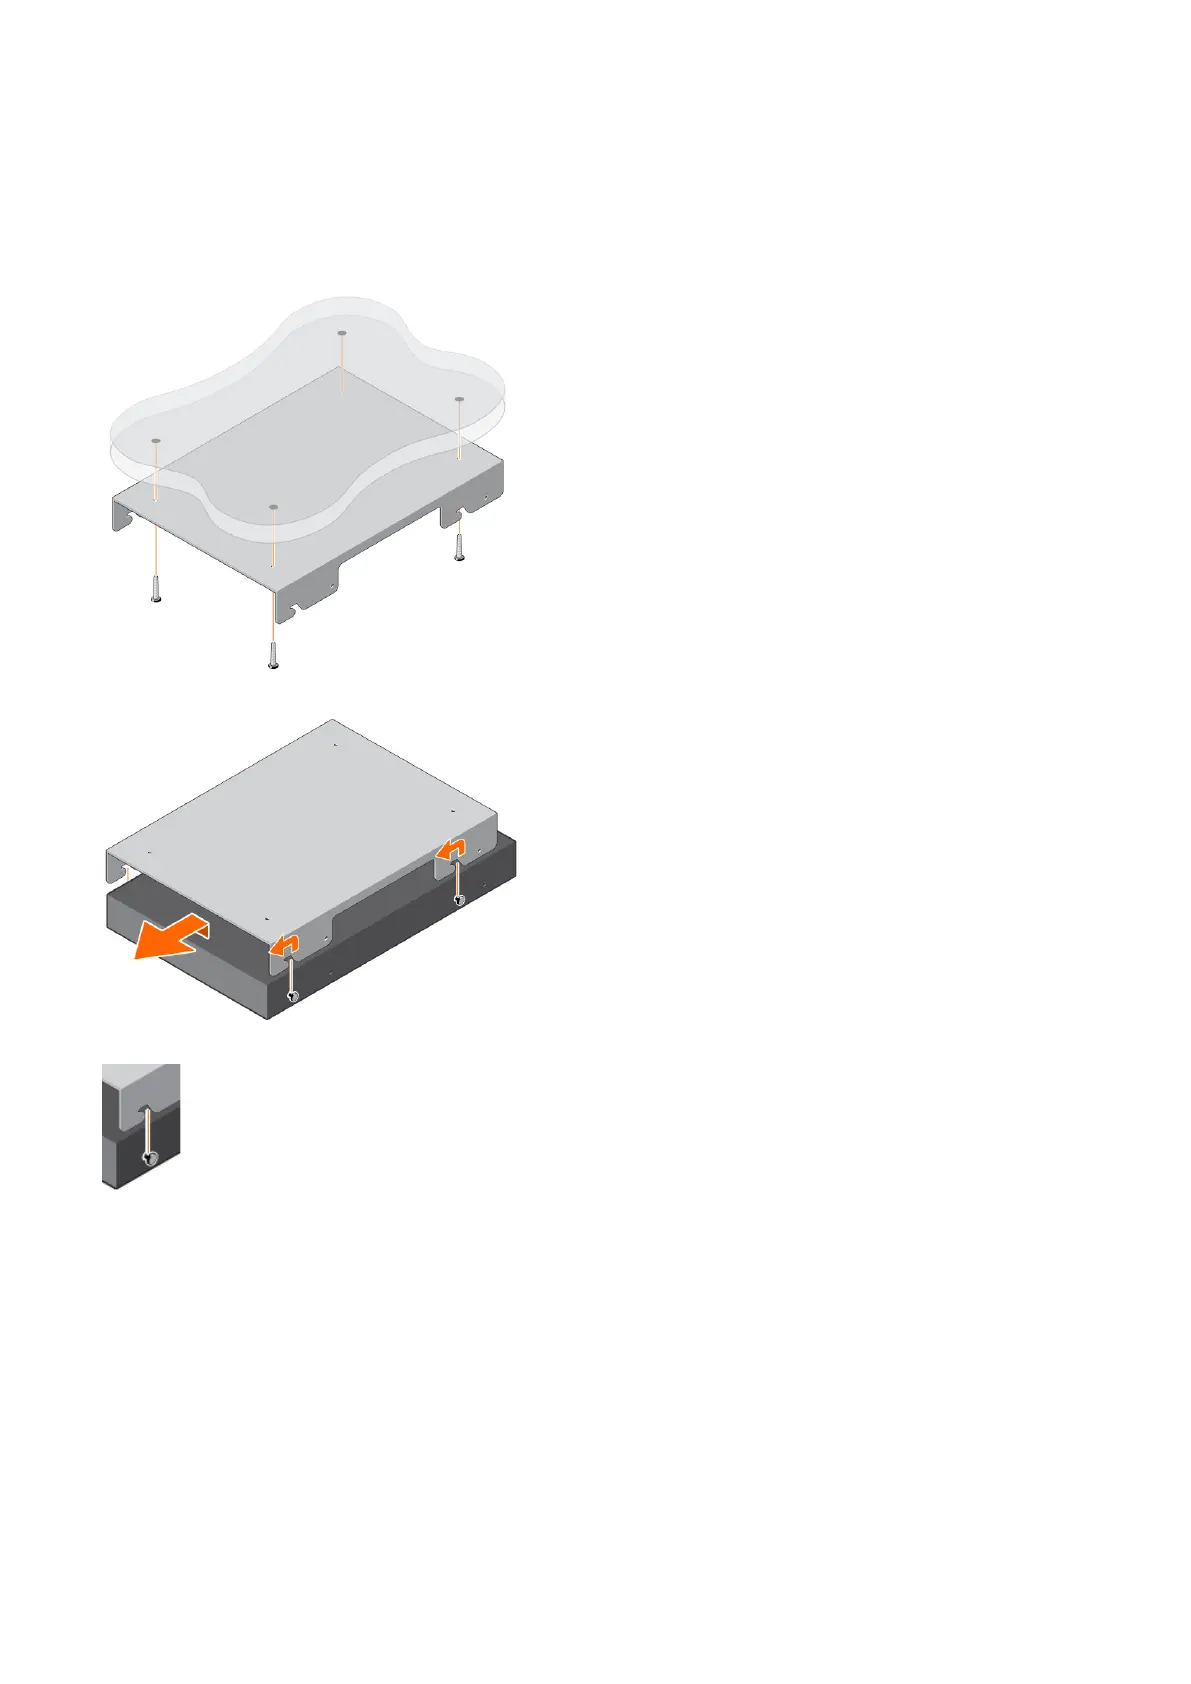
1. Locate the ceiling mount tray, ceiling anchors, and 32 mm (1.26 in) M4 screws that are included with your switch.
2. Using the ceiling mount tray as a template, hold the tray on the ceiling where you want to mount the switch. Mark the four
mounting hole locations with the pencil.
3. Drill four holes into the ceiling at the pencil marks.
4. Install the four ceiling-anchors into the ceiling.
5. Attach the ceiling mount tray to the ceiling by drilling the 32 mm (1.26 in) M4 screws into the ceiling anchors.
6. Slide the switch into the ceiling mount tray.
7. Line up the two mushroom-heads on the switch to the ceiling mount tray hook cutouts until the switch locks into place.
8. Fix the switch to the ceiling mount tray using two screws on each side.
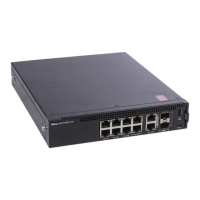
N3200-ON Series switch installation
27
 Loading...