17. Turn the system-board assembly over.
18.Remove the fan and heat-sink assembly.
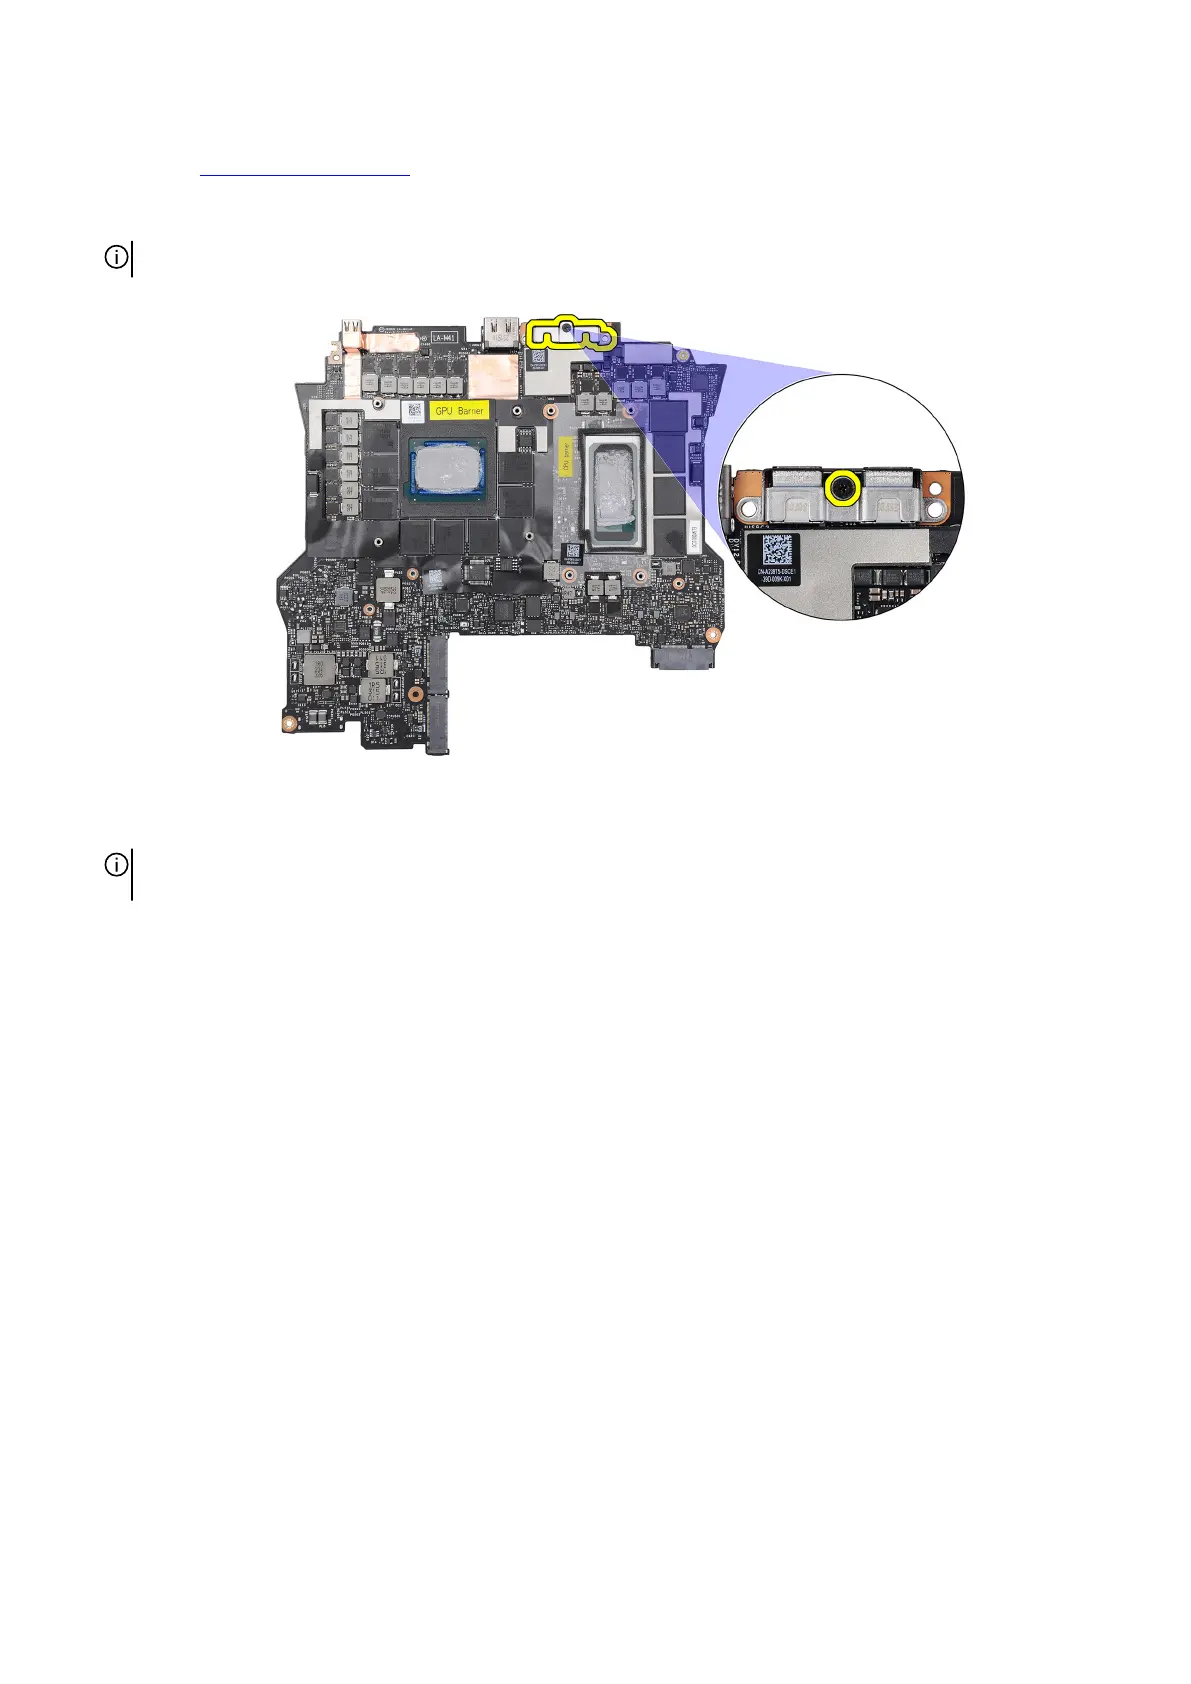
19.Remove the screw (M2x3) that secures the USB Type-C bracket to the system board.
20.Lift the USB Type-C bracket off the system board.
NOTE: The USB Type-C bracket on the bottom of the system board must be transferred to the replacement system board.
21. Turn the system-board assembly over.
22.After performing all the above steps, you are left with the system board.
NOTE: Before returning the faulty system board. Adhere the processor (CPU) sticker over the processor (CPU) chip and
GPU sticker over the GPU and ensure that it covers the entire surface of it.
89