2. Remove the two screws that secure the control panel to the system.
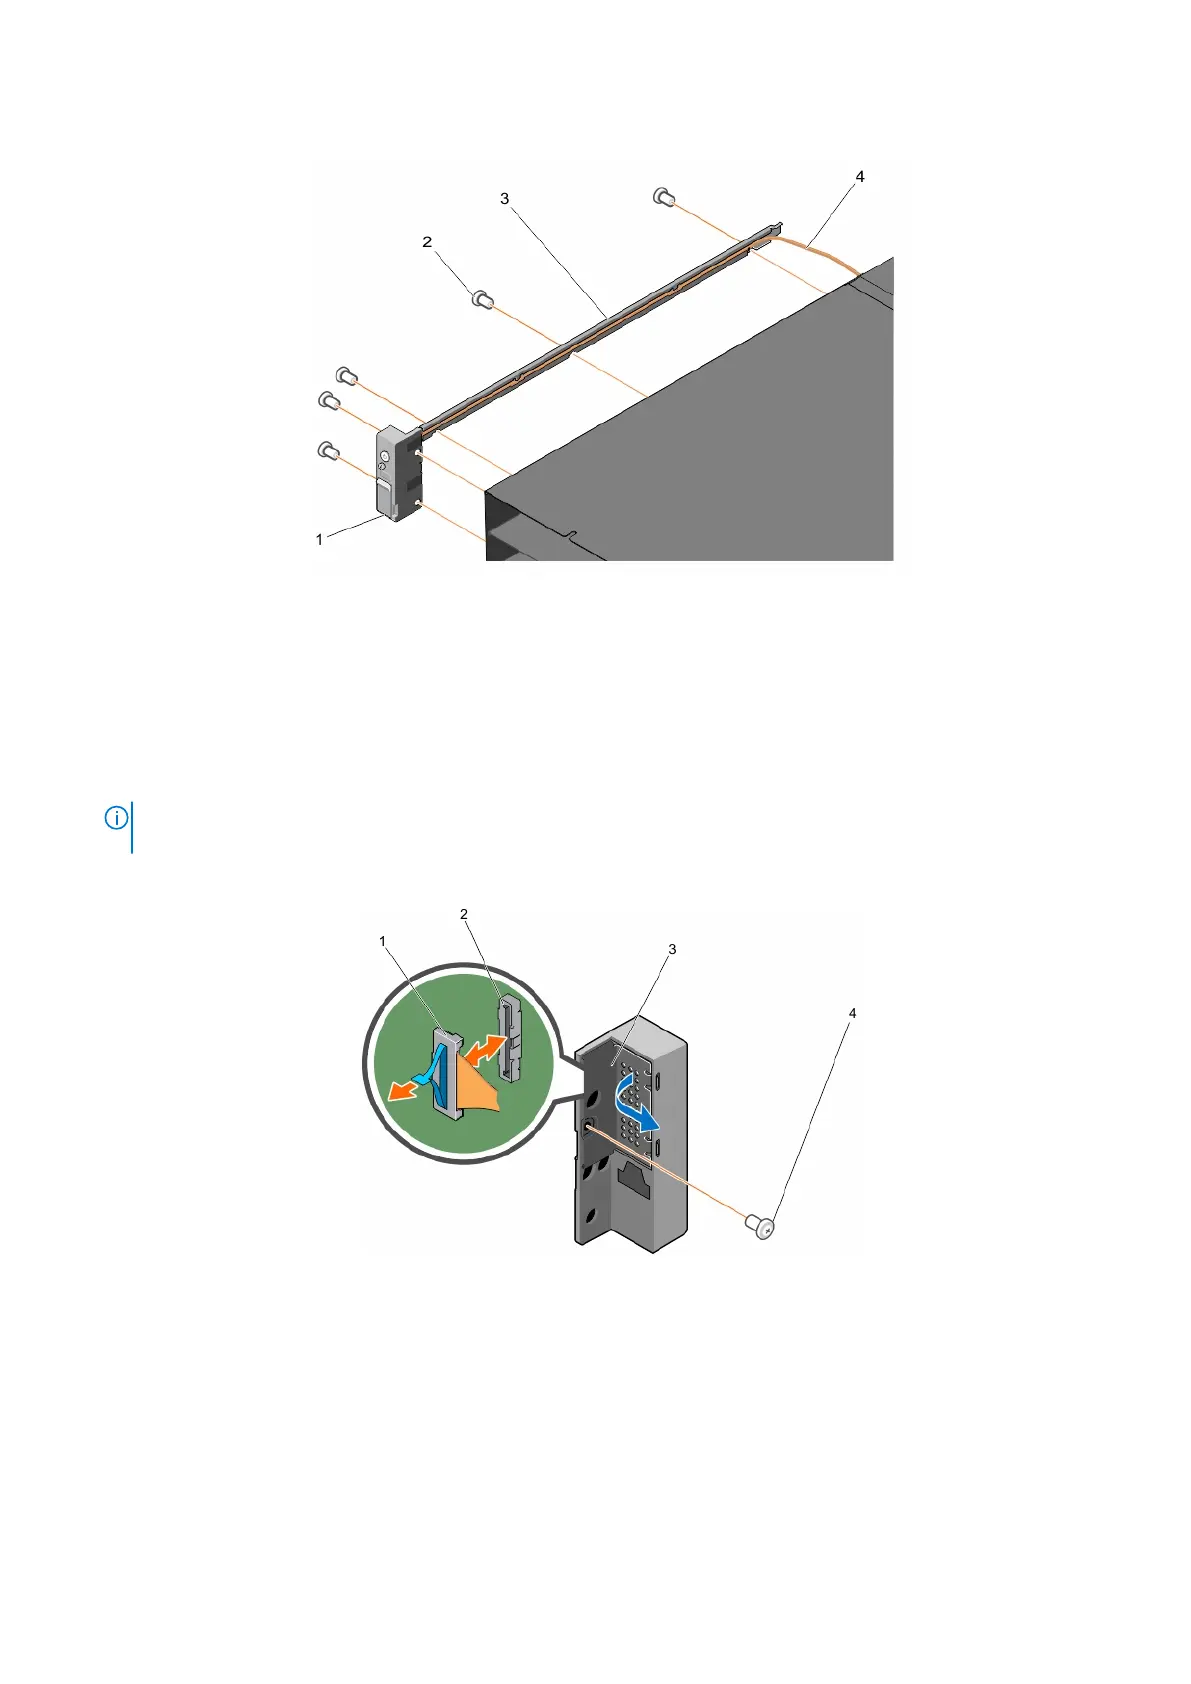
Figure 62. Removing and installing the cable tube
1. control panel 2. screw (5)
3. cable tube 4. control panel cable
3. Remove the screw that secures the control panel cover to the control panel.
4. Release the ZIF connector latch.
5. Using the pull-tab, remove the control panel cable from the control panel.
NOTE:
To prevent damage to the control panel cable, exercise utmost care when removing the control panel cable from
the control panel.
6. Remove the control panel from the system.
Figure 63. Removing and installing the control panel
1.
ZIF connector latch 2. connector
3. control panel cover 4. screw
Next steps
Install the control panel.
76
Installing and removing PowerEdge FX2/FX2s enclosure components