Installing the Hardware 15
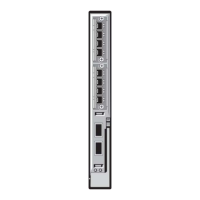
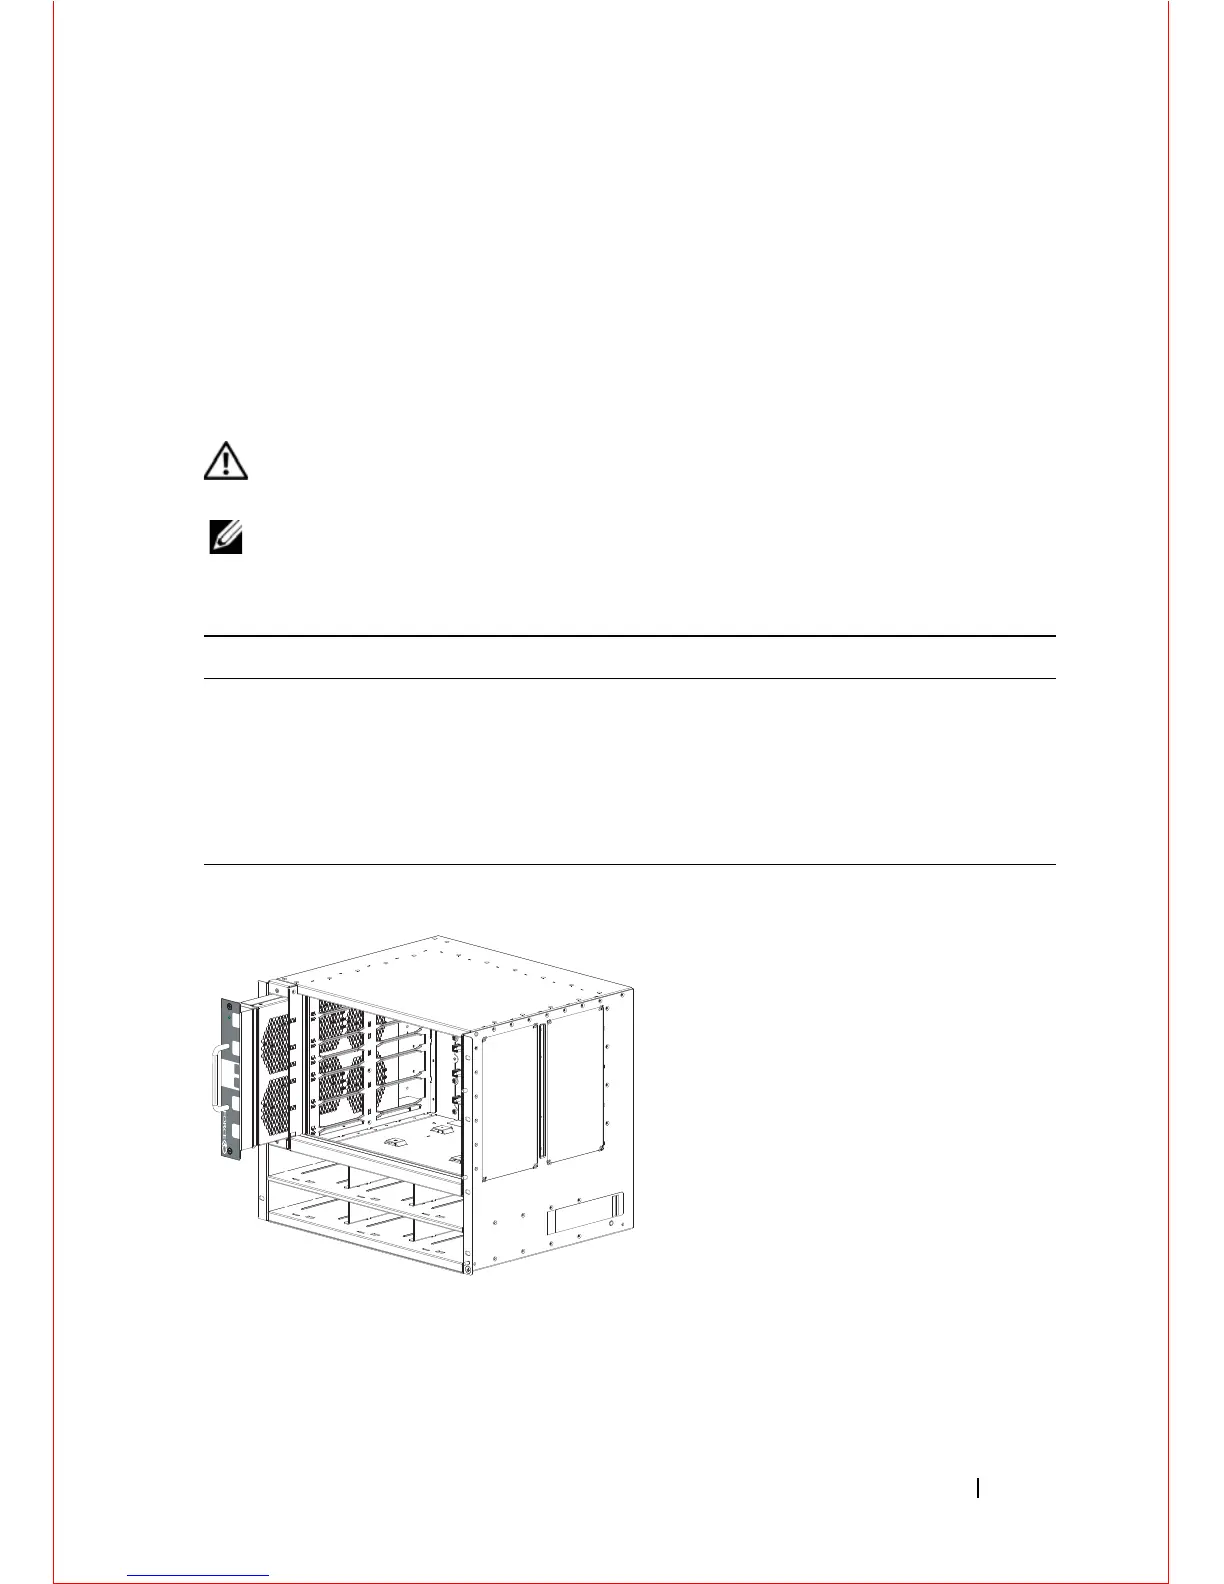
Installing the Fan Tray
The C-Series chassis contains one field-replaceable fan tray. There are two types
of fan tray that may be installed: one contains six fans that run at varying speeds
depending on system temperature; the other one contains six fans that run at a
constant speed. For both types of trays, air flows through the system toward the
fans (right to left) and is exhausted on fan-side of the chassis. The fan tray is
accessible from the front of the chassis.
WARNING: To ensure proper temperature and airflow control, the fan tray
must always be installed and operating properly.
NOTE: The system does not have an air filter so take special care in making sure
that the installation site and the chassis itself are cleaned regularly.
C150
Step Task
1 Slide the fan tray into the fan slot.
2 Gently push on the front of the tray until it stops. The fan tray should be
flush with the chassis.
3 Use a #2 Phillips screwdriver to secure the fan tray into place by
tightening the screws at the top and bottom of the fan tray.
 Loading...