Steps
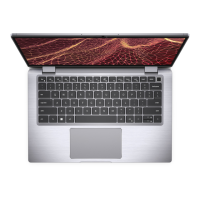
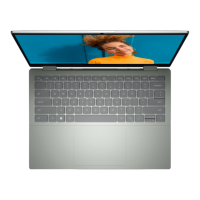
1. Place the display assembly on a clean and flat surface with the display panel facing up.
2. Gently place the palm-rest and keyboard assembly on the display assembly.
3. Close the left display-assembly hinge and align its screw holes with the screw holes on the palm-rest and keyboard assembly.
4. Close the right display-assembly hinge and align its screw holes with the screw holes on the palm-rest and keyboard
assembly.
5. Replace the two screws (M2.5x5.5) that secure the left display-assembly hinge to the palm-rest and keyboard assembly.
6. Replace the two screws (M2.5x5.5) that secure the right display-assembly hinge to the palm-rest and keyboard assembly.
7. Connect the display-assembly cable to its connector on the system board and close the latch.
8. Adhere the tape to secure the display-assembly cable latch to its connector to the system board.
Next steps
1. Install the base cover.
2. Follow the procedure in After working inside your computer.
I/O board
Removing the I/O board
CAUTION: The information in this section is intended for authorized service technicians only.
Prerequisites
1. Follow the procedure in Before working inside your computer.
NOTE:
Ensure that your computer is in Service Mode. For more information see, step 6 in Before working inside your
computer.
2. Remove the base cover.
About this task
The following image(s) indicate the location of the I/O board and provides a visual representation of the removal procedure.
Removing and installing Field Replaceable Units (FRUs)
59

 Loading...


