the power supply slots, LEDs, and USB slots on the left side of the panel, refer to
Figure 3.
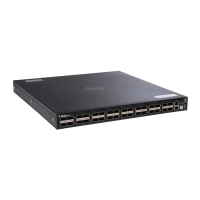
• Identify slots 0, 1, 2, and 3 on the I/O panel, refer to Figure 2. You can insert a
Fibre Channel module only in slot 0. You can install the Ethernet modules in slots
0, 1, 2, and 3.
• Identify slots 0, 1, 2, and 3 on the Utility panel, refer to Figure 3. You can insert
Power supply units (PSUs) only in slots 0 and 3. You can insert the Fan modules
in any of the slots.
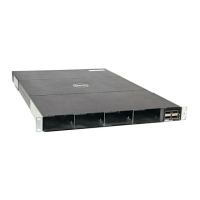
Figure 1. S5000 I/O and Utility Panels
1. I/O panel
2. Utility panel
3. Four 40GbE QSFP+ ports (each port ALSO supports 4 × 10GbE mode)
Hardware Installation Overview
To install the S5000, follow these steps:
1. Attach the mounting brackets.
2. Install the S5000 chassis into a 4–post rack or cabinet.
3. Ground the rack.
4. Install the Ethernet and/or Fibre Channel modules (Fibre Channel module must be
installed only in slot 0).
5
 Loading...