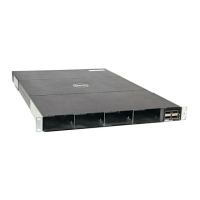
30 | Install the S6000
www.dell.com | support.dell.com
NOTE: S6000 ships with two PSUs. However, it is possible to run the unit with a single PSU. If you use a
single PSU, install a blank plate in the other PSU slot. Dell Networking recommends using power supply 1
(PSU1) as the blank plate slot.
To install an AC or DC power supply, follow these steps:
NOTE: The system powers up as soon as the cables are connected between the power supply and the power
source.
Step Task
1
Remove the PSU slot cover from the S6000 (PSU side of switch), either of the two PSU slots may be selected.
2
Remove the PSU from the electrostatic bag.
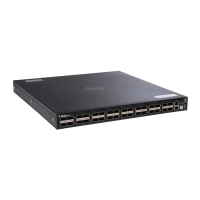
3 Insert the PSU into the switch PSU slot (insert the PSU-exposed PCB edge connector first). The PSU slot is keyed
such that the PSU can only be fully inserted in one orientation.
1 - Slot 1
2 - PSU 1
When you install the PSU correctly it should snap into place and be flush with the back of the switch.
4
Plug in the appropriate cord (AC 3 prong or DC wiring) from the switch PSU to the external power source (either
AC wall outlet or DC rack bus bar).
5
If you have a redundant PSU (2nd PSU), repeat steps 1 through 5 above using the 2nd PSU slot on the S6000
system.