Back to Contents Page
Power Supply
Dell™OptiPlex™FX160/160ServiceManual
Removing the Power Supply
Replacing the Power Supply
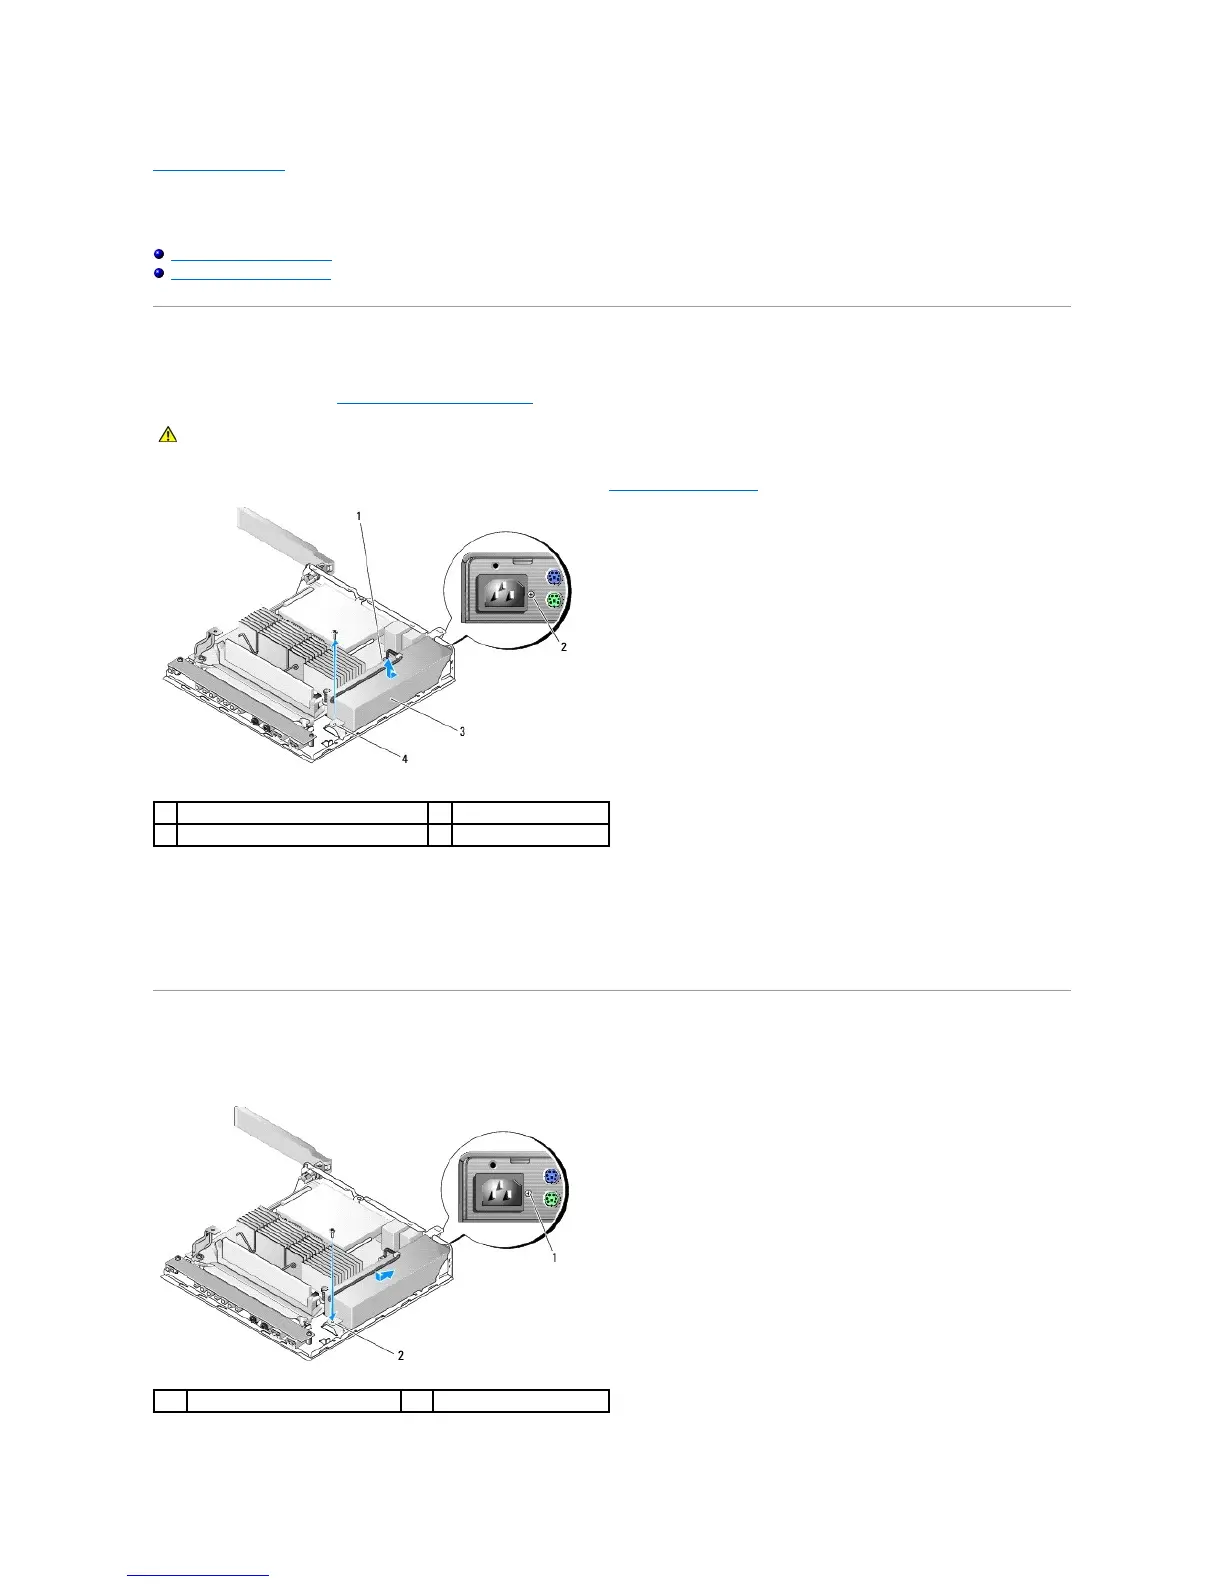
Removing the Power Supply
1. Perform the procedure in Before Working on Your Computer.
2. Disconnect the 12V power supply connector from the system board (see System Board Connectors).
3. Remove the back panel screw.
4. Remove the chassis screw.
5. Slide the power supply slightly toward the front of the computer and lift up out of the chassis.
Replacing the Power Supply
1. Place the power supply in the chassis and slide it back against the back panel.