Removing and installing components
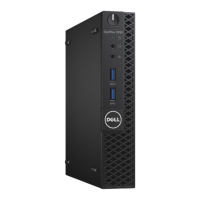
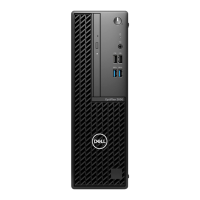
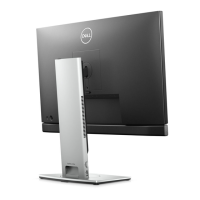
NOTE: The images in this document may differ from your computer depending on the configuration you ordered.
Topics:
• Recommended tools
• Screw List
• Major components of your system
• Hard-drive assembly
• Hard-drive bracket
• Hard drive
• Cover
• Memory module
• WLAN card
• Internal solid-state drive
• eMMC Storage module
• System fan
• Power button
• Coin-cell battery
• System board
• Heat-sink
• Replacing the chassis
Recommended tools
The procedures in this document require the following tools:
● Phillips #0 screwdriver
● Phillips #1 screwdriver
● Plastic scribe
Screw List
The following table shows the screw list and the images for different components.
Table 1. Screw Size List
Component Screw type Quantity Image
Power button M2x3 1
System board M2x3
M2x3 (captive screw)
4
1
Hard-drive assembly (or non
Hard-drive assembly)
M2x3 1
3
88 Removing and installing components
 Loading...