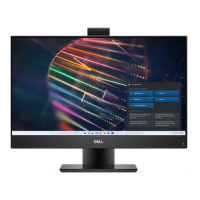
Steps
1. Remove the 11 screws (M3x5) (for touch display) and 12 screws (M3x5) (for non-touch display) that secure the display
panel to the middle frame and display-assembly base.
2. Unroute the display back-light cable from the routing guides on the display-assembly base.
3. Place the system in an upright position.
4. Holding the top corner, release the display panel away from the middle frame and display-assembly base.
5. Route the display back-light and display cable through the slots on the display-assembly base.
6. Lift the display panel up from the middle frame and display-assembly base.
Installing the display panel
Prerequisites
If you are replacing a component, remove the existing component before performing the installation procedure.
About this task
The following image indicates the location of the display panel and provides a visual representation of the display panel
installation procedure.
Removing and installing components
85
 Loading...


