7
Installing the drivers
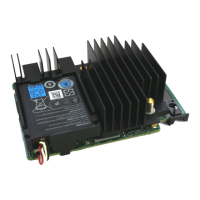
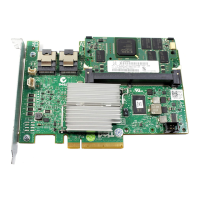
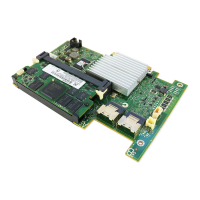
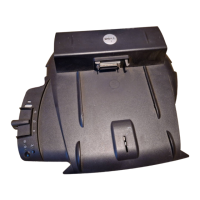
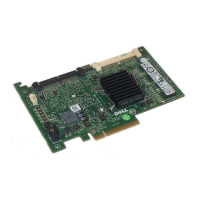
The Dell PowerEdge RAID Controller (PERC) S130 requires software drivers to operate with the supported operating systems.
Installing drivers for the PERC S130 are dependent on the type of the system and the operating system that you have.
NOTE: To check operating system compatibility, see dell.com/support/manuals.
Pre-installation requirements
Before you install the operating system:
• Read the Microsoft Getting Started document that is shipped with your Windows operating system.
• Ensure that your system has the latest BIOS, rmware, and driver updates. If required, download the latest BIOS, rmware, and
driver updates from dell.com/support.
• Create a device driver media (USB drive, CD, or DVD).
Setting the SATA controller to RAID mode
1. Turn on the system.
2. When the Dell Power-On Self-Test (POST) screen is displayed, press <F2>.
3. When the Dell PowerEdge System window is displayed, scroll to SATA Settings and press <Enter>.
In the sub-screen, conrm that the SATA Controller is set to a RAID mode.
NOTE: If necessary, use the space bar to change the setting.
4. Press <Esc> to exit.
5. Press <Esc> again.
Initializing the virtual disks
For more information about Initialing the virtual disks, see Initializing the physical disks.
Creating a virtual disk
For more information about creating a virtual disk, see Creating the virtual disks.
Checking PERC S130 options and the boot list priority.
1. At the Virtual Disks eld, ensure the bootable virtual disk is the rst virtual disk listed. If the bootable virtual disk is not the rst
virtual disk listed, see Swapping two virtual disks.
NOTE: If Non-RAID virtual disks are used (and appear in the Virtual Disks list), the Swap Two Virtual Disks option is
enabled only if the system contains a RAID Capable physical disk.
2. Select Continue to Boot and press <Enter>.
34