Installing System Components 85
7
Replace the front bezel if removed in step 2. See "Replacing the Front Bezel" on page 54.
8
Reconnect the system and peripherals to their electrical outlets.
Removing the Diskette Drive From the Drive Carrier
1
Remove the diskette drive from the system. See "Removing the Diskette Drive From the System" on
page 83.
2
Gently draw one side of the carrier away from the diskette drive until the drive pops from the tray. See
Figure 3-23.
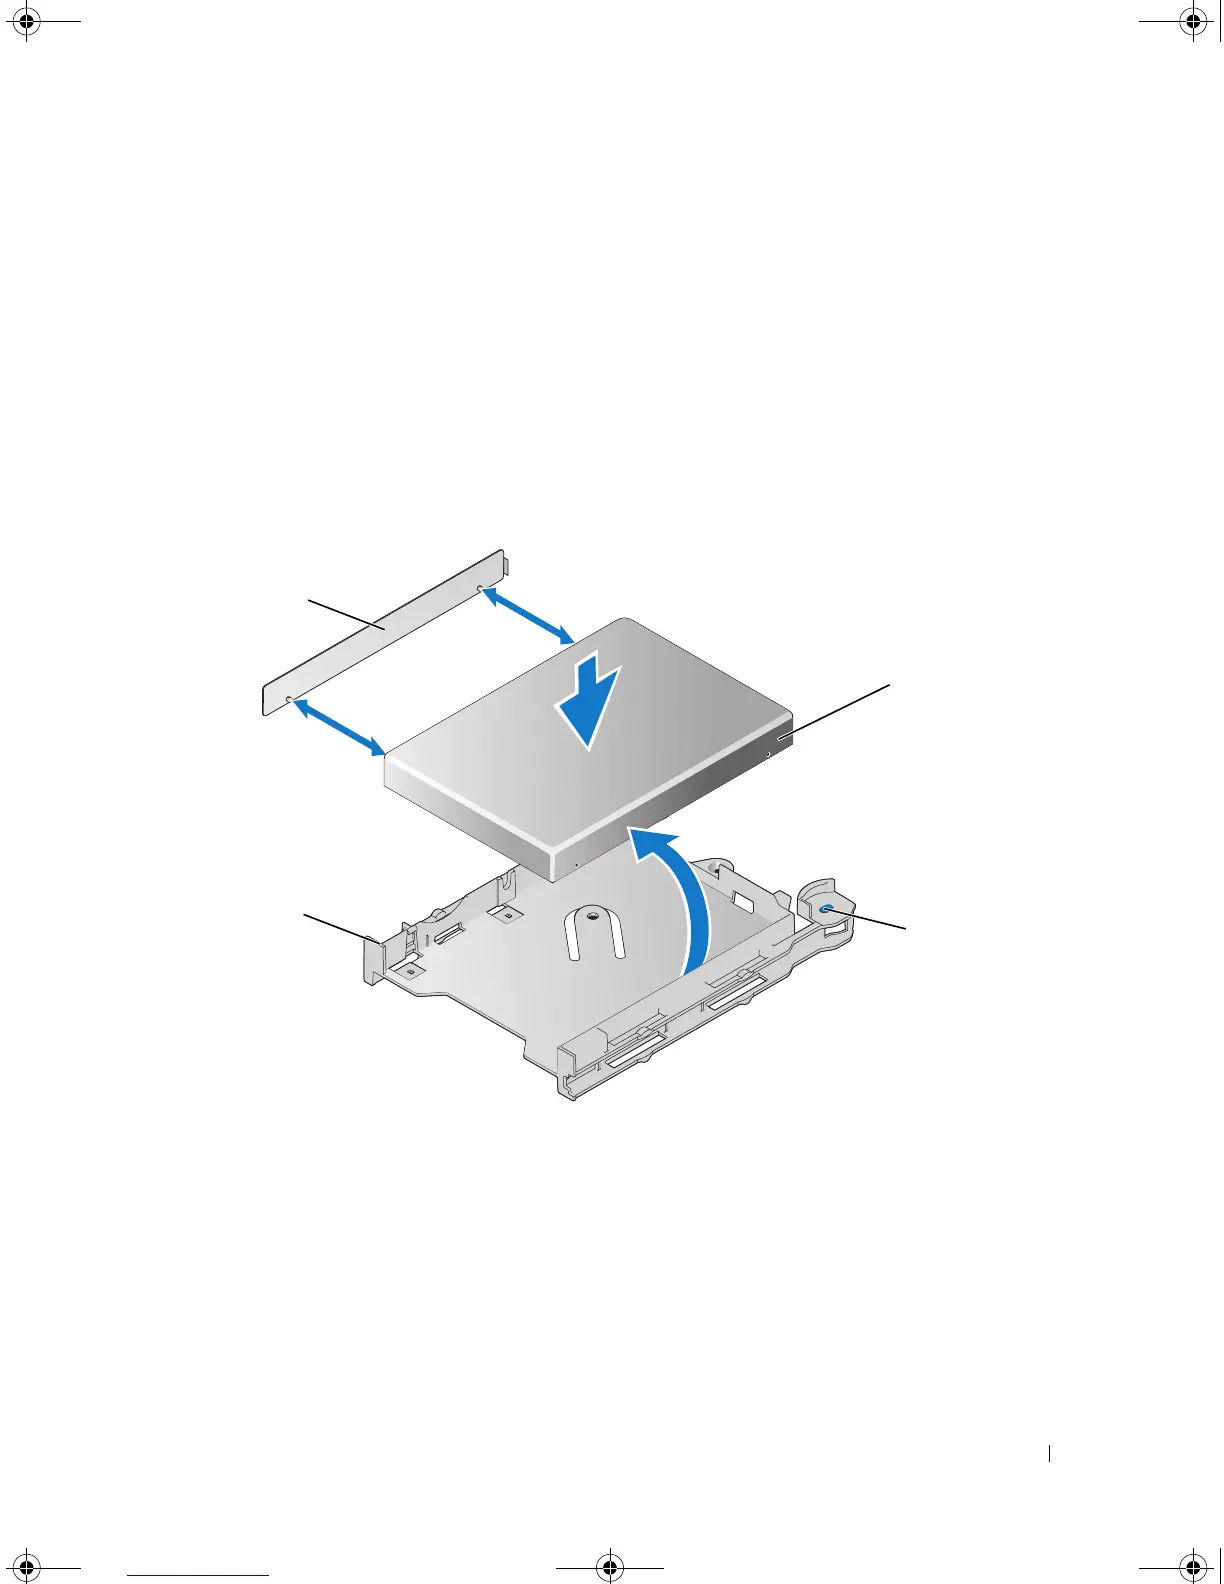
Figure 3-23. Installing and Removing the Diskette Drive Into and From the Drive Carrier
Installing the Diskette Drive Into the Drive Carrier
1
Align the back of the diskette drive with the back of the carrier.
2
Add the shim to the drive.
3
Gently push the drive into the carrier until it pops in securely. See Figure 3-23.
1 diskette drive tray 2 shim 3 diskette drive
4 diskette drive release tabs (2)
4
1
3
2
Book.book Page 85 Friday, February 3, 2006 11:09 AM