110 Installing System Components
6
Remove the screws that secure the hard-drive cage to the chassis.
See Figure 3-31.
7
Remove the screws that secure the front-panel assemblies to the chassis.
See Figure 3-32.
8
Remove the hard-drive cage from the chassis. See Figure 3-32.
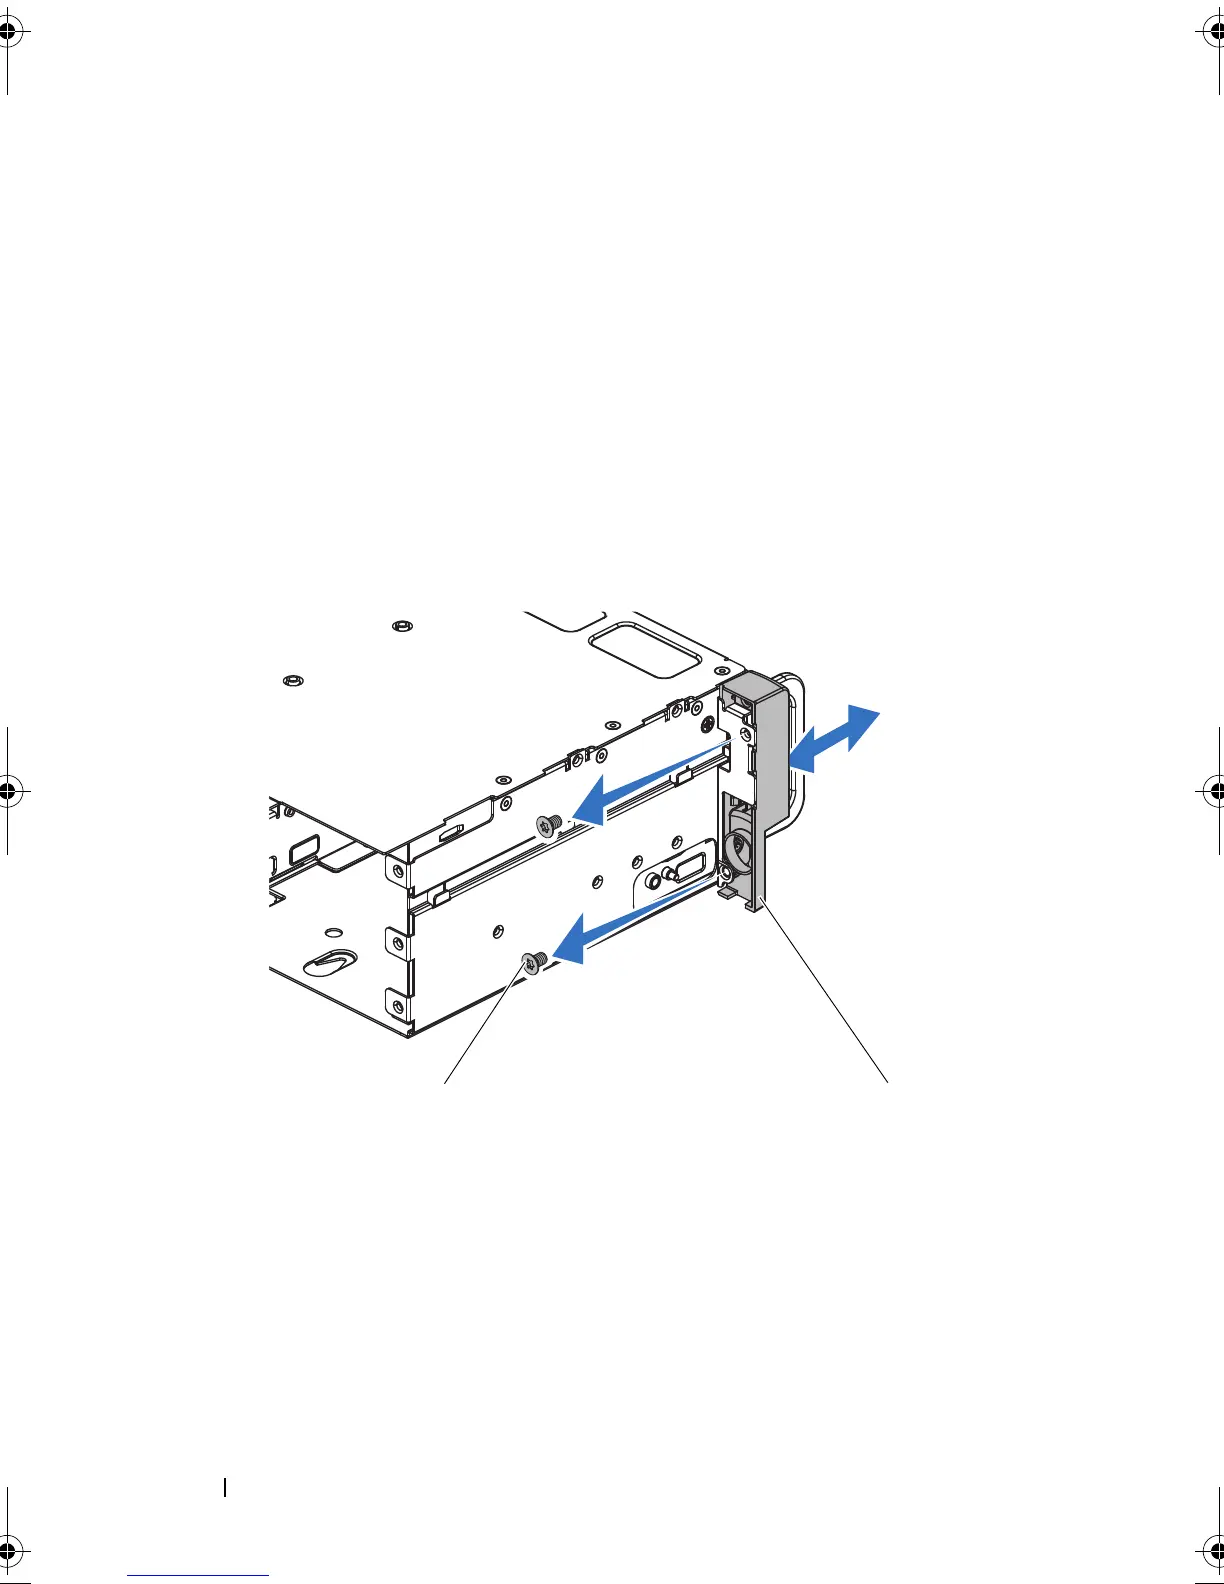
9
Remove the screws that secure the front-panel assembly to the hard-drive
cage. See Figure 3-34.
10
Remove the front-panel assembly from the hard-drive cage.
See Figure 3-34.
Figure 3-34. Removing and Installing a Front Panel Assembly
11
Push aside the retention hooks on the front-panel assembly.
See Figure 3-35.
12
Remove the front panel from the front-panel assembly. See Figure 3-35.
1 front-panel assembly 2 screw (2)
book.book Page 110 Thursday, March 4, 2010 4:38 PM

 Loading...


