Installing System Components 97
support team. Damage due to servicing that is not authorized by Dell is not covered
by your warranty. Read and follow the safety instructions that came with the
product.
CAUTION: Never operate your system with the cooling shroud removed. The
system may get overheated quickly, resulting in shutdown and loss of data.
1
Turn off the system, including any attached peripherals, and disconnect
the system from the electrical outlet.
2
Open the system. See "Opening and Closing the System" on page 84.
3
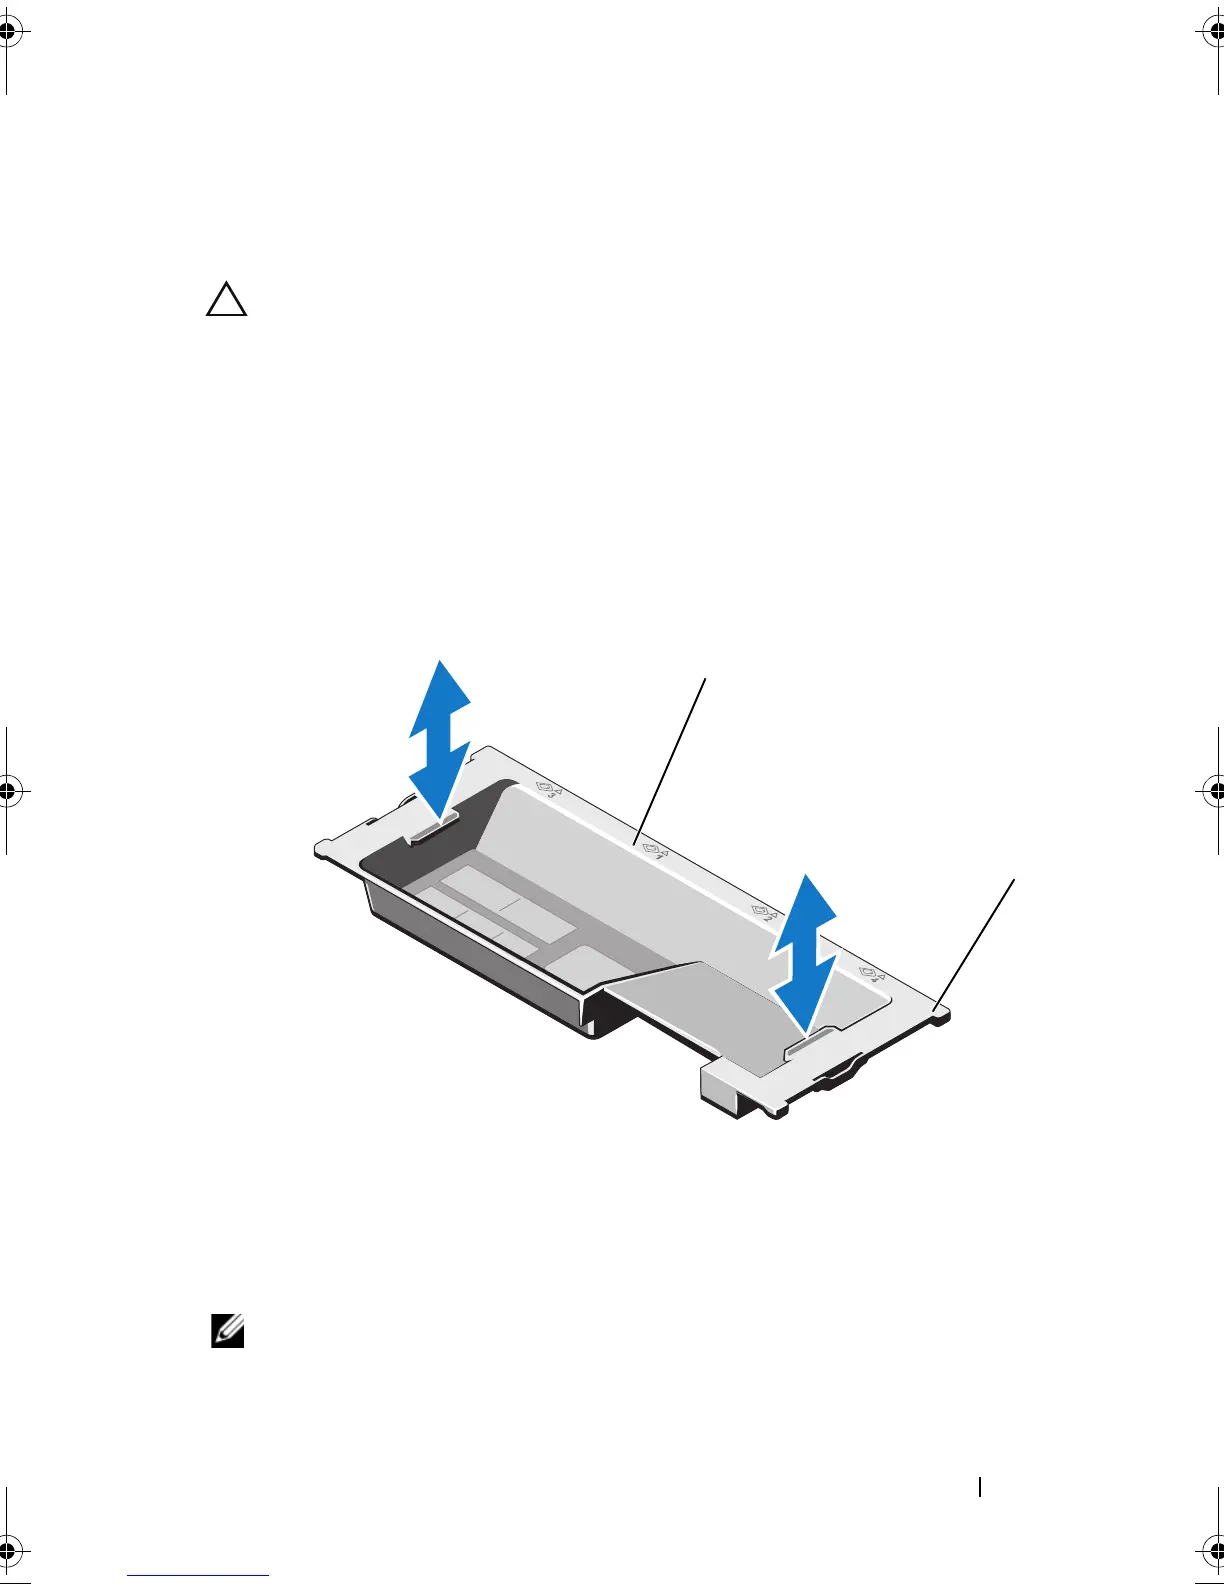
Hold the touch points and gently lift the shroud straight up and away from
the system. See Figure 3-9.
Figure 3-9. Removing and Installing the Cooling Shroud
Installing the Cooling Shroud
NOTE: For proper seating of the cooling shroud in the system chassis, make sure
that the cables inside the system are routed along the chassis wall. See Figure 3-10.
1 cooling shroud 2 shroud tabs (4)
book.book Page 97 Thursday, February 18, 2010 2:06 PM

 Loading...


