98 Installing System Components
1
Route the power/data cables along the chassis wall. See step 2 and step 3 of
"Sliding the Front-Chassis Assembly" on page 98.
2
Lower the cooling shroud into the system and align the shroud tabs with
the slots on the system chassis. See Figure 3-9.
3
Close the system. See "Opening and Closing the System" on page 84.
Front-Chassis Assembly
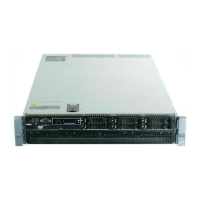
The front-chassis assembly houses the hard drives, SAS/SATA backplane,
optical drive, control panel assembly, and the front panel display. The front-
chassis assembly is mounted on the chassis walls with a sliding rail system.
Sliding the Front-Chassis Assembly
To slide the front-chassis assembly away from the chassis:
1
If installed, remove the front bezel
. See
"Removing the Front Bezel" on
page 83.
2
Open the system. See "Opening the System" on page 84.
3
Remove the cooling shroud. See "Removing the Cooling Shroud" on
page 96.
CAUTION: To prevent the memory modules from being damaged, ensure that all
cables connected to the front-chassis assembly are free of obstructions.
4
If required, free the power/data cables from the chassis walls.
5
Press the release tabs inwards and slide the assembly forward and away
from the chassis. See Figure 3-10.
book.book Page 98 Thursday, February 18, 2010 2:06 PM

 Loading...


