NOTE: If the option to choose Linux RAID is disabled, convert the disk to a non-RAID disk(see Converting physical disk
to Non-RAID disk) and then convert it back to RAID capable disk (see Converting physical disk to RAID capable disk).
4 Select the Interface Type.The options are SATA and NVMe.
5 Select the physical disk and click Apply Changes.
A conrmation screen is displayed.
6 Click Yes to continue.
7 Click Back to return to the conguration options screen.
8 After converting the physical disks, click the Virtual Disk Management in the Conguration Options screen, and click Create Virtual
Disks.
9 Select the required Linux operating system.
NOTE: If you select RHEL as the operating system, the entire physical disk space is used in the Virtual Disk Size eld.
With RHEL, you can create virtual disks only on the entire physical disk space.
NOTE: If you select SLES as the operating system, you can create virtual disks on both full and partial physical disk
space.
10 Click Select the Physical Disk.
11 Select the interface type, media type, sector size, and the physical disks.
12 Click Apply Changes.
13 Click Create Virtual Disk.
The virtual disk is ready.
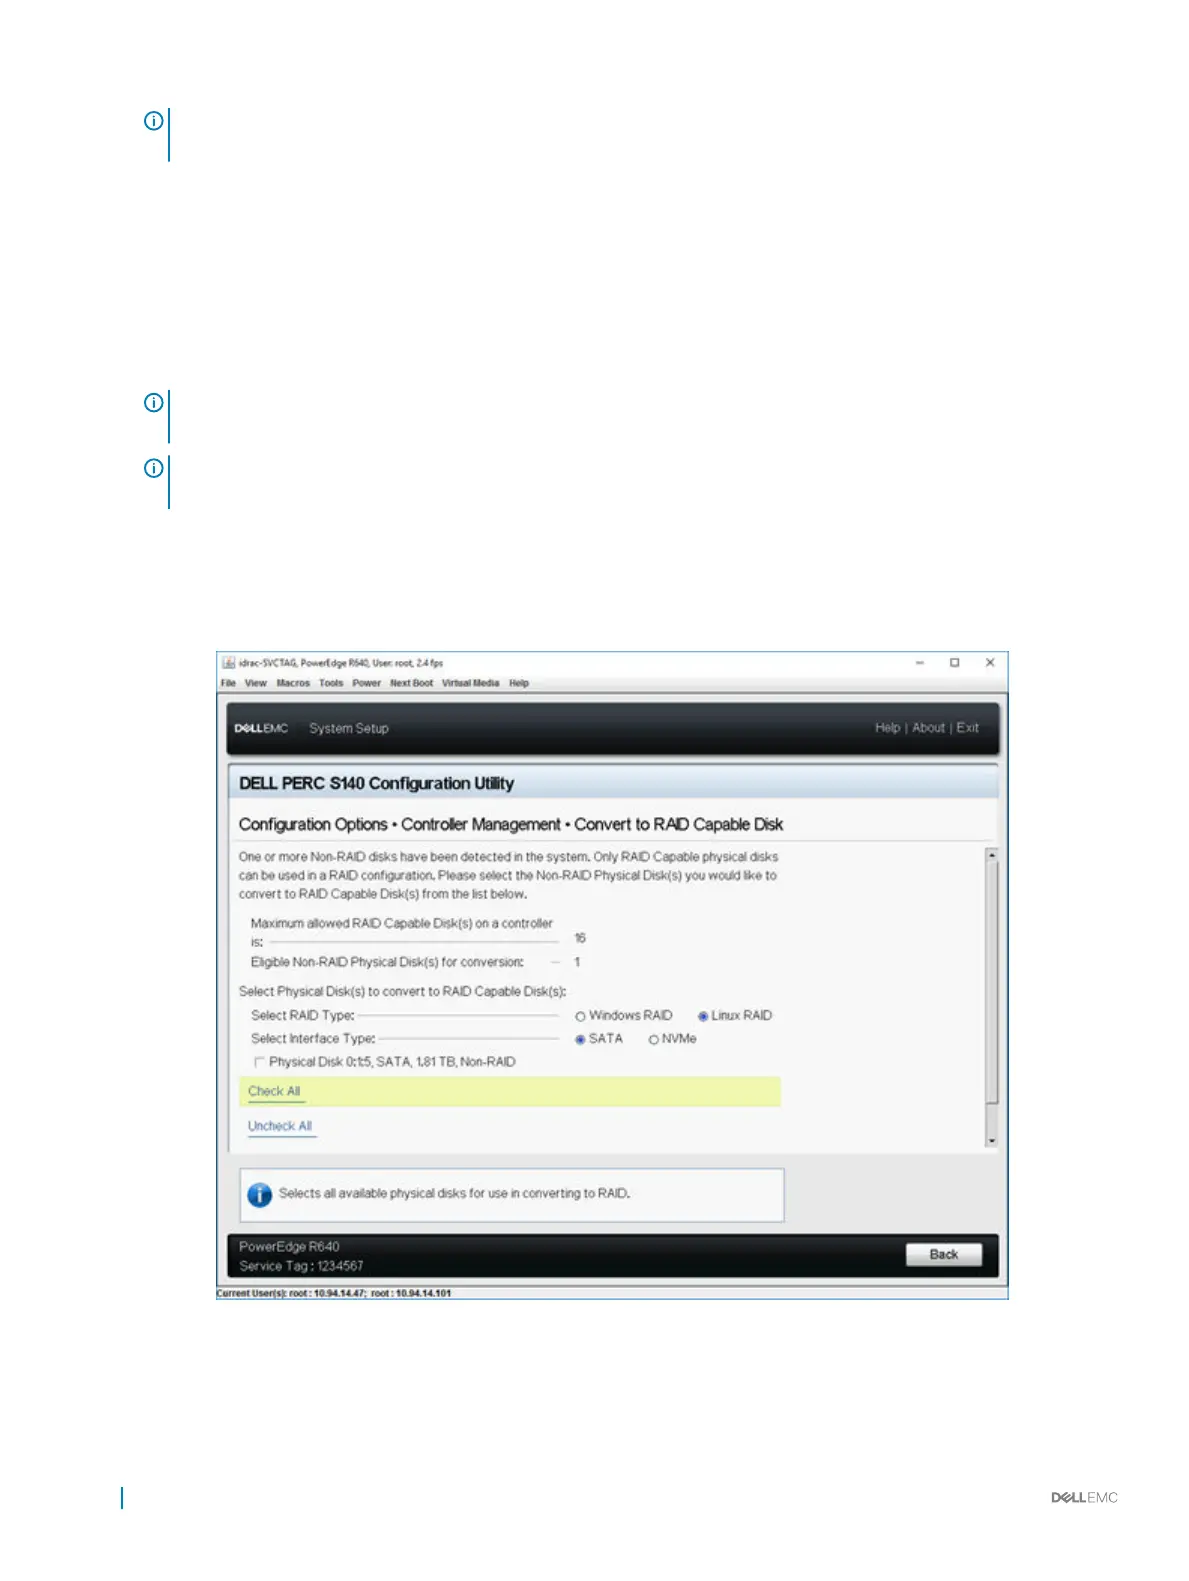
Figure 4. Convert to Linux RAID selection page
32
UEFI RAID conguration utility