10
CHANGING
ABRASIVE DISCS
MAKE CERTAIN MACHINE IS DISCONNECTED
FROM POWER SOURCE.
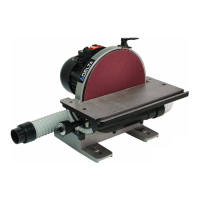
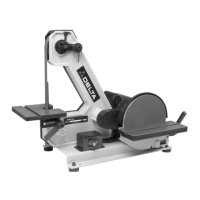
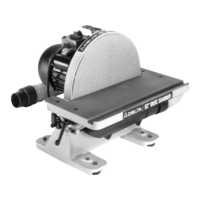
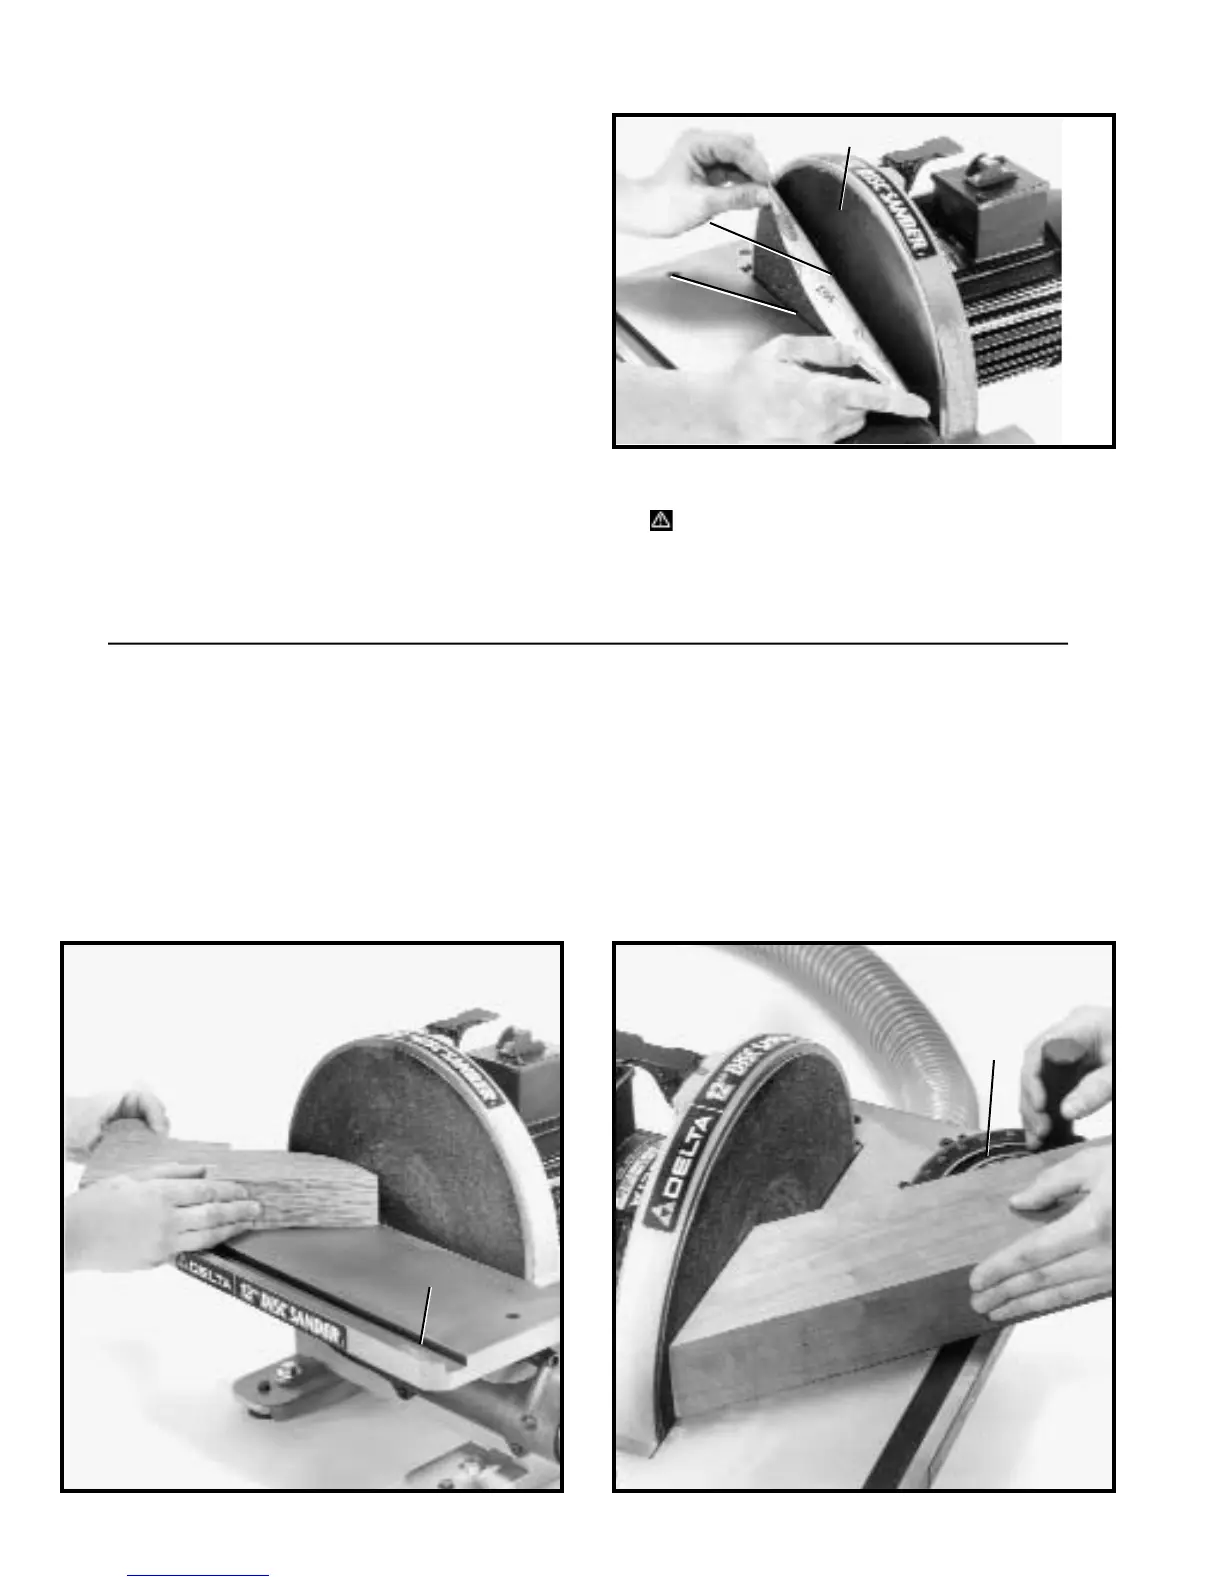
1. To remove abrasive disc (A) Fig. 21, simply peel old
abrasive disc from machine as shown.
2. To install a new abrasive disc, make sure the disc
plate (B) Fig. 21, is clean, dry, and free from any oil or
grease.
3. Remove backing from new abrasive disc.
4. Slide new abrasive disc between the table (C) Fig.
21, and disc plate (B) and press the top portion of abra-
sive disc (A) in position.
5. Manually rotate disc plate (B) Fig. 21, one-half turn
and firmly press onto abrasive disc plate (B).
Fig. 21
MAINTENANCE
6. WARNING: MAKE CERTAIN THE ABRASIVE
DISC (A) FIG. 21, IS SECURELY IN POSITION BEFORE
CONNECTING MACHINE TO A POWER SOURCE.
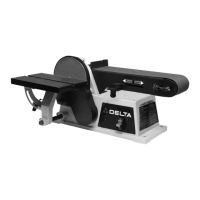
USING THE DISC SANDER
SANDING AND END SANDING WITH
ACCESSORY MITER GAUGE
The majority of work performed on the disc sander is usually accomplished using the table as a support as
shown in Fig. 20, but a 3/8" x 3/4" slot (A) Fig. 22, is machined into the table of the sander to facilitate miter
gauge applications as shown in Fig. 23. The use of a miter gauge will provide accurate straight and angled
end-sanding as shown. Miter gauge (B) Fig. 23, is available at your nearest Delta Distributor (Cat. No. 34-
779).
A
C
Fig. 22 Fig. 23
A
B
B
 Loading...