Do you have a question about the Delta 4'' Jointer and is the answer not in the manual?
Instructions for locating and recording the machine's serial and model numbers.
Emphasizes reading the manual to understand tool application, limitations, and hazards.
Ensures guards are kept in place and remain in proper working order for safety.
Instructions for grounding tools using three-prong plugs or adapters.
Do not operate tools while under the influence of drugs, alcohol, or medication.
Crucial safety rule: never pass hands directly over the cutterhead.
Do not exceed 1/8" depth of cut per pass; adjust for wider cuts.
Never operate with the cutterhead or drive guard removed.
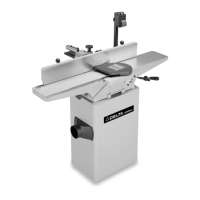
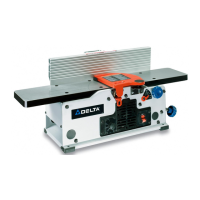
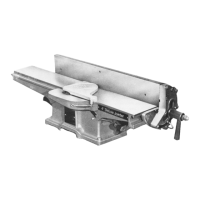
Unpack the jointer and identify all loose items shown in Fig. 2.
Ensure a hole is provided in the support for wood chip removal.
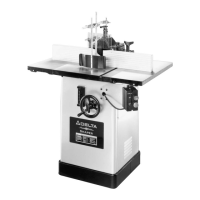
Details on available motors for the 50-290 Open Steel Stand.
Use a separate circuit with #12 wire, protected by a 20 Amp time lag fuse.
Grounding the tool is mandatory to protect the operator from electric shock.
Always ensure the electrical receptacle is properly grounded; consult an electrician if unsure.
Procedure for moving the fence across the table using the adjusting handle and nut.
Instructions for tilting the fence to desired angles using the adjusting handle.
Use the hand lever to adjust the rear table to be level with the knives.
Adjust knives by loosening screws until they just touch the straight edge.
Final check: workpiece should rest firmly on both tables after adjustment.
Retighten screws starting from the bottom, gently lifting the table edge.
Always disconnect the machine from the power source before setting knives.
Rotate cutterhead by hand and adjust blade to touch the setting bar.
Always use the guard and keep hands away from the cutterhead during operation.
Left hand holds work, right hand pushes towards knives at cut start.
Right hand advances work; move it to rear table before reaching cutterhead.
Feed work with the grain to achieve a smooth surface finish.
Lock fence at angle, run work against it and tables to cut bevels.
Lower the forward end of the workpiece onto the rear table to start a taper cut.
Remove the initial ridge by taking a light cut with the front table raised.
Procedure for sharpening jointer knives using a carborundum stone.
Remove gum/pitch with remover; use paste wax to prevent rust.
Jointer cutter head assembly, includes bearings, housings, and knives.
Set of three high-speed steel jointer knives.
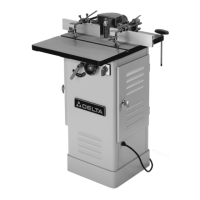
Enclosed steel stand for the jointer.
Diagnose and resolve issues when the jointer fails to start.
Troubleshoot common causes of poor cut quality on the jointer.
Diagnose and fix causes of excessive vibration during machine operation.
| Brand | Delta |
|---|---|
| Model | 4'' Jointer |
| Category | Power Tool |
| Language | English |