Do you have a question about the Delta ShopMaster DP200 and is the answer not in the manual?
Understand the tool's applications, limitations, and specific hazards before operation.
Use ANSI Z87.1 approved safety glasses and appropriate clothing to prevent injury.
Always disconnect the tool from power before performing maintenance or changing accessories.
Ensure the drill press is fully assembled and installed according to instructions before use.
Firmly hold workpieces and keep hands away from the cutting tool during operation.
Ensure the machine is properly grounded to protect against electric shock.
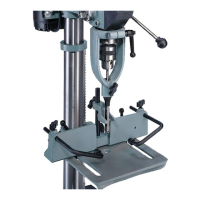
Install the worm gear and raising rack into the table bracket for height adjustment.
Install chuck on spindle taper and tighten using a soft tip hammer.
Operate the main switch to turn the drill press ON or OFF.
Remove the switch toggle to prevent unauthorized use when the machine is not in operation.
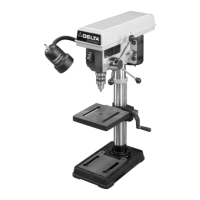
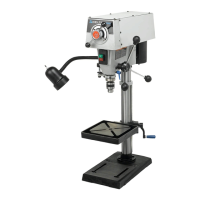
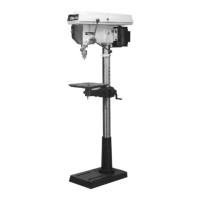
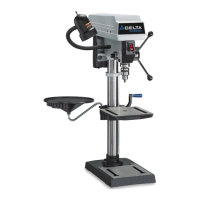
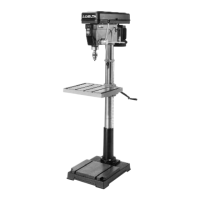
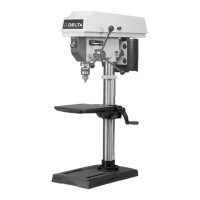
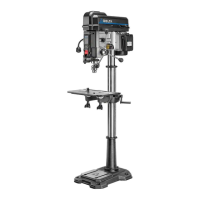
The Delta ShopMaster Model DP200 is a 10" bench drill press designed for various drilling operations. It is equipped with a 1/4 H.P. motor and a flexible work lamp, making it suitable for both general woodworking and metal drilling tasks.
The drill press is primarily used for drilling holes to precise depths in various materials, including wood and metal. It features a chuck that accommodates drill bits with shanks of 1/2" or less in diameter. The machine allows for adjustments in spindle speed, table height, and table tilt, providing versatility for different applications. The flexible work lamp illuminates the work area, enhancing visibility during operation.