14
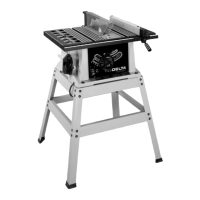
LEVELING AND ADJUSTING
FRONT GUIDE RAIL
DISCONNECT MACHINE FROM POWER
SOURCE.
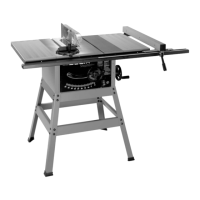
1. Raise the saw blade to its maximum height by
turning the blade raising handwheel counterclockwise.
2. With handle (A) Fig. 22 in the raised position, place
rip fence (B) on the saw table as shown. NOTE: Make
certain rip fence (B) is engaged on rear guide rail (C).
Move rip fence (B) against saw blade as shown in Fig. 23.
Fig. 22
A
B
C
3. Carefully move front guide rail (D) Fig. 23, left or right
until line on cursor (E) aligns with zero (“0”) on guide rail
scale (F). Push handle (A) downward to lock rip fence in
position. Snug up front guide rail mounting hardware.
Minor adjustment to the cursor (E) Fig. 24 can be made
by loosening two screws (G), adjusting cursor left or
right, and tightening two screws (G). Remove rip fence
and lower saw blade.
Fig. 23
A
E
F
D
Fig. 24
G
E
Fig. 25
4. Using a square (H) Fig. 25, or a ruler, adjust guide rail
(D) so it is 13/16" from top of table along the entire
length.
5. Check the guide rail adjustment again to make certain
the rip fence is aligned with the guide rail scale. Firmly
tighten front guide rail mounting hardware.
K
K
D
H
 Loading...