10
CAUTIONS IN SERVICING
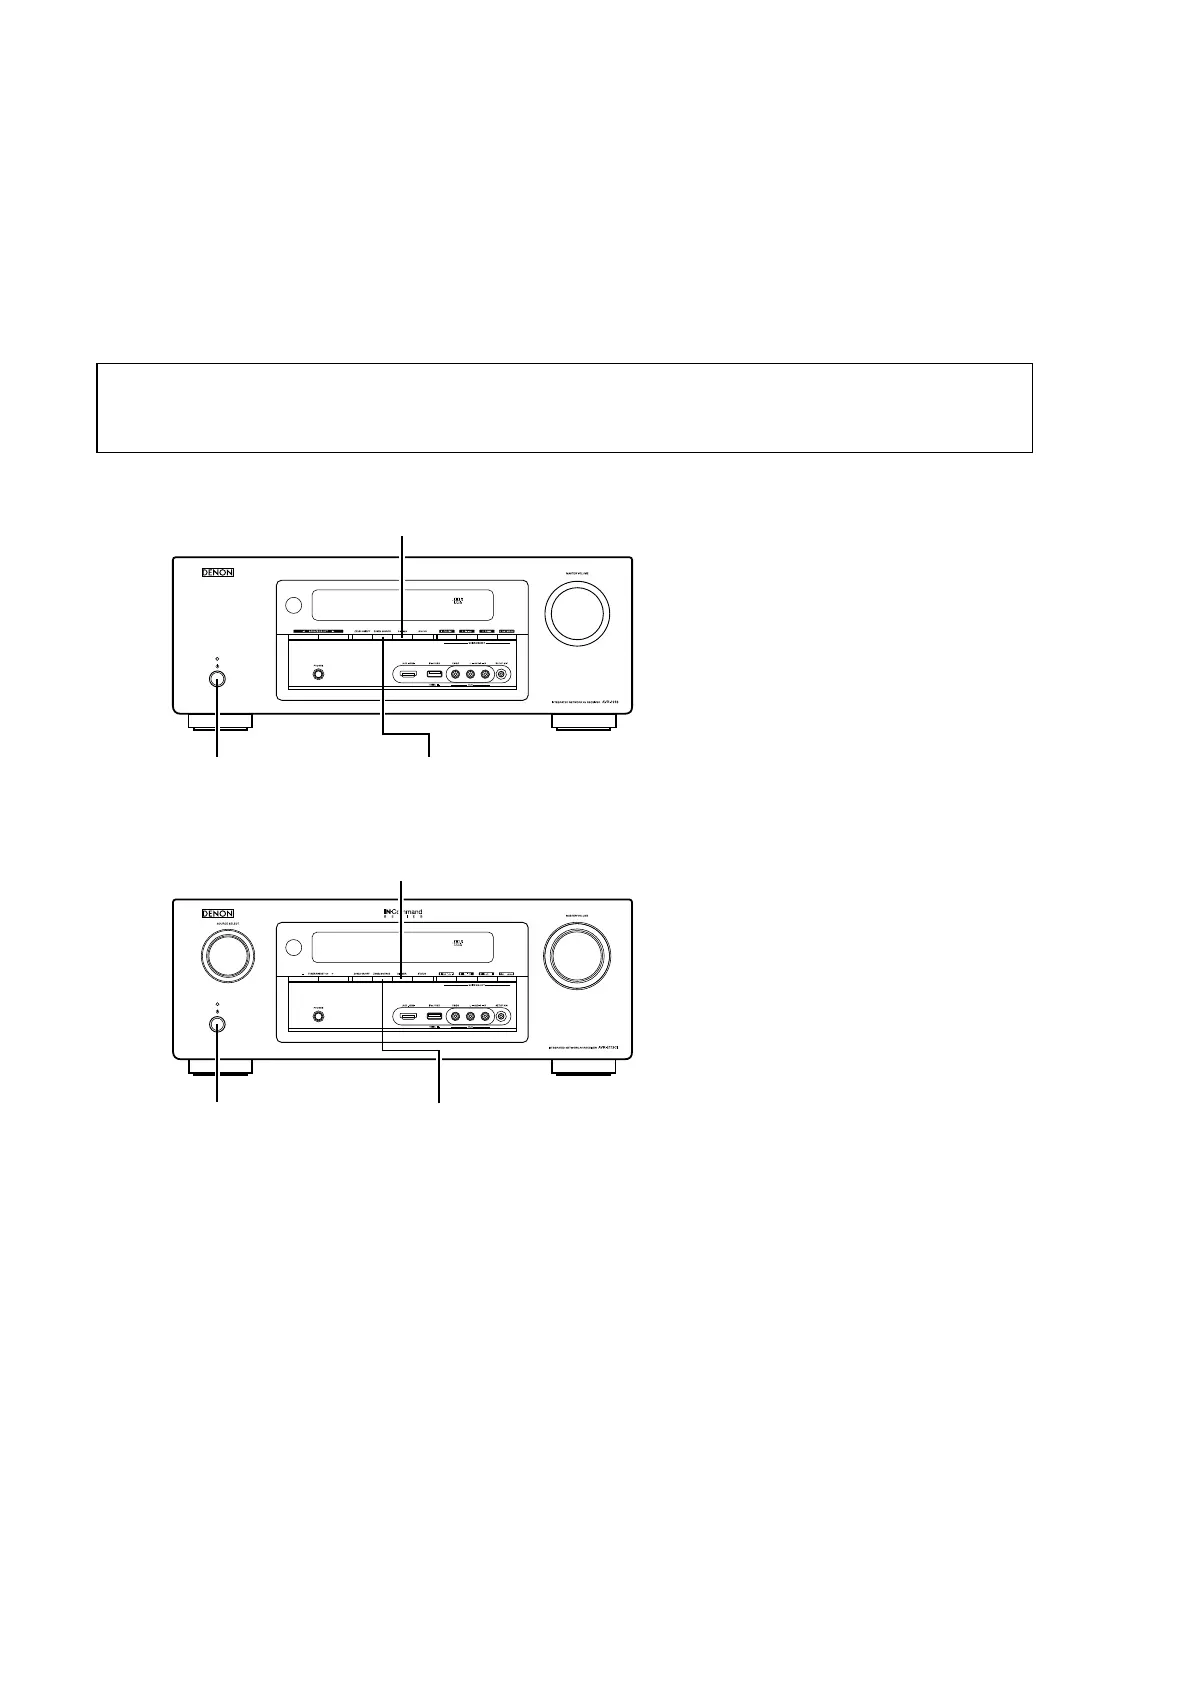
Initializing INTEGRATED NETWORK AV RECEIVER
INTEGRATED NETWORK AV RECEIVER initialization should be performed when the μcom, peripheral parts of μcom,
and Digital PCB were replaced.
1. Turn off the power pressing "Power operation (
X
)" button.
2. Press "Power operation (
X
)" button while simultaneously while pressing "ZONE2 SOURCE" and "DIMMER" buttons.
3. Check that the entire display is ashing at intervals of about 1 second, and then release the 2 buttons.
The microprocessor will be initialized.
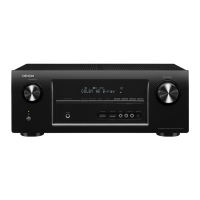
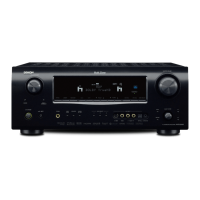
[AVR-1913E3 model]
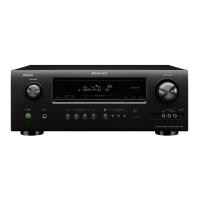
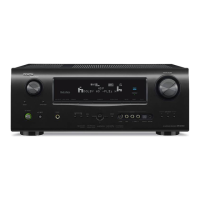
[AVR-2113CIE3, 2113E2/E1C model]
Service Jig
When you repair the printing board, you can use the following JIG (Extension cable kit).
Please order it from Denon Ofcial Service Distributor in your region if necessary.
8U-110084S : EXTENSION UNIT KIT : 1 Set
(Refer to 49 page.)
When you update the rmware by DFW, you can use the following JIG (RS232C to internal connector conversion adapter
with 4P FFC kit ).
Please order it from Denon Ofcial Service Distributor in your region if necessary.
8U-210100S : WRITING KIT : 1 Set
(Refer to 52 page.)
NOTE: • If step 3 fails, start over from step 1.
• All user settings will be lost and the factory setting will be recovered after the set is initialized.
So make sure to note down your setting beforehand for restoring after the initialization.
(X) ZONE2 SOURCE
DIMMER
DIMMER
(X) ZONE2 SOURCE
 Loading...