Turn Video Conversion "ON" on the setup menu.
(SETUP MENU-> Video-> Output Settings-> Video Conversion = On)
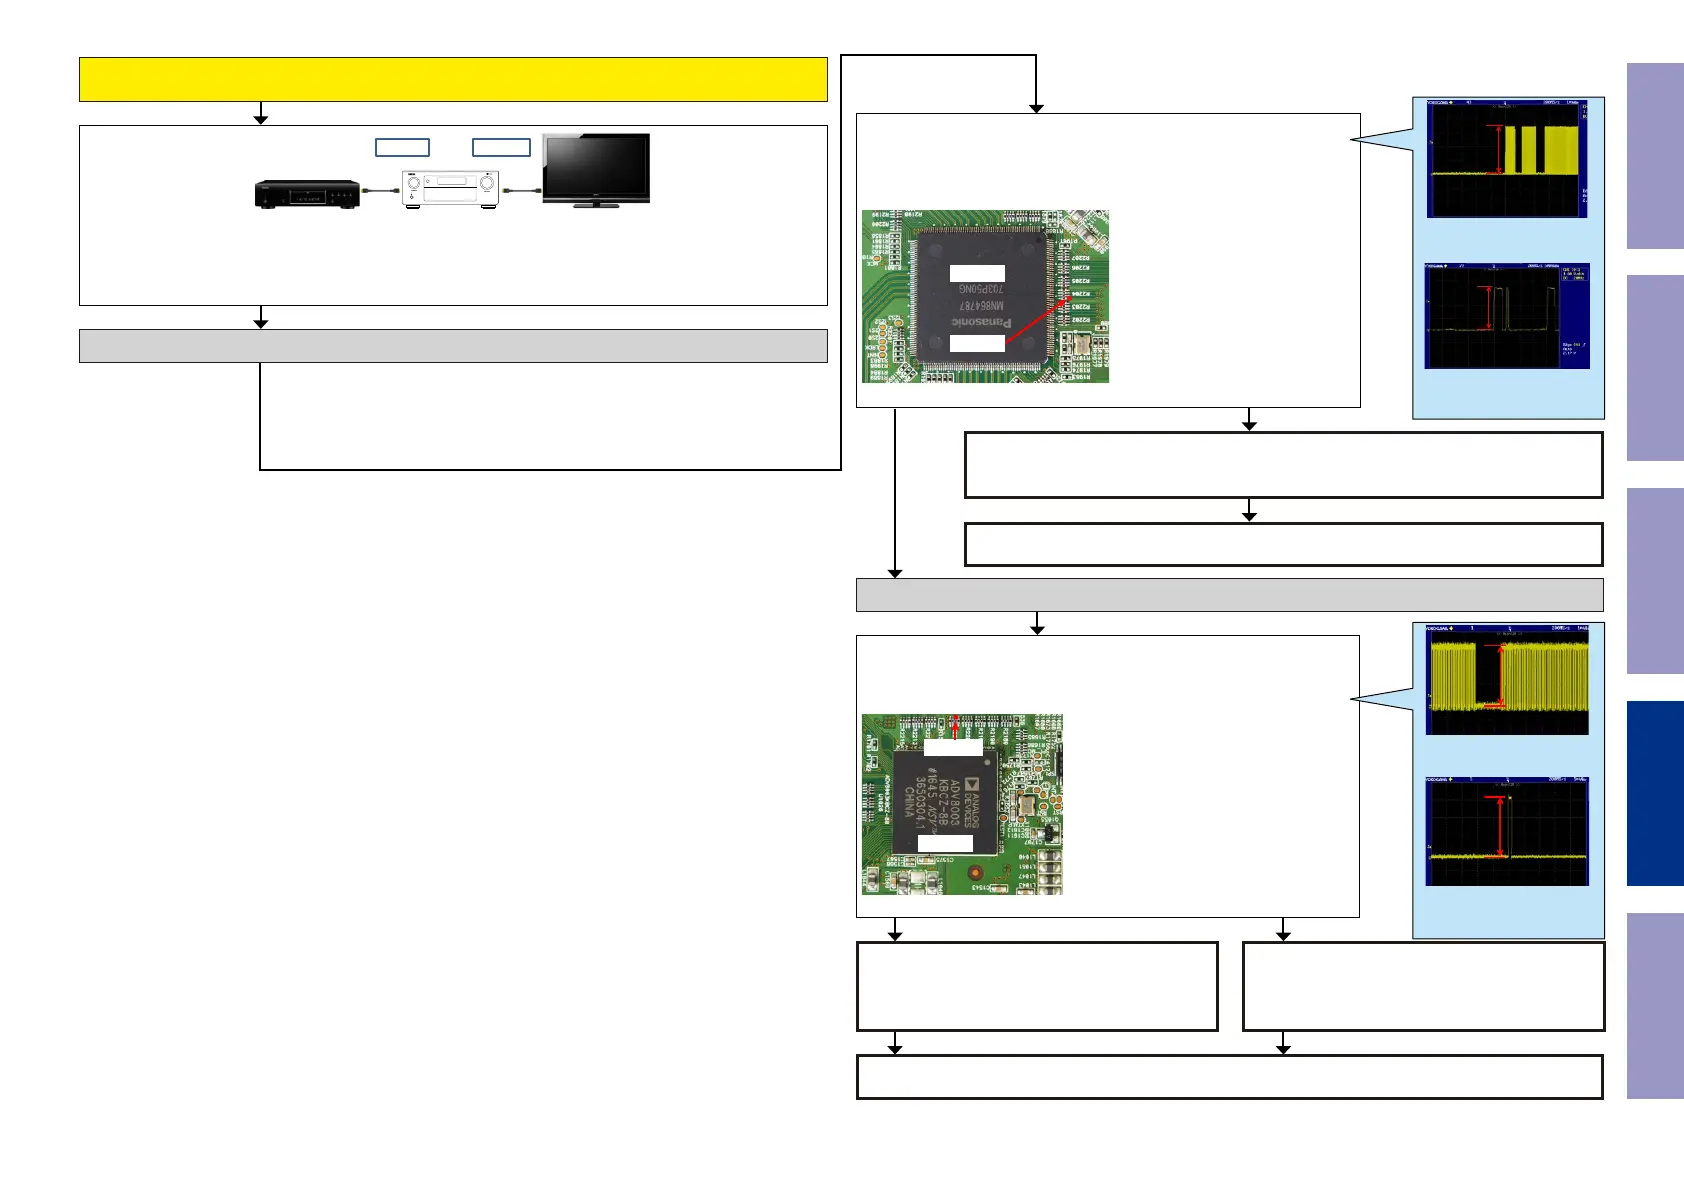
In order to check, connect the player to the HDMI terminal and congure the player as AVR source.
Next, turn on the power for the player and TV and start playback on the player.
HDMI OUT
HDMI IN1
When the results of check item (3-15.1.) are "YES"
(When the menu display is OK)
Check item(3-15.5.). Check the PLD video signal line from the HDMI
Tx :
Check the video signal waveform at the following test point.
Is the waveform like the sample?
U1001
R2204
Check item(3-12.6.). Check the GUI video signal line from the PLD :
Check the video signal waveform at the following test point.
Is the waveform like the sample?
U1026
R2217
Check the Video signal line. (HDMI Tx -> PLD)
Check the Video signal line. (PLD -> GUI)
NO
NO
Check the peripheral pattern between the HDMI Tx [U1001] and PLD [U1011].
If there is no problem, the HDMI Tx [U1001] is faulty.
Replace with a new device.
Check the peripheral pattern between the PLD
[U1011] and GUI [U1026].
If there is no problem, the PLD [U1011] is faulty.
Replace with a new device.
GUI [U1026] is faulty.
Replace with a new device.
YES
YES
Recheck from check item (3.5.)
If it does not work, replace the PCB.
Recheck from check item (3.5.)
If it does not work, replace the PCB.
3.3V
Example of waveform in check ①
Voltage scale : 1.0V/div
Time scale : 1ms/div
3.3V
Example of waveform in check ②
Voltage scale : 1.0V/div
Time scale : 1us/div
3.3V
Example of waveform in check ①
Voltage scale : 1.0V/div
Time scale : 1ms/div
3.3V
Example of waveform in check ②
Voltage scale : 1.0V/div
Time scale : 1us/div
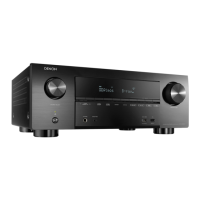
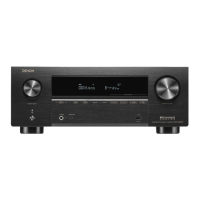
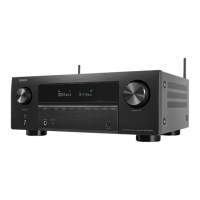
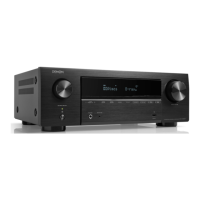
Before Servicing
This Unit
Electrical Mechanical Repair Information Updating
135
 Loading...