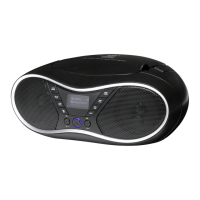
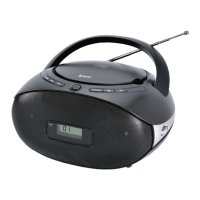
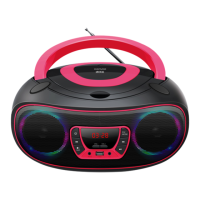
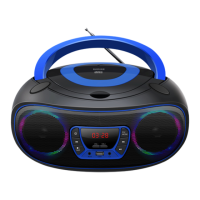
18. HEADPHONE JACK 20. AC SOCKET
19. AUX-IN JACK
Start-up of the device/introduction
• Select a suitable location for the device, such as a dry, flat, non-slip surface on which it is easy to operate the
machine.
• Ensure that the device is sufficiently ventilated.
• Remove the protective film from the display if it is still present.
• Press the “STANDBY / FUNCTION” button to turn on the device.
• Press the “STANDBY / FUNCTION” button for approx. 3 seconds to switch into the standby mode.
Power Supply
• Ensure that the voltage is the same as that indicated on the model identification plate.
• Connect the power cable supplied (see battery compartment if necessary) to a properly installed safety power socket
and the mains connector AC on the back of the machine.
Inserting the Batteries (not supplied)
1. Open the lid of the battery compartment.
2. Insert 6 batteries of type UM-2 (“C” size) 1.5 V. Please ensure that the polarity is correct (see the floor of the battery
compartment)!
3. Then close the battery lid.
NOTE:
When a mains cable is connected the batteries are automatically switched off.
CAUTION:
• Batteries can leak and lose battery acid. When not using the system for a long period of time, remove the batteries.
• Different battery types or new and used batteries must not be used together.
• Do not dispose of batteries with household waste. Return old batteries to the respective collection facilities or your
dealer.
WARNING:
The batteries shall not be exposed to excessive heat such as sunshine, fire or the like. Danger of explosion!
Setting the clock & date
The system must be in standby mode in order to set the clock.
1. Press and hold the “ENTER / PLAY / PAUSE / CLOCK” button for approx.2 seconds.
2. Use the “SKIP+ / TUNING+” & “SKIP- / TUNING-” buttons to set the time format “12 / 24hr”.
3. Press the “ENTER / PLAY / PAUSE / CLOCK” button to confirm time format.
4. Use the “SKIP+ / TUNING+” & “SKIP- / TUNING-” buttons to set the hours accordingly. The hour digits start
flashing.