SB-2-630 Page 5
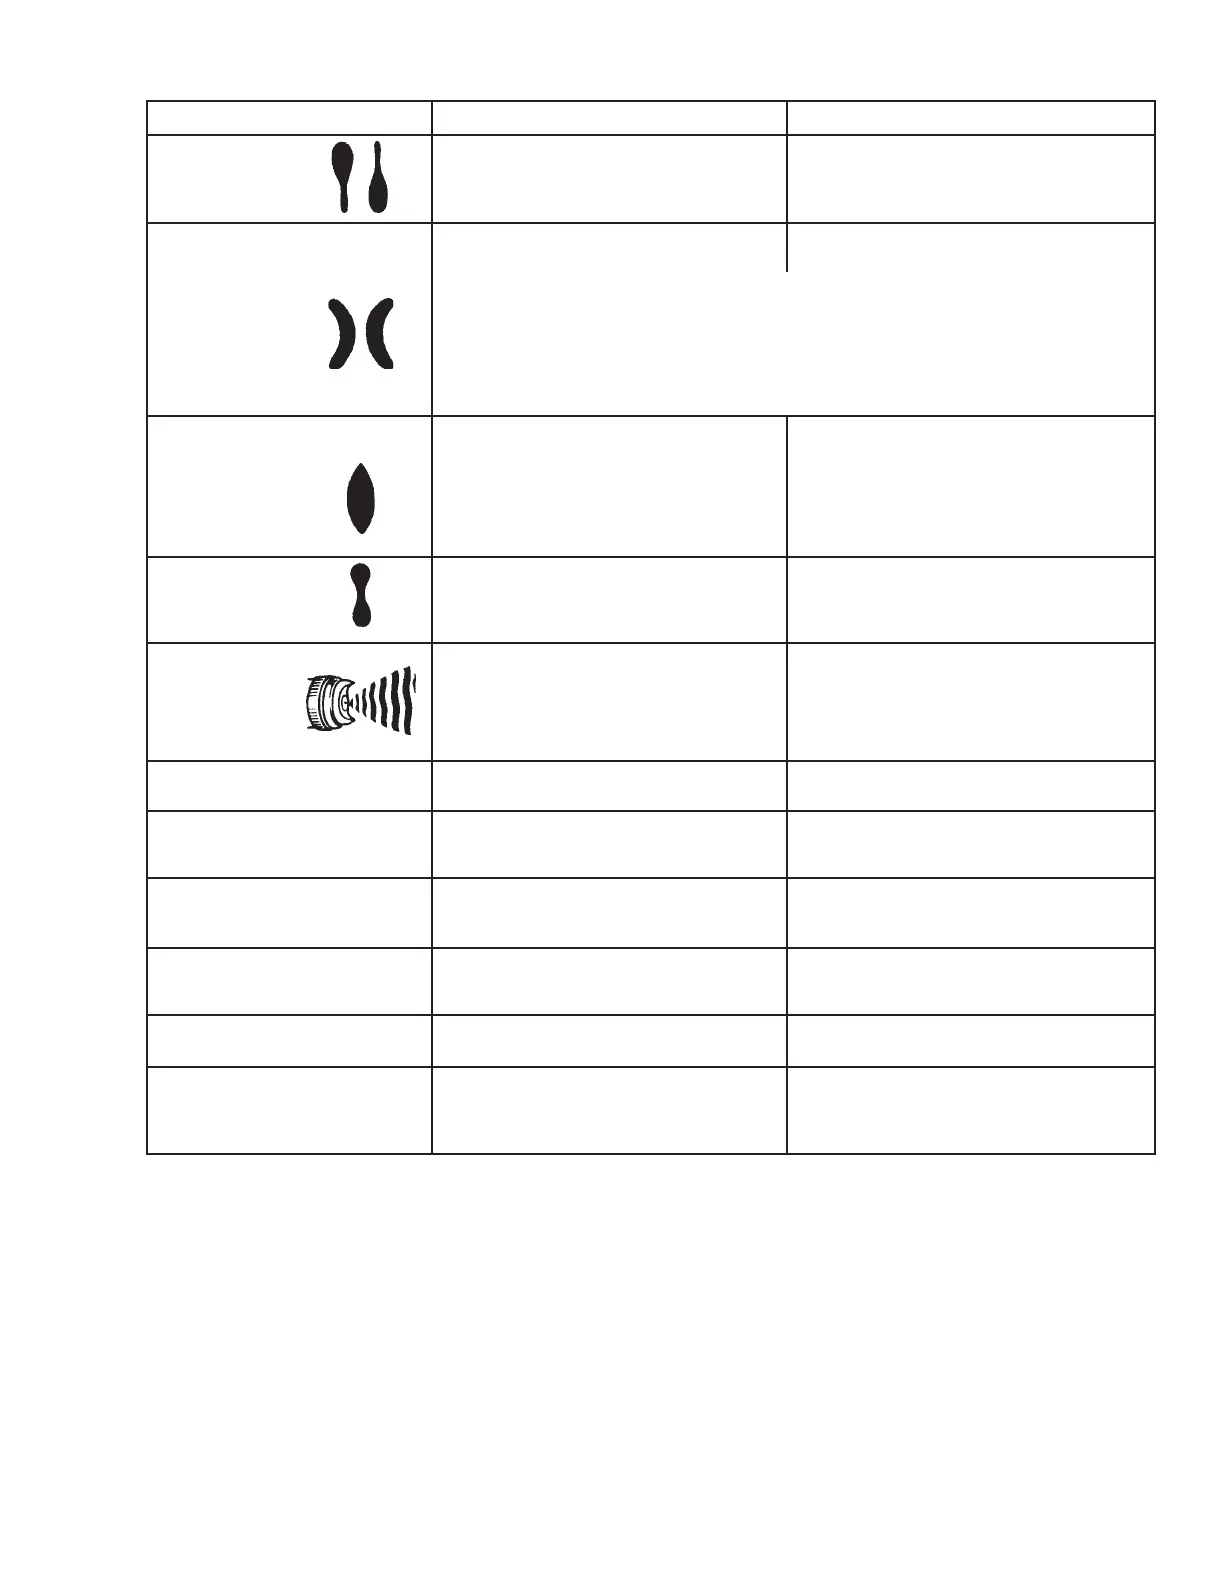
Heavy top or
bottom pattern
Heavy right or left
side pattern
TROUBLESHOOTING
CONDITION CAUSE CORRECTION
Horn holes plugged.
Obstruction on top or bottom of fluid tip.
Cap and/or tip seat dirty.
Left or right side horn holes plugged.
Dirt on left or right side of fluid tip.
Remedies for the top-heavy, bottom-heavy, right-heavy, and left-heavy patterns:
1. Determine if the obstruction is on the air cap or the fluid tip. Do this by making a test spray
pattern. Then, rotate the cap one-half turn and spray another pattern. If the defect is inverted,
obstruction is on the air cap. Clean the air cap as previously instructed.
2. If the defect is not inverted, it is on the fluid tip. Check for a fine burr on the edge of the fluid
tip. Remove with #600 wet or dry sand paper.
3. Check for dried paint just inside the opening; remove by washing with solvent.
Clean. Ream with non-metallic point.
Clean.
Clean.
Clean. Ream with non-metallic point.
Clean.
Fluid flow too high for atomization air.
Material flow exceeds air cap's capacity.
Spreader adjustment valve set too low.
Atomizing pressure too low.
Material too thick.
Fluid adjusting knob turned in too far.
Atomization air pressure too high.
Spreader adjusting valve set too high.
*Loose or damaged fluid tip/seat.
Material level too low.
Container tipped too far.
Obstruction in fluid passage.
Loose or broken fluid tube or fluid inlet nipple.
Dry or loose fluid needle packing nut.
Fan adjustment screw not seating properly.
Air cap retaining ring loose.
No air pressure at gun.
Fluid needle adjusting screw not open enough.
Fluid too heavy for suction feed.
Inadequate material flow.
Low atomization air pressure.
Too much atomization air pressure.
Gun too far from work surface.
Improper stroking (arcing, gun motion too fast).
Too much or too fast-drying thinner.
Too much atomization air pressure.
Air pressure too high.
Gun tip too far from work surface.
Gun motion too fast.
Gun out of adjustment.
Turn in fluid adjusting knob or reduce tip size.
Increase spray pattern width with spreader
adjustment valve.
Thin or lower fluid flow.
Adjust.
Increase pressure.
Thin to proper consistency.
Back out counterclockwise to achieve
proper flow.
Reduce at transformer or gun.
Adjust.
Tighten or replace.
Refill.
Hold more upright.
Backflush with solvent.
Tighten or replace
Lubricate or tighten.
Clean or replace.
Tighten.
Check air supply and air lines.
Open fluid needle adjusting screw.
Thin material and/or change to larger tip size.
Back fluid adjusting screw out to first thread, or
change to larger tip size.
Increase air pressure and rebalance gun.
Reduce pressure.
Adjust to proper distance.
Move at moderate pace, parallel to work surface.
Remix properly.
Reduce pressure.
Decrease air pressure.
Adjust to proper distance.
Slow down.
Adjust.
*Most common problem.
Heavy center pattern
Split spray pattern
Jerky or fluttering spray
Unable to get round spray
Will not spray
Starved spray pattern
Excessive overspray
Excessive fog
Dry spray