4
SBALLAGGIO E ISTRUZIONI PER IL MONTAGGIO
*
* * *
Potete facilmente montare la Vostra
Pialla
Mod.
DW
50
- DW
55,
in
quanto
ogni macchina
ö stata
assiemata
e
provata
-
'::
poi
smontata solo
in
parte per
la spedizione. Gli utensili necessari
per
l'assiematura
e
le regolazioni vengono
forniti con a
-
DEBALIAGE ET MONTAGE
Le montage
de
la
d6gauchisseuse DW 50
-
DW
55
est facile. Les
opÖrations de manutention ont
ötö
röduiies a-
-
-
-.rm
parcequechaquemachineaetömontöeettestöedansnosatelierspuisred6mont6eenpartiepourlalivraison.Lesoutils
-::=:s:':sau
montage et aux
reglages
sont
fournis
avec la
machine.
AUSPACKEN UND
VORBEREITUNG
Überprü,fen
sie bitte sofort nach dem Aus
verstän(ligt werden. Nur wenige Handgri
Werkzeug wird mitgeliefert.
packen
auf evtl.
vorhandeneTransportschäden.
Bei Beanstandungen muß
sofon::'
S::: :eur
ffe sind erforderlich,
um
lhre Maschine
für den Betrieb vorzubereiten; und das r:--:=-:'ge
UITPAKKEN EN
MONTEREN
Uw
vandikteschaafbank
model
DW50 - DW
55
kan
gemakkelijk
worden
gemonteerd.
De verrichtingen werden tot hei
-
-
-JnT
teruggebracht, daar elke machine in
de
fabriek reeds volledig werd
gemonteerd
en uitgeiest en
vervolgens
slechts
g=-==::
rjk
voor verzending
uit elkaar
werd
genomen.
De nodige
gereedschappen
voor
het monteren en afregelen zijn
bijgeleverd.
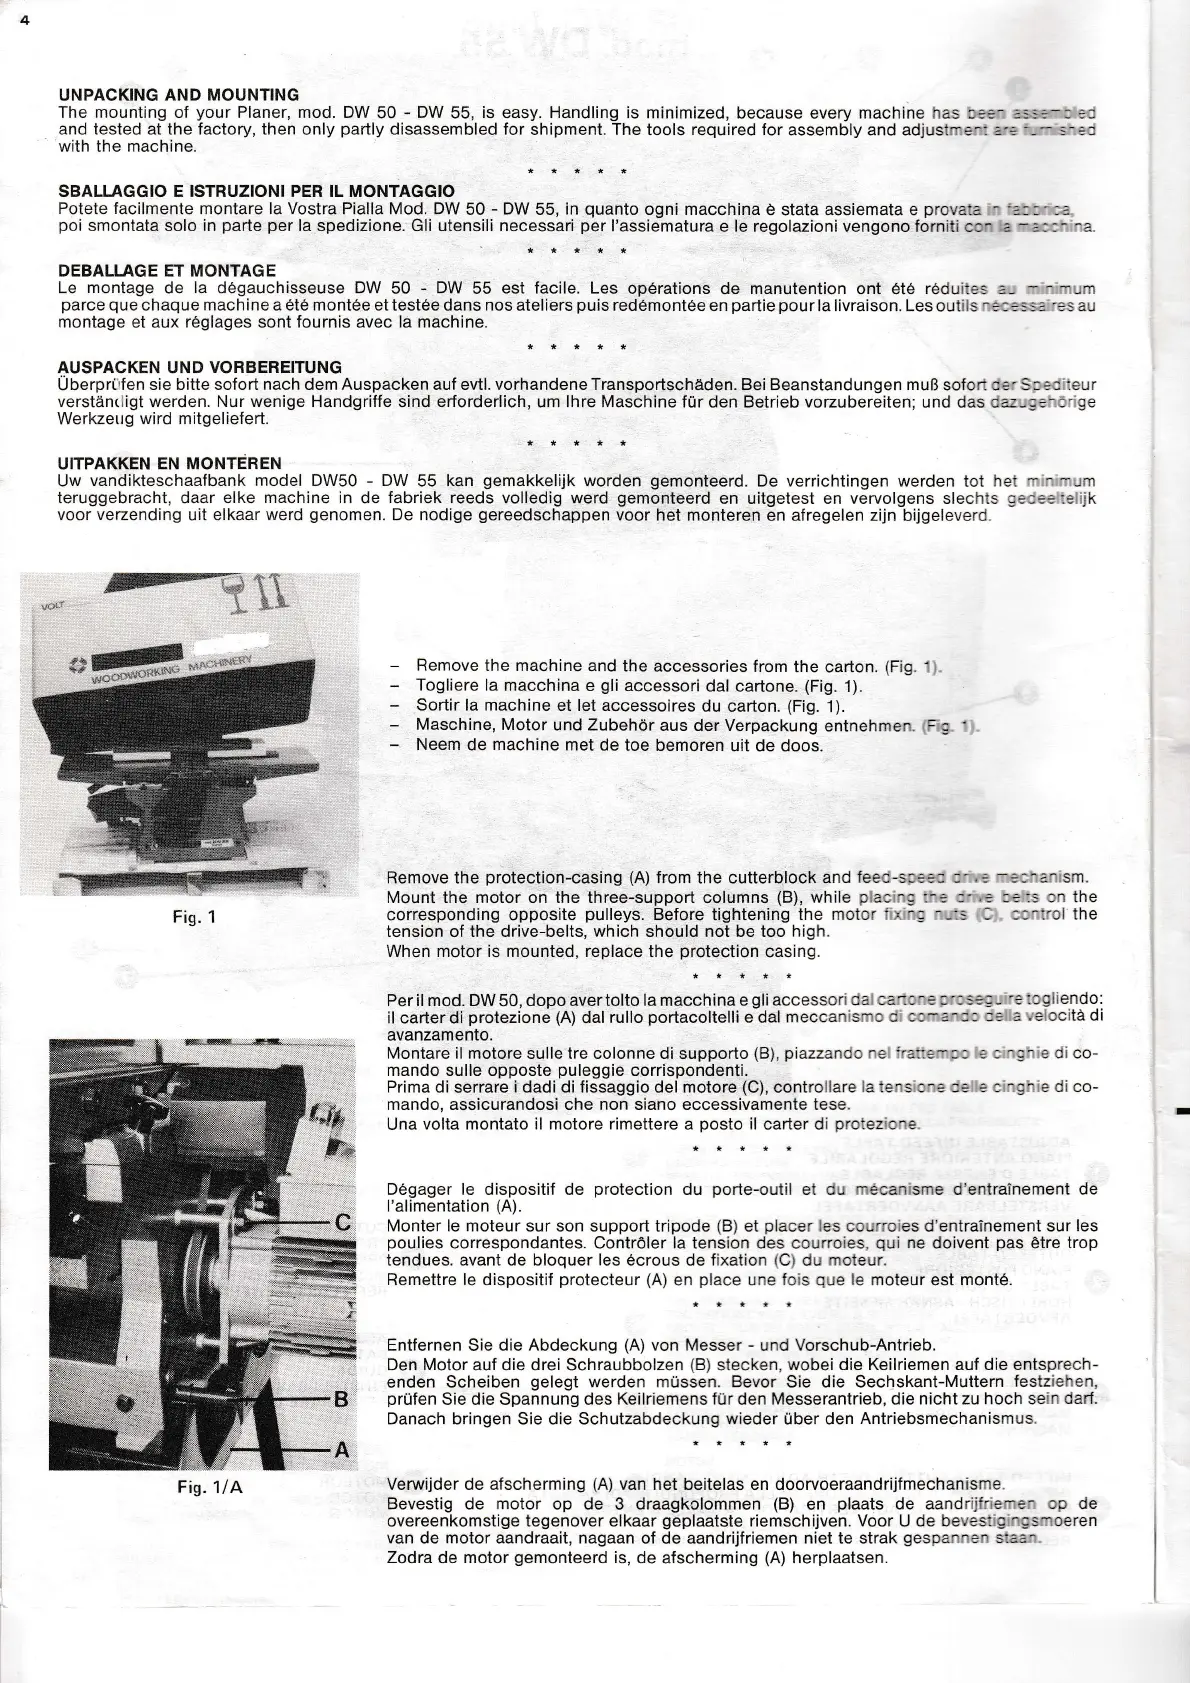
Remove
the machine and
the accessories
from the
carton.
(Fig
Togliere la macchina
e
gli
accessori
dal cartone.
(Fig.
1).
Sortir Ia machine
et let accessoires
du
carton.
(Fig.
1).
Maschine,
Motor
und Zubehör
aus der Verpackung
entnehmen
Neem
de
machine
met de
toe bemoren
uit de doos.
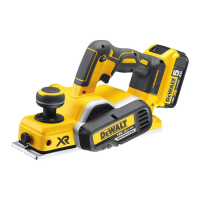
Bemove the
protection-casing
(A)
from
the cutterblock
and
feec-s:=::
:-
Mouni the motor on the three-support columns
(B),
while
pia:'3
:-: :
corresponding opposite
pulleys.
Before
tightening
the moior
i
)
.. --::
tension of the drive-belts,
which
should not be too
high.
When motor is mounted, replace the
protection
casing.
Peril mod.DW50,dopoavertoltolamacchinaegliaccessori
dal caas^..i:s.!-
-etcgliendo:
il carterdi
protezione(A)
dal rulloportacoltelli
edal meccanismcd
c:-a-l:..
a,'elocitädi
avanzamento.
Montareil
motoresulletrecolonnedi
supporto(B),piazzandone:
ira:::r::..^g.,edico-
mando sulle opposte
puleggie
corrispondenti.
Prima di
serrare
idadi di fissaggio
del
motore
(C),
controllare
la
tens.n. :.
:
c
rghre dico-
mando, assicurandosi che non siano eccessivamente tese.
Una
volta montato il motore rimettere a
posto
il
carter
di
protezione.
Dögager
le
dispositif de
proiection
du
porte-outil
et du
rnecanisme
d'entrainement
de
l'alimentation
(A).
Monter le moteur sur son support tripode
(B)
et
placer
les coun'oies d'entrainement sur
les
poulies
correspondantes. Contröler la tension des courroies.
qui
ne
doivent
pas
Ctre
trop
tendues. avant de bloquer les 6crous de fixation
(C)
du
moteur,
Remettre le dispositif
protecteur
(A)
en
place
une
fois
que
le moteur
est
monte.
Entfernen
Sie
die Abdeckung
(A)
von Messer
-
und
Vorschub-Antrieb.
Den Motor
auf
die
drei Schraubbolzen
(B)
stecken.
wobei die Keilriemen auf die entsprech-
enden Scheiben
gelegt
werden
müssen.
Bevor
Sie die Sechskant-Muttern
festziehen.
prüfen
Sie die Spannung des
Keilriemens f
ür den
Messerantrieb, die nicht zu hoch sein
darf.
Danach bringen Sie die Schutzabdeckung
wieder
über den
Antriebsmechanismus
Verwijder
de afscherming
(A)
van
het beitelas en doorvoeraandrijfmechanisme
Bevestig de
motor
op de 3 draagkclommen
(B)
en
plaats
de aandrijr'=-:-
-,9
de
overeenkomstige
tegenover
elkaar
geplaatste
riemschijven. Voor
U
de bev:s:
I';s-oeren
van de motor aandraait, nagaan of de aandrijfriemen niet te strak
gespa'^:.
s:a:^
Zodra de motor
gemonteerd
is, de
afscherming
(A)
herplaatsen,
:
-::-3^
Sm.
=
::
:-t
:n
thg
I
::
-:':l
the
Fig. 1
I
Fis.
1/A
UNPACKING AND MOUNTING
The mounting of
your
Flaner, mod. DW
50
- DW
55,
is easy. Handling is
minimized, because
every
machine has
ca:-
=:.::-:
=i
and tested at the factory, then
only
partly
disassembled for
shipment. The tools required for
assembly and adjustmer:
a.:
---
!-:a
with
the
machine.