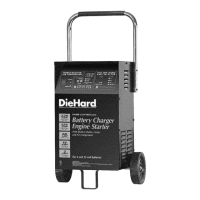
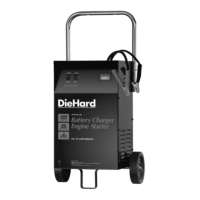
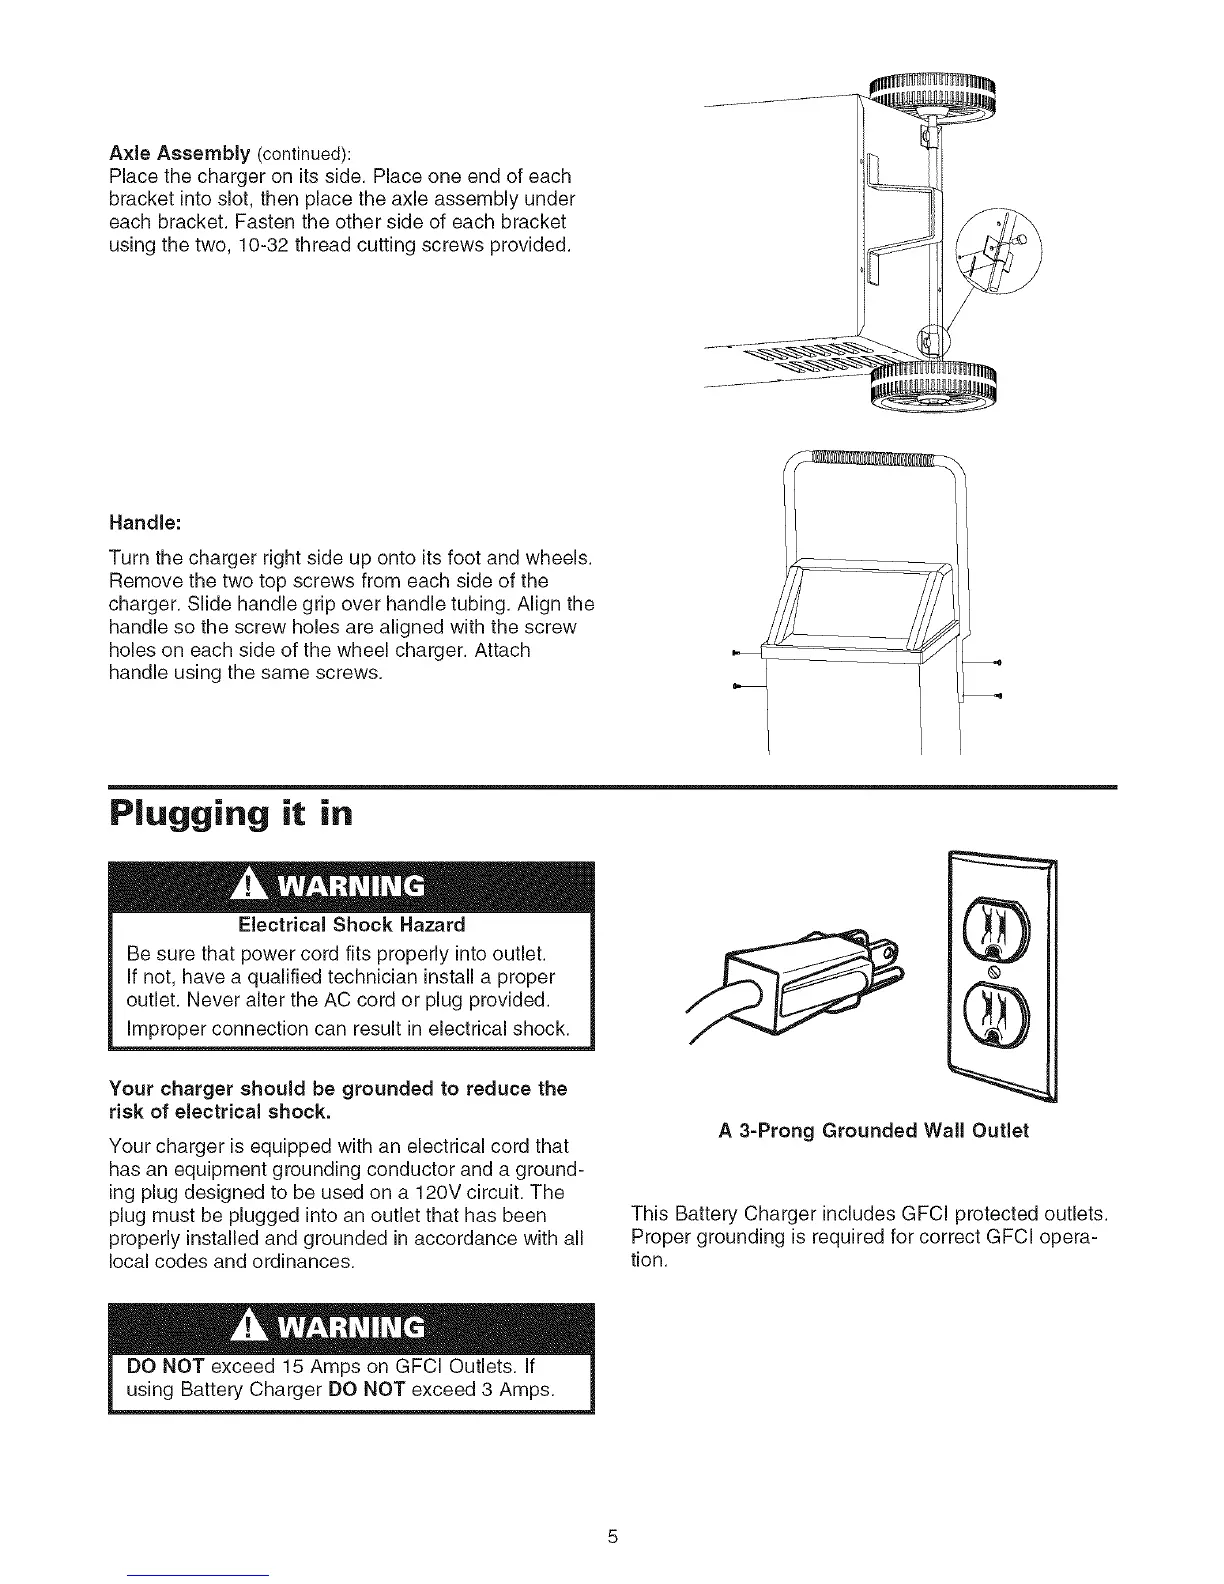
AxleAssembly(continued):
Place the charger on its side. Place one end of each
bracket into slot, then place the axle assembly under
each bracket. Fasten the other side of each bracket
using the two, 10-32 thread cutting screws provided.
.... j_ ¸--¸tt¸ ....
Handle:
Turn the charger right side up onto its foot and wheels.
Remove the two top screws from each side of the
charger. Slide handle grip over handle tubing. Align the
handle so the screw holes are aligned with the screw
holes on each side of the wheel charger. Attach
handle using the same screws.
Plugging it in
Electrical Shock Hazard
Be sure that power cord fits properly into outlet.
If not, have a qualified technician install a proper
outlet. Never alter the AC cord or plug provided.
improper connection can result in electrical shock.
Your charger should be grounded to reduce the
risk of electrical shock.
Your charger is equipped with an electrical cord that
has an equipment grounding conductor and a ground-
ing plug designed to be used on a 120V circuit. The
plug must be plugged into an outlet that has been
properly installed and grounded in accordance with all
local codes and ordinances.
@
@
©
A 3-Prong Grounded Wail Outlet
This Battery Charger includes GFC[ protected outlets.
Proper grounding is required for correct GFCI opera-
tion.