• 8 •
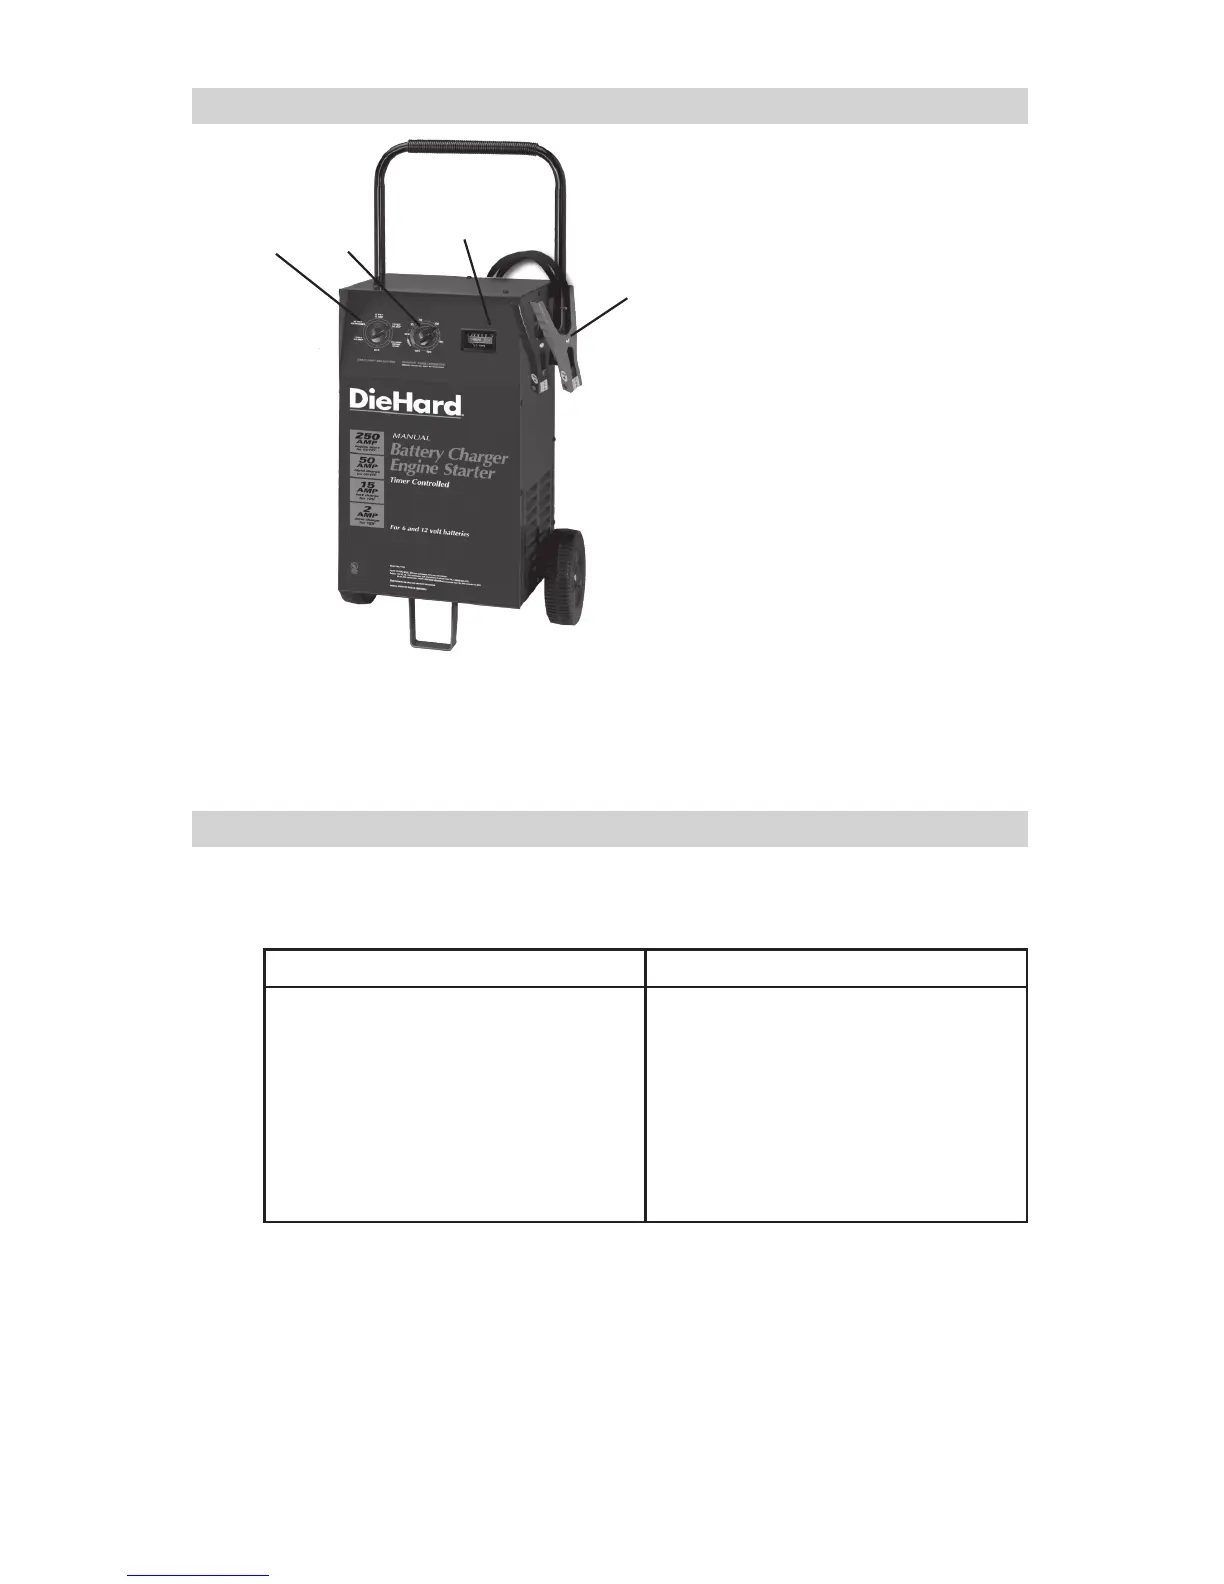
PRODUCT FEATURES9.
In case of charger malfunction, DO NOT attempt to repair charger
yourself. To arrange for charger repair, or information about custom-
er replaceable parts, call 1-800-SEARS-65 (1-800-732-7764).
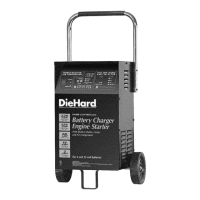
ASSEMBLY INSTRUCTIONS 10.
It is important to fully assemble your charger before use. Follow these
instructions for assembly:
PARTS TOOLS NEEDED
Two, 10-32, thread cutting screws
Four, 1/4-20, thread cutting screws
Two wheels
One axle
Two axle caps
Two axle brackets
One handle
One mounting foot
3/8” wrench (for mounting foot)
5/16” wrench (for wheels)
Hammer
Phillips screwdriver
TO ATTACH THE AXLE ASSEMBLY:
Remove charger from packing materials and place upside down on a at 10.1
surface. Attach mounting foot and secure with the four, 1/4-20 thread cut-
ting screws.