EasyManua.ls Logo

DigiDesign 96 I/O User Manual

DigiDesign 96 I/O
33 pages
To Next Page IconTo Next Page
To Previous Page IconTo Previous Page
Page #25 background imageLoading...
Page #25 background image
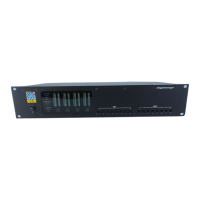
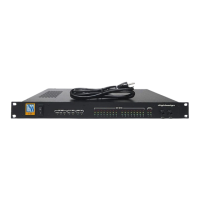
Chapter 3: Installation Overview 21
Loop Sync is used when multiple HD I/O's are
installed in a system. Loop Sync is a separate
word clock signal used to keep all HD I/Os syn-
chronized with each another. Only one periph-
eral at a time in the entire system can serve as
LOOP MASTER, and by default this will be the
HD I/O connected to the HD Core card.
You can select any connected HD I/O to be the
Loop Master by choosing a clock source on that
particular HD I/O. Once you set this, all other
peripherals in the chain will automatically be
set for Loop Slave and light the LOOP LED.
Because you can select any HD I/O in the chain
to be Loop Master, you can use the digital or Ex-
ternal Clock ports for synchronization on any
peripherals without having to physically change
any of the synchronization connections.
EXT (External) This setting indicates that 96 I/O
is using the EXT CLOCK IN port for system syn-
chronization. External Clock input and output
do not have to be at the Word clock rate.
EXT CLOCK IN synchronization will typically
be 1x the current session sample rate. However,
for sample rates higher than 48 kHz, 96 I/O will
generate a choice of 1x or a base rate of 48 kHz
or 44.1 kHz, depending upon the higher rate, as
follows:
For a more detailed explanation of synchroniza-
tion mode and External Clock issues, see the
SYNC I/O Guide.
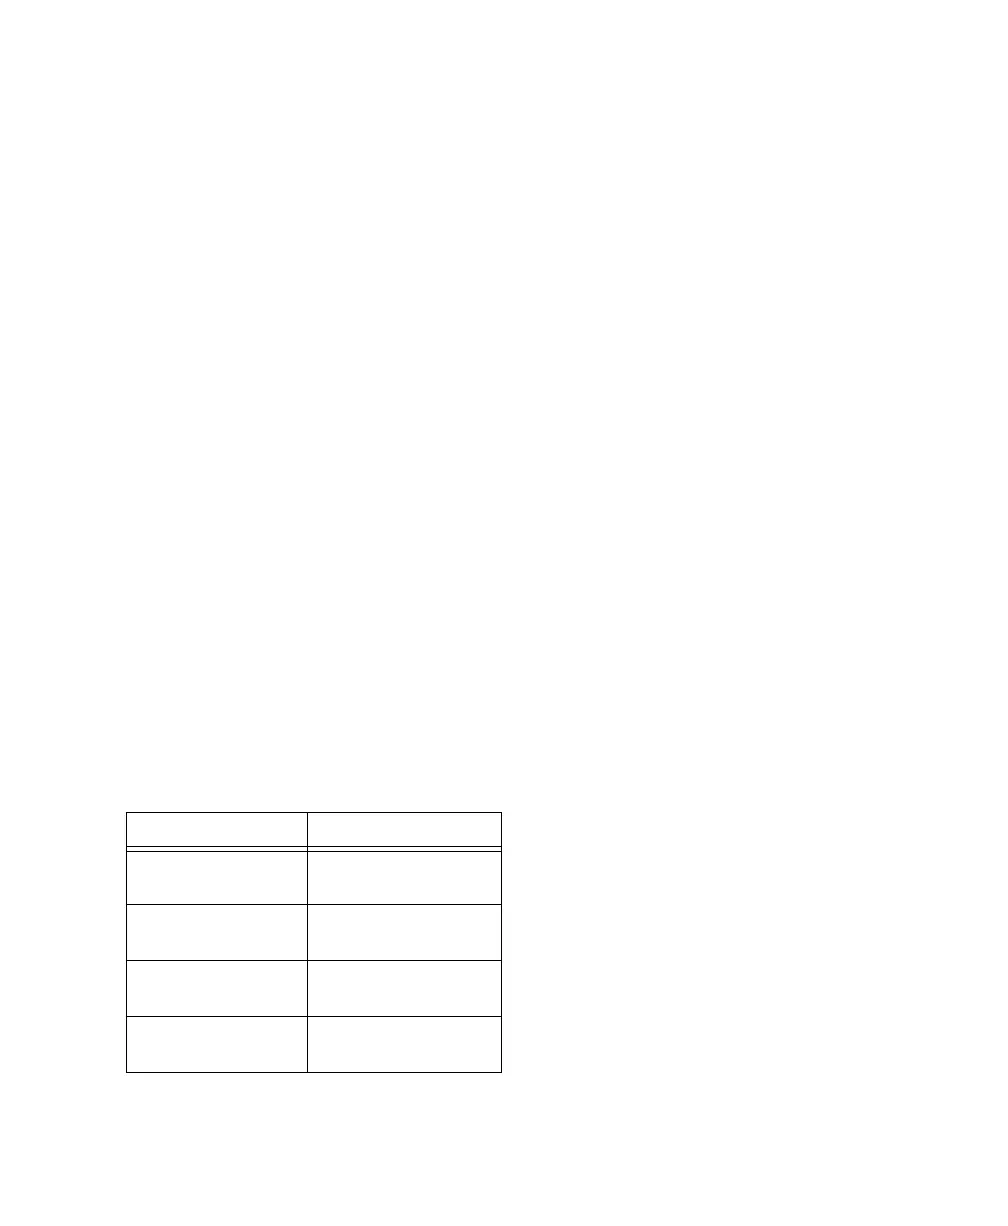
Session Sample Rate Word Clock Support
44.1 kHz 44.1 kHz
(256x out only)
48 kHz 48 kHz
(256x out only)
88.2 kHz 88.2 kHz
44.1 kHz
96 kHz 96 kHz
48 kHz
Question and Answer IconNeed help?

Do you have a question about the DigiDesign 96 I/O and is the answer not in the manual?

DigiDesign 96 I/O Specifications

General IconGeneral
A/D Resolution24-bit
D/A Resolution24-bit
Analog Inputs8
Analog Outputs8
Word ClockYes
TypeAudio Interface
CompatibilityPro Tools HD
Form FactorRackmount
Digital Inputs8
Digital Outputs8
ConnectivityADAT

Summary

Communications & Safety Regulation Information

Compliance and Regulation Statements

Details compliance with FCC, EMC, and safety standards for digital devices.

Important Safety Instructions

Safety Precautions and Warnings

Outlines essential safety measures and warnings for operating electronic equipment.

Chapter 1. Introduction to the 96 1/0

What's Included

Lists the items provided with the 96 I/O unit.

System Requirements

Specifies the necessary hardware and software for the 96 I/O.

About This Guide

Provides a brief overview of the guide's content and related documentation.

96 1/0 Features

Lists the key features and capabilities of the 96 I/O digital audio interface.

Chapter 2. 96 1/0 Overview

96 1/0 Front Panel

Describes the features and indicators on the front of the 96 I/O unit.

96 1/0 Back Panel

Details the various input and output connectors on the rear of the 96 I/O.

DigiLink Connections

Explains the function and specifications of DigiLink cables for system connectivity.

Loop Sync and Clocking

Explains Loop Sync, EXT. Clock, and SYNC MODE indicators for system synchronization.

Power and System Connections

Covers AC power input and DigiLink connections for system integration.

Legacy Port and Specifications

Details connecting older Digidesign MIX-series interfaces and DigiLink cable lengths.

SYNC MODE Indicators

Explains the meaning of the Sync Mode LEDs on the front panel.

Conventions Used in This Guide

Chapter 3. Installation Overview

Connecting to an Existing HD System

Guides users on integrating the 96 I/O into a current Pro Tools HD system.

Cabling Procedures

Provides specific instructions for connecting DigiLink and Loop Sync cables.

Checking Installation

Outlines methods to verify the successful installation of the 96 I/O.

System Power Management

Details the correct sequence for powering up and shutting down the system.

Example Studio Setups

Illustrates typical studio configurations with the 96 I/O.

Signal Connection and Routing

Provides guidance on connecting audio signals and routing them via Hardware Setup.

Hardware Setup Configuration

Describes how to configure the 96 I/O through the Pro Tools Hardware Setup dialog.

Configuring I/O Setup

Explains how to label and map Pro Tools input, output, insert, and bus paths.

Multiple Output Configuration

Details how to assign Pro Tools channels to multiple 96 I/O outputs simultaneously.

Setting Operating Levels

Guides on choosing between +4 dBu and -10 dBV levels for studio compatibility.

Synchronization Mode and Clock Source

Covers options for synchronizing the 96 I/O with other digital devices.

EXT (External) Clock Usage

Describes using the EXT Clock IN port for system synchronization.

Appendix A. Card Removal and Replacement

Removing an I/O Card

Provides instructions for safely removing an internal I/O card from the 96 I/O.

Replacing an I/O Card

Offers a step-by-step guide for installing a new or replacement I/O card into the 96 I/O.

Troubleshooting Card Installation

Offers solutions for common problems encountered during card installation or recognition.

Related product manuals