96 I/O Guide24
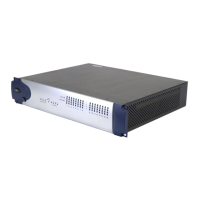
6 Remove the five screws on the front plate of
the card to be removed.
7 To discharge any static electricity, touch the
power supply casing. It is a good idea to do this
often, throughout the process.
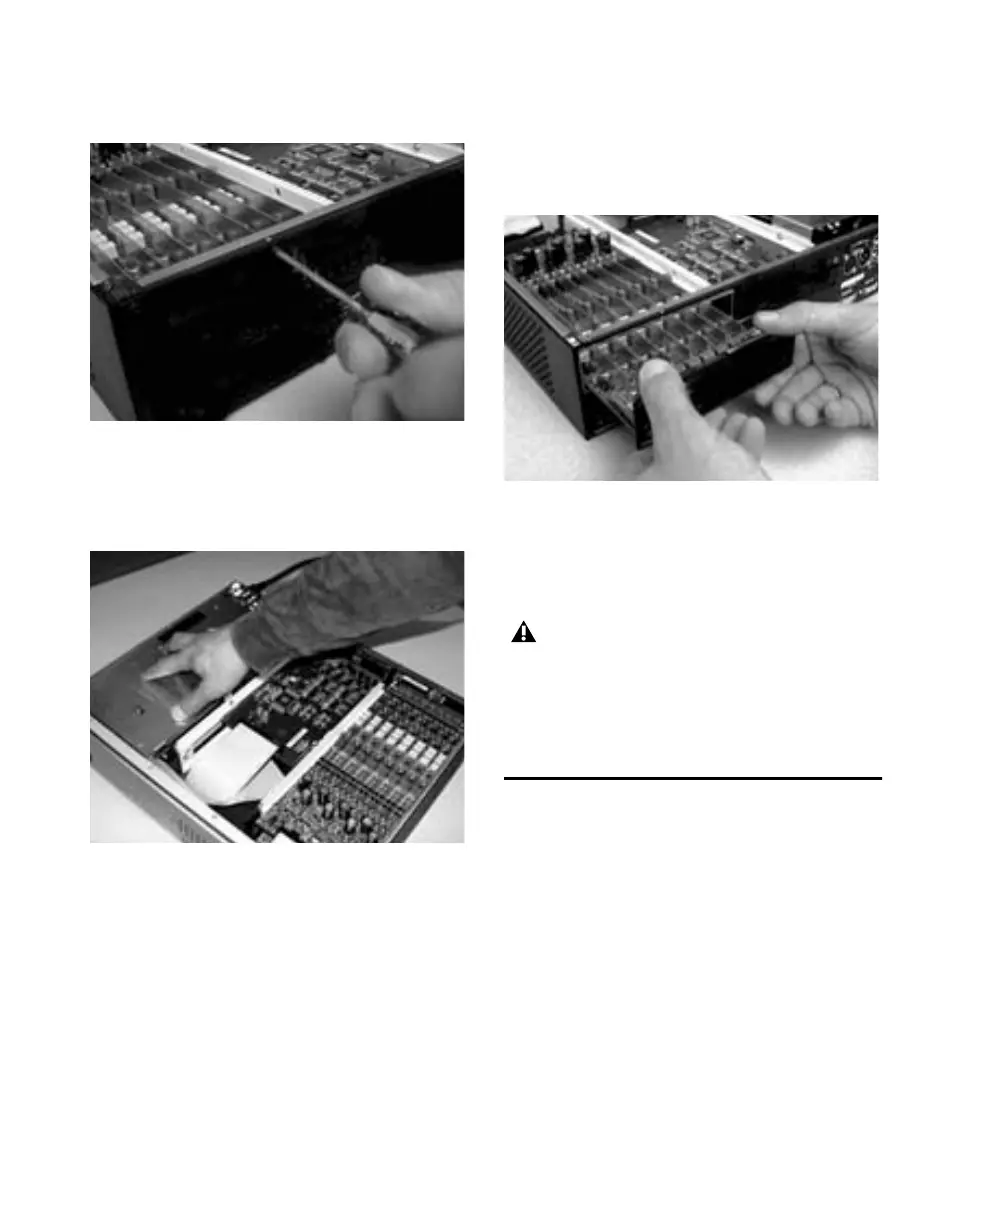
8 Pull the card out by gripping the edges be-
tween your thumb and forefinger on each side.
Pull straight back, lifting very slightly to avoid
contact between components on the underside
of the card and the 96 I/O back panel faceplate.
9 Place the card immediately in an anti-static
bag and send it to Digidesign according to in-
structions from the Customer Support dept.
Hardware Setup Changes
When Removing a Card
In this case, the Hardware Setup dialog will re-
flect the change by setting the removed inputs
and outputs to None. The remaining inputs and
outputs will function normally.
For example, if you remove the Analog Input
card, the Analog Input tab will disappear from
the Hardware Setup dialog.
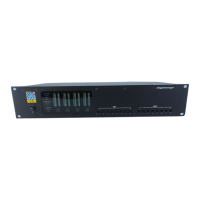
Touching power supply casing to discharge any
static electricity
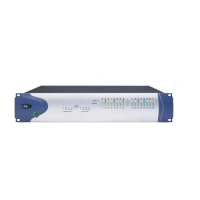
When you pull a card out, pay particular at-
tention to keeping components on the sur-
faces of the card from bumping into any of
the internal components or the back panel
faceplate on the 96 I/O.