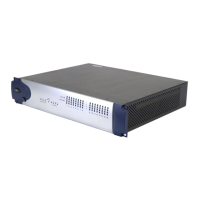
96 I/O Guide14
11 Gently push the cable connector into the
card’s connector. The ridge on the cable connec-
tor must be line directly into the groove on the
card connector. Be very careful not to bend any
of the pins.
12 Place the top cover onto the 96 I/O and re-
place the screws that you removed with it.
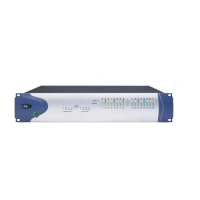
13 Connect the 96 I/O to your Pro Tools|HD
system.
14 Press the 96 I/O Power switch.
15 When you power on the unit, verify that the
LED ring around the power switch lights orange.
16 Start up the computer.
17 When you start the computer, verify that the
LED ring around the power switch turns from
orange to green. (If this does not occur, see
“Troubleshooting” on page 14.)
18 Launch Pro Tools.
19 Choose Setup > Hardware and confirm that
the new card is recognized:
• If you installed a 96 AD card, you should
see a new tab called Analog In 1–8.
• If you installed a 96 DA card, you should
see a new tab called Analog Out 1–8.
20 If the new card does not appear in the Hard-
ware Setup dialog, power down, check the seat-
ing of the card, and recheck the cables inside the
96 I/O.
Hardware Setup Changes
Whenever a card is removed or replaced, the
Hardware Setup I/O routing reverts to original
defaults. For more information, see the HD Setup
Guide.
Troubleshooting
If the power ring does not turn from orange to
green when you start the computer, make sure
you reconnected the DigiLink cable to the Pri-
mary port on the back of the unit.
If the DigiLink cable is securely fastened and
the other end is plugged into a Pro Tools|HD
card, you may have inadvertently disconnected
another 50-pin cable when installing the card.
Pressing the 50-pin cable connector into the card