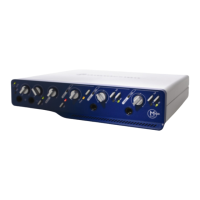
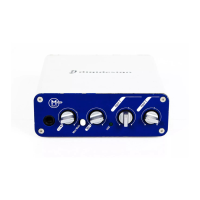
Connecting a Microphone
5
3
If your microphone requires phantom power,
make sure the microphone is connected, then
press the Phantom Power switch on the back of
the Mbox (labeled 48V). This switch sends 48V
to
both
mic inputs. The 48V LED on the front of
the Mbox will light when phantom power is be-
ing supplied.
4
On the front of the Mbox, turn the Mix con-
trol fully left to Input.
5
On the front of the Mbox, carefully turn the
Gain control to the right to increase the input
level of your microphone signal.
To use a microphone that has a 1/4-inch
connector:
1
On the back of the Mbox, plug the 1/4-inch
connector from your microphone into one of
the Source inputs. The inputs are numbered
from the bottom up, so Source 1 is the bottom
input.
2
On the front of the Mbox, set the source to
Inst (instrument) by pressing the Source selector
until the Inst LED is lit.
3
On the front of the Mbox, turn the Mix con-
trol fully left to Input.
4
On the front of the Mbox, carefully turn the
Gain control to the right to increase the input
level of your microphone signal.
Phantom Power switch
1/4-inch connector plugged into the Source 1 input
Phantom Power
switch
Source 2 input
Source 1 input
Do not plug the microphone into the 1/4-
inch jacks labeled “Inserts.” These are not
inputs. They are special connectors for us-
ing an external effects processor (such as a
compressor or EQ).
If you are using a microphone with a 1/4-
inch connector, do not choose the “Mic” in-
put source because the Mbox will not regis-
ter any signal.
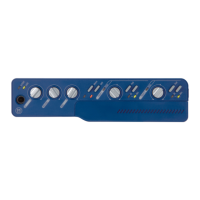
Channel 1 controls and the Mix control on the Mbox
front panel
Source
Selector
Inst LED
Mix control