14
28. File
This is the function used to view all files types that the frame recognizes. This is also
where files are tagged for Copy/Delete.
1. From the Main Menu navigate to FILE and ENTER.
2. On the Media Menu select the location of the desired files and ENTER.
3. The result is a listing of the located folders and files including name extension.
Press ENTER to play.
4. You may also use the navigation buttons and the SELECT button on the
remote control to “tag” files for Copy or Delete.
5. Once finished, press the COPY/DELETE button on the remote control. A
secondary screen will appear to select either Copy or Delete.
6. Navigate to the desired choice and ENTER to execute.
You may copy files from external memory to internal memory. You may delete files
from either external or internal memory.
29. Changing the Frame
MemoryFrame
tm
has the ability to mount a standard open frame so that you can
change the look of the frame to suit your decor. Standard 8”x10” open frames mount on
8.4” MemoryFrame and 9”x12” open frames mount on 10.4” MemoryFrame. Although
there are a wide variety of 8x10 and 9x12 frames, typical open frames have these
common cavity dimensions. The difference in cavities is typically the depth and whether
to accommodate matte, glass, and backing. The way the backing is attached to the
cavity determines how easy the frame can be used with the MemoryFrame. Refer to
the Frame Mounting Guide on our website
www.memoryframe.com.
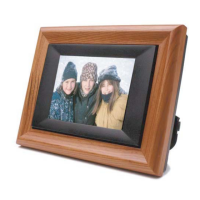
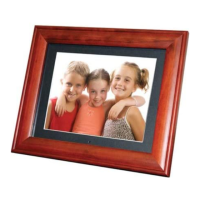
30. Changing the Bezel
Certain configurations allow for changing the decorative bezel that surrounds the
display. The decorative bezel is designed with embedded magnetic discs that match up
to magnetic discs also embedded on the bezel channel of the unit. Changing the bezel
is very easy and quick to do, needing only a common paperclip or the supplied Bezel
Removal Tool to free the bezel from the unit. See below.
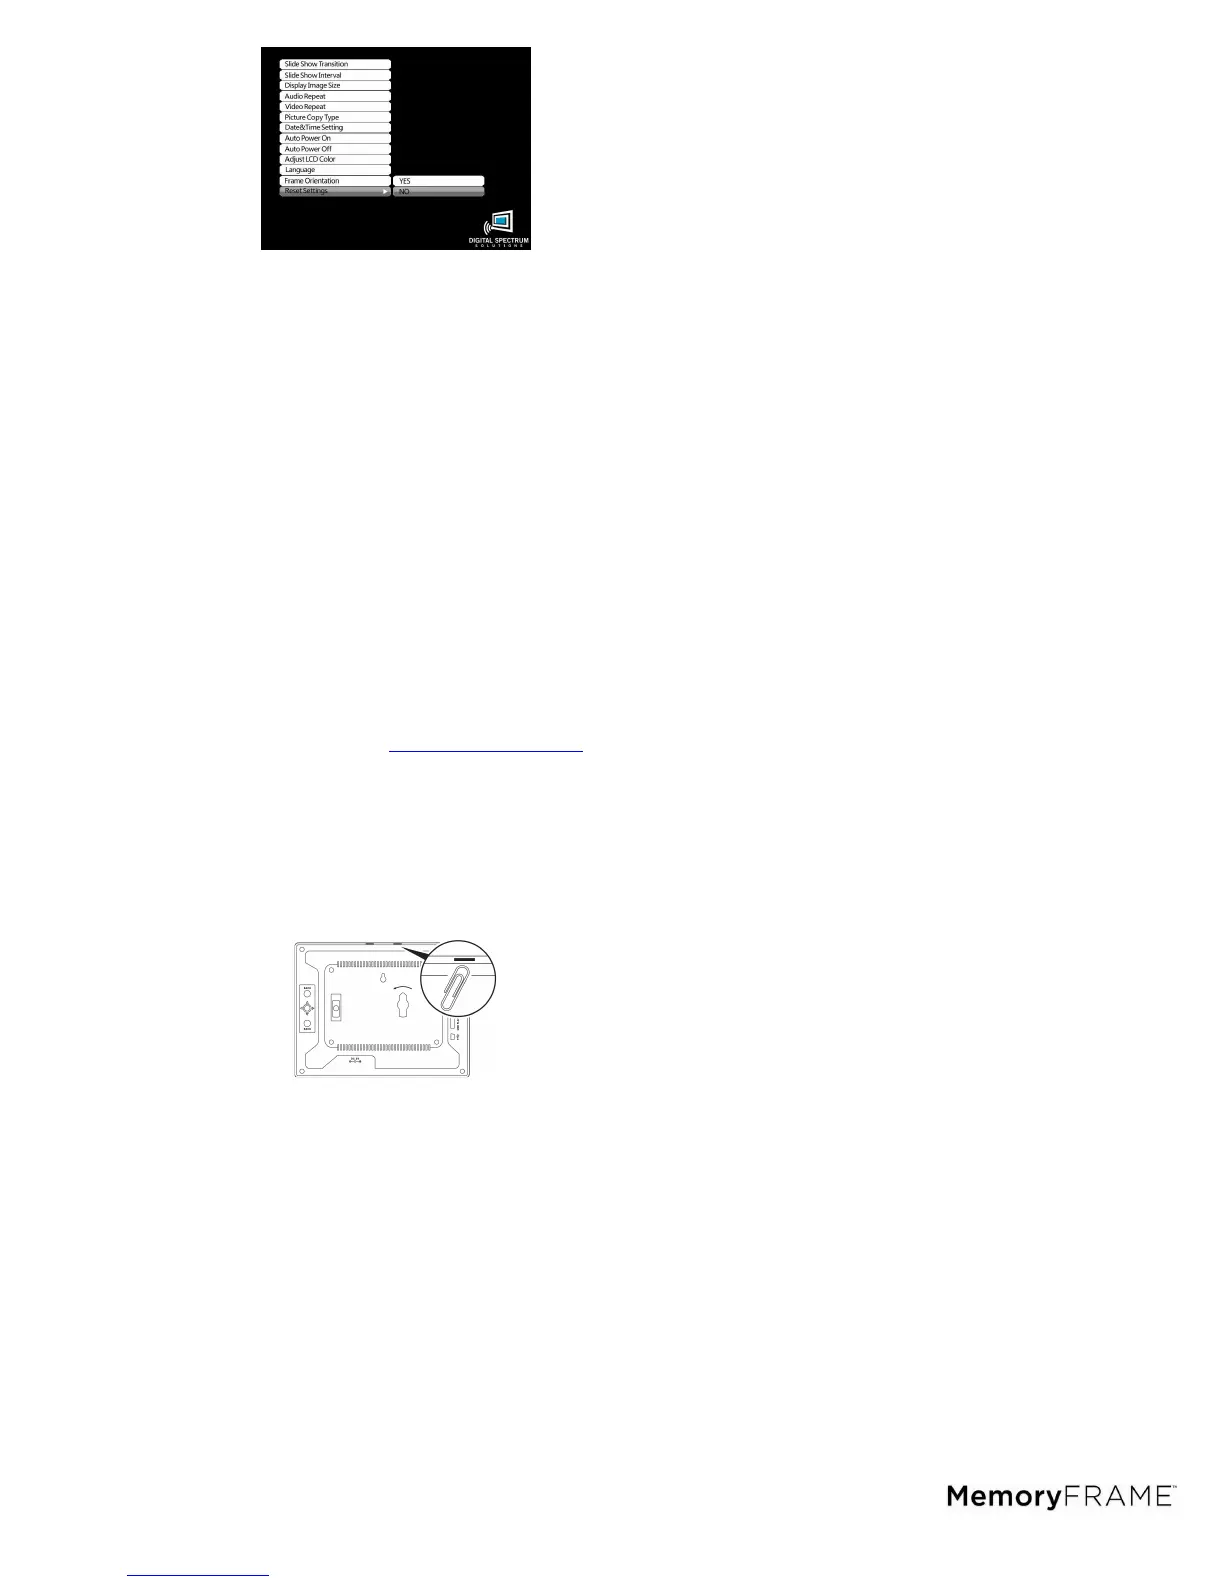
Removing the bezel
1. With the back of the frame facing you, use the Bezel Removal Tool or a
paperclip, slide it flat side through one of the slots in the frame. See above
pictorial.
2. Push the tool/paperclip through until the bezel is released from the unit and
remove the bezel.
Replacing the bezel
1. Be sure that there is no bezel currently installed on the display.
2. Note that the IR remote control iris is located at the top of the bezel and
matches to the IR sensor at the top center of the frame. Care should be taken
to assure this iris is located at the top of the frame when inserting another
bezel. Otherwise the Remote Control operation may become unstable.
3. With the unit laying flat on a surface with the display facing up at you, place
the bezel on top of the front of the unit with the shiny side facing out, the
magnetic discs match up together, and the iris is in the upper center of the
frame.