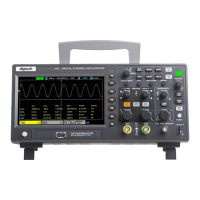
User Manual
9
/
76
1. Quick start
1.1. General Inspection
Please check the instrument as following steps after receiving an oscilloscope:
Check the shipping container for damage:
Keep the damaged shipping container or cushioning material until the contents of the shipment have been checked for
completeness and the instrument has been checked mechanically and electrically.
Check the accessories:
Accessories supplied with the instrument are listed in "Accessories" in this manual. If the contents are incomplete or damaged,
please notify the franchiser.
Check the instrument:
In case there is any mechanical damage or defect, or the instrument does not operate properly or fails performance tests,
please notify the franchiser.
1.2. Prepare Instrument for Use
Adjust the Supporting Legs
Adjust the supporting legs properly to use them as stands to tilt the oscilloscope upwards for stable placement of the
oscilloscope as well as better operation and observation.
Connect the Power Cord
Connect the power cord as desired.
This oscilloscope can accept 100-240 V, 45-440 Hz AC power supply. Please use the power cord supplied with the
accessories to connect the oscilloscope to the power source as shown in the figure below.
Turn the instrument on by pressing the power switch in the lower left corner of front panel. If the instrument does not turn on,
verify that the power cord is firmly connected. Also make sure that the instrument is connected to an energized power source.
Power Switch:
To turn off the instrument, please press power switch.
1.3. Brief Introduction of Front Panel
The content below simply describes and introduces the front panel and the back part of this digital oscilloscope so that you
can get familiar with this digital oscilloscope well within the shortest time.

 Loading...